How to Wallpaper Inside Picture Frame Molding: A Step-by-Step Guide
Wallpapering is one of the most effective ways to add personality and style to a room. While many people are familiar with covering walls entirely with wallpaper, a more subtle and unique approach is wallpapering inside picture frame molding.
This technique allows you to create beautiful accent areas within a room, offering a modern yet vintage feel to the space. In this blog post, we’ll guide you through how to wallpaper inside picture frame molding and transform your walls into a statement of style.
What Is Picture Frame Molding?
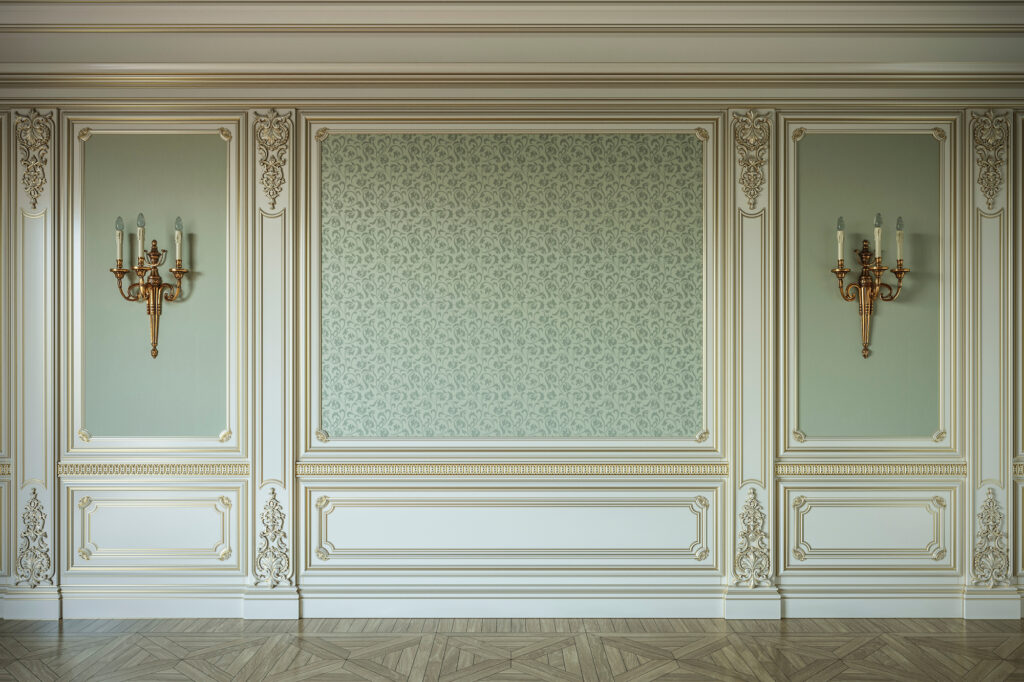
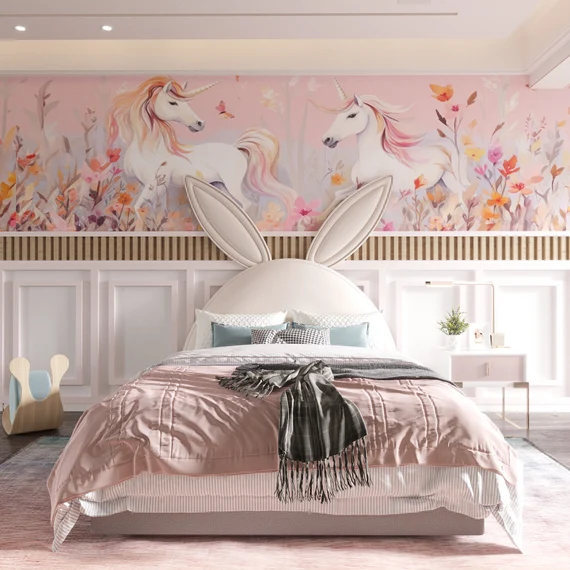
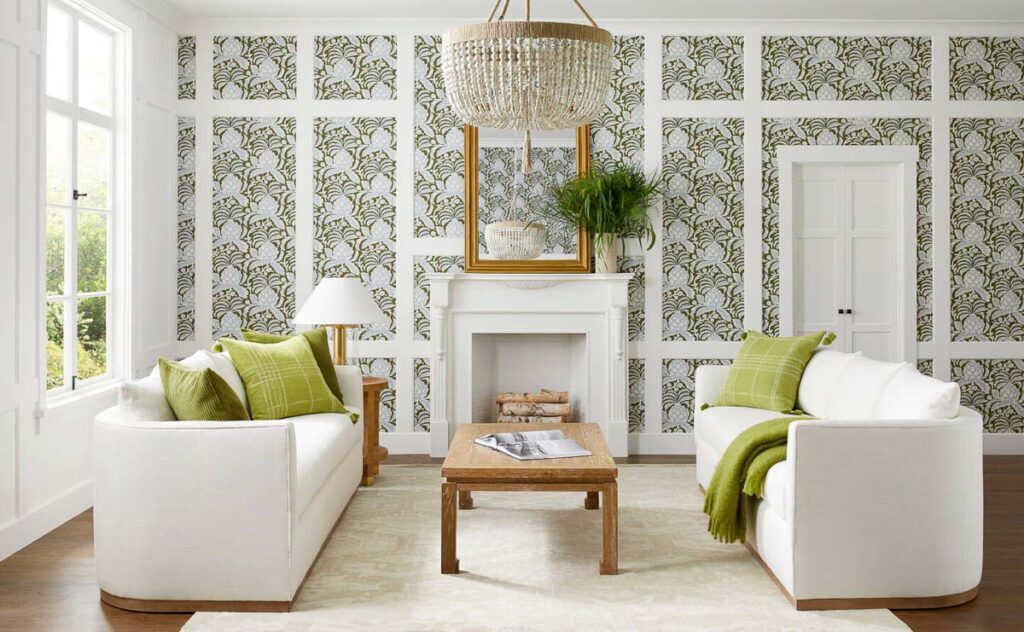
Picture frame molding is a type of trim that creates rectangular or square sections on a wall. Typically made from wood or MDF, these frames are placed around the wall to break up large expanses of paint or wallpaper and add visual interest. The space inside these frames can be left bare, painted, or covered with wallpaper, creating a beautiful focal point. This technique is often used in both traditional and contemporary interiors, adding a bit of architectural charm.
Why Choose Wallpaper Inside Picture Frame Molding?
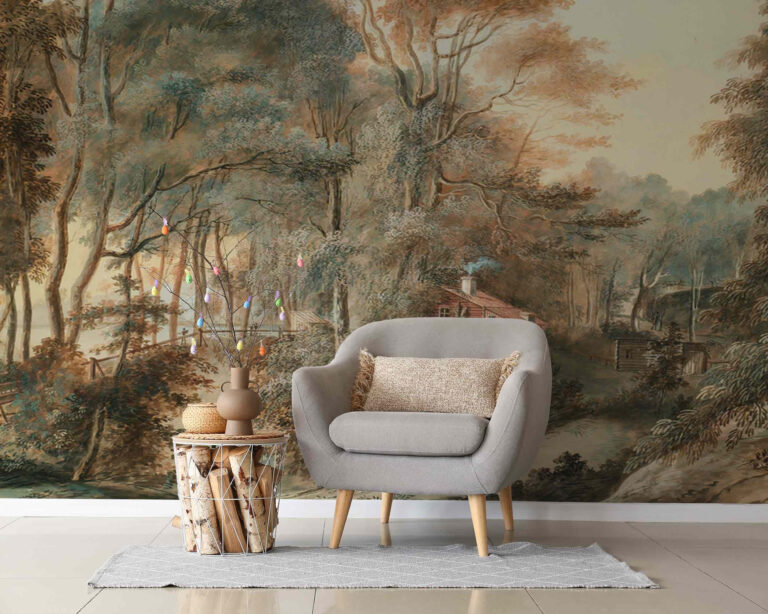
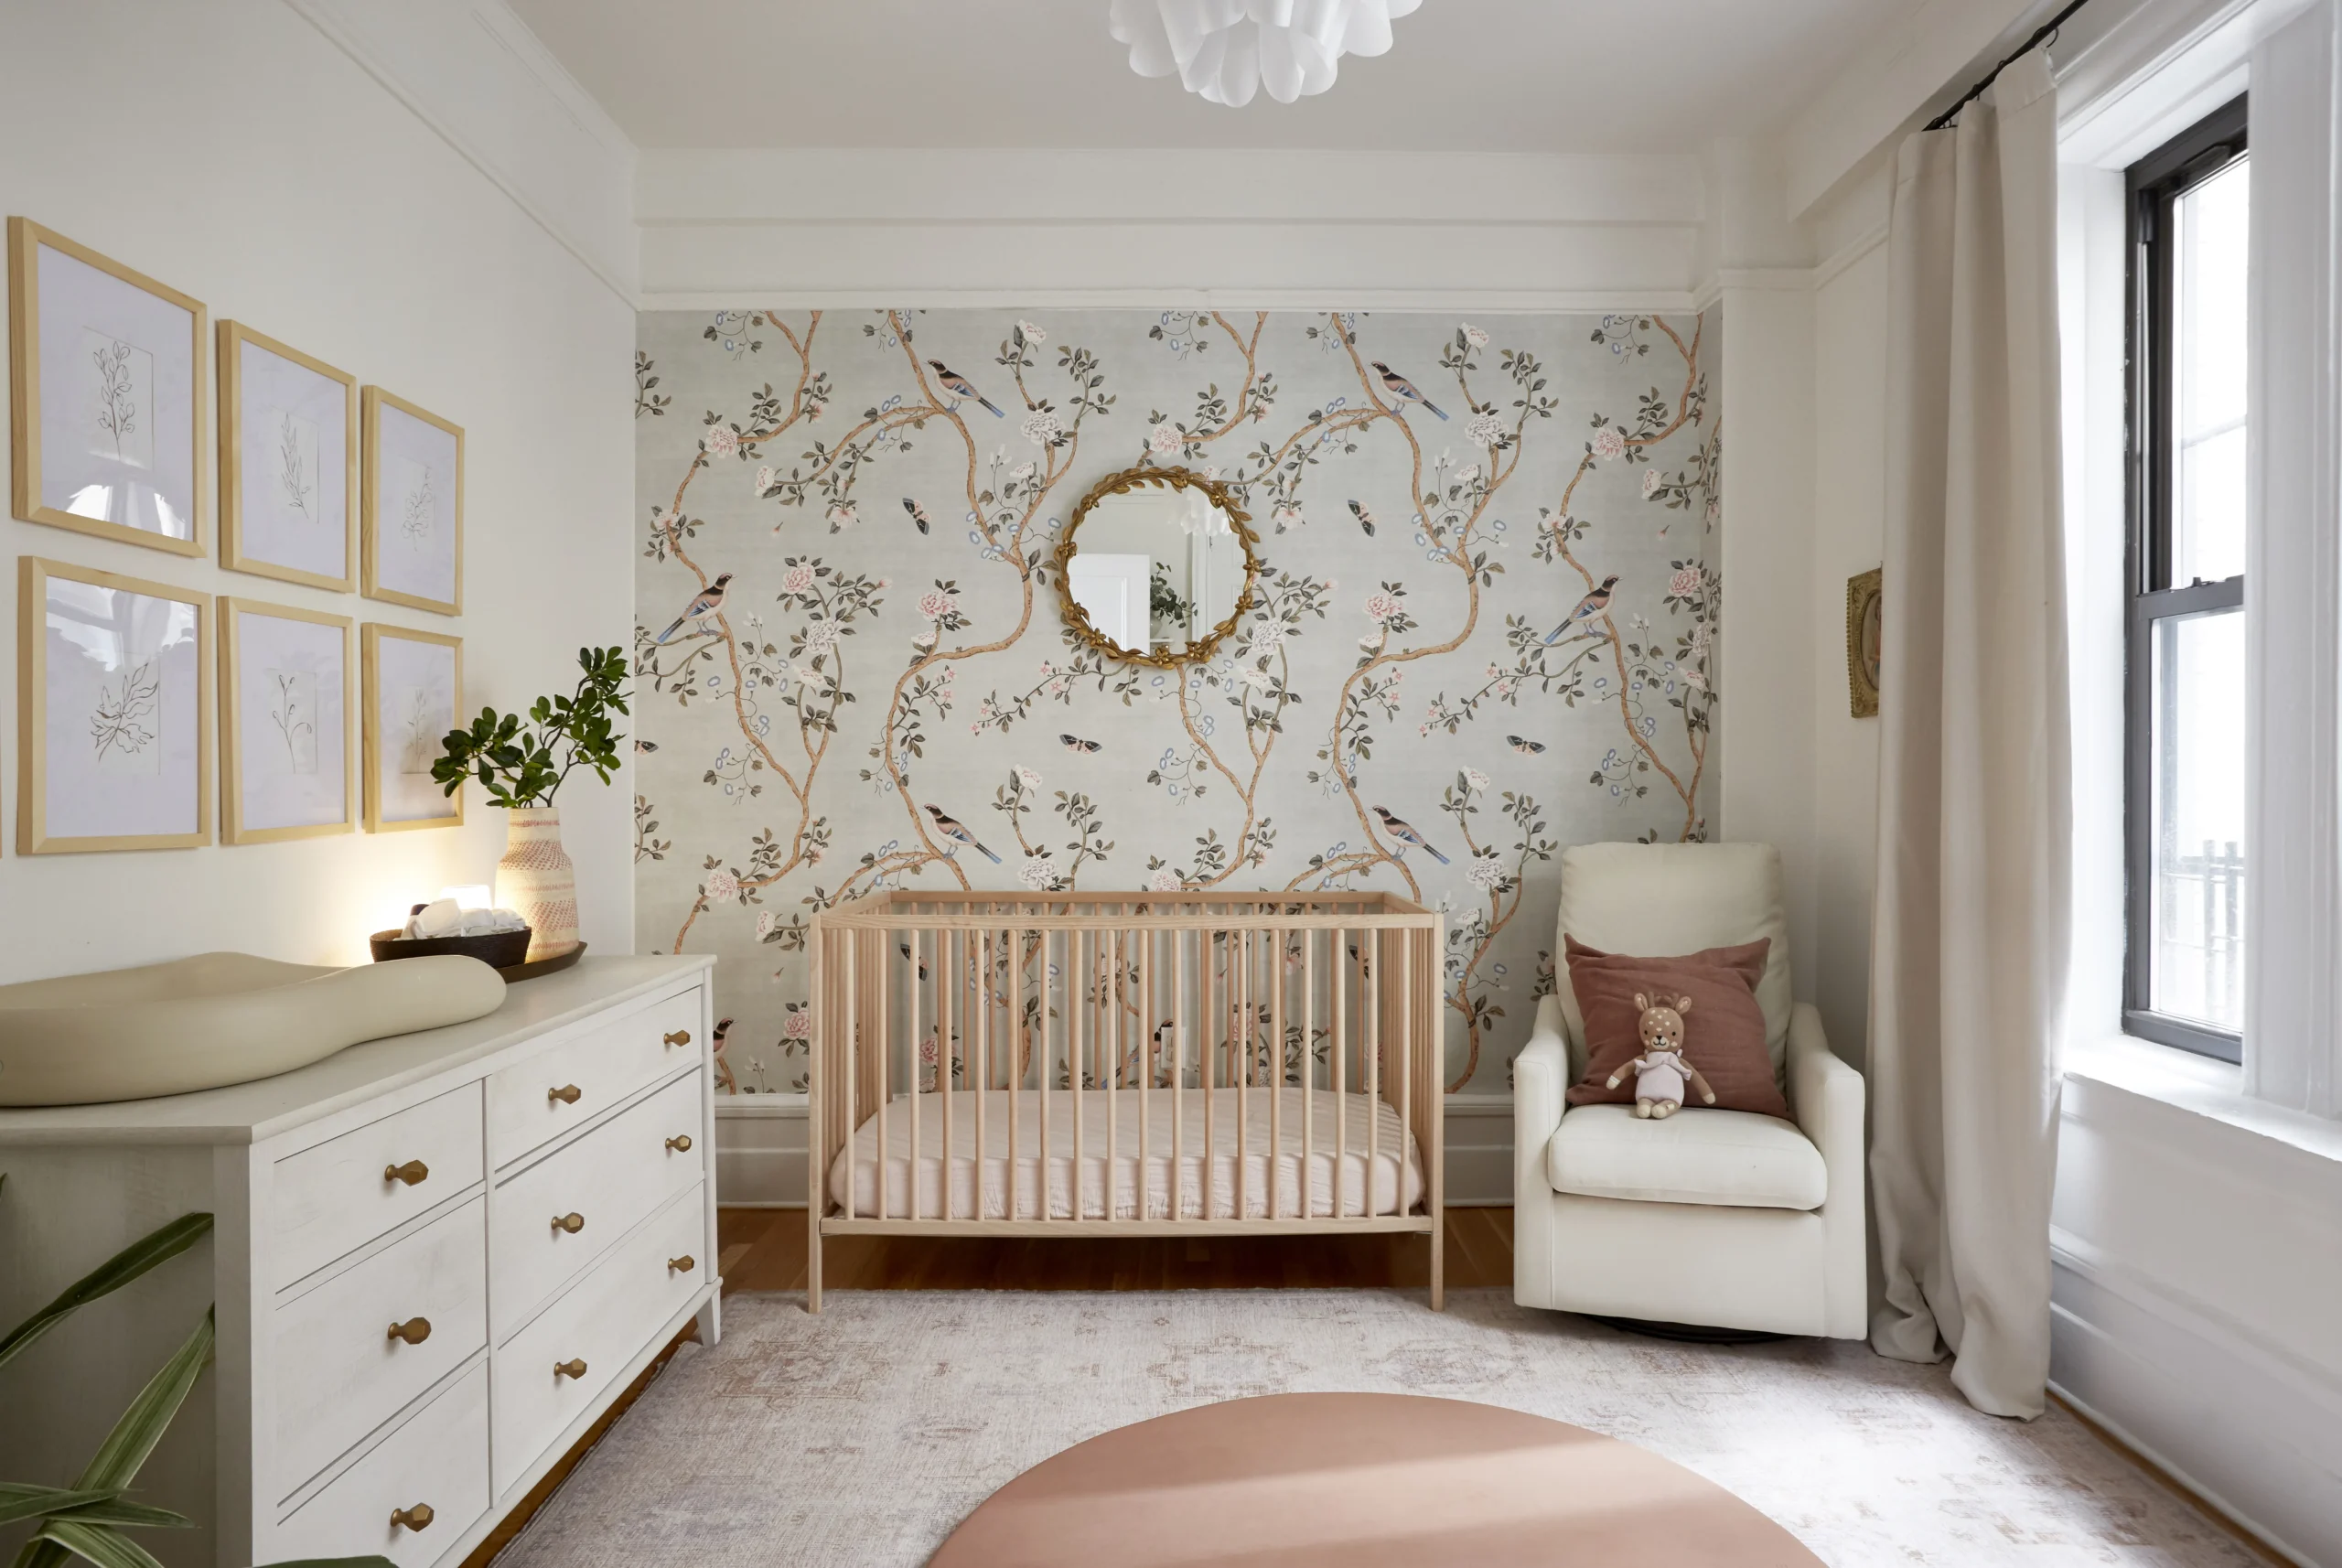
Wallpapering inside picture frame molding is a fantastic way to incorporate patterns, textures, and colors into a room without overwhelming the entire space. Instead of wallpapering a full wall, which can sometimes make a room feel enclosed, picture frame molding allows you to introduce wallpaper in a more controlled, artistic manner. This technique can enhance the aesthetic appeal of a room, making it feel sophisticated and stylish.
Some of the benefits of wallpapering inside picture frame molding include:
- A Unique Design: It gives the room a polished, elegant look without the need for a full-wall commitment.
- Less Time Consuming: Compared to wallpapering an entire wall, this is a quicker project.
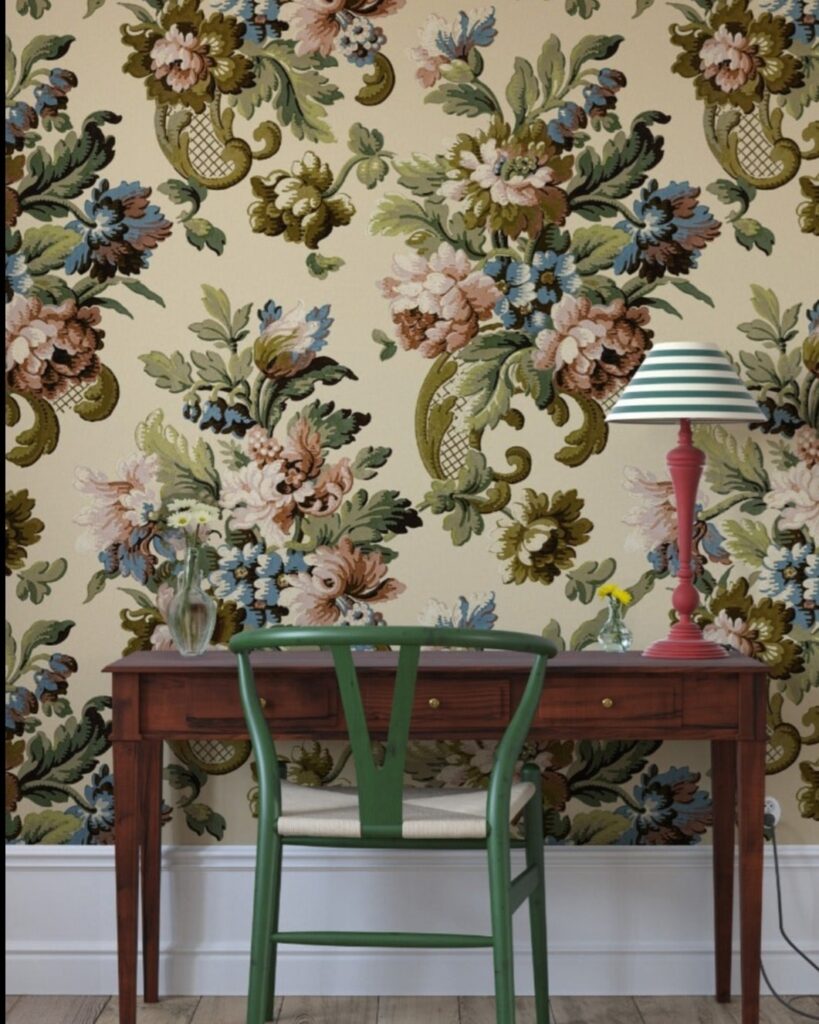
- A Variety of Options: Whether you prefer bold prints, subtle textures, or floral patterns, there is a wallpaper style to suit every taste.
- Focal Points: The wallpapered areas become natural focal points in the room, drawing attention to a piece of art or special design feature.
Now, let’s dive into the process of how to wallpaper inside picture frame molding.
Materials You Will Need
Before you get started, gather the following materials to ensure a smooth and successful wallpapering process:
- Wallpaper: Choose a wallpaper design that complements the rest of your room’s decor. Make sure you have enough wallpaper to fill the space inside each frame.
- Wallpaper Paste: Depending on the type of wallpaper you’re using, select the appropriate wallpaper paste. For peel-and-stick wallpaper, you can skip this.
- Measuring Tape: To ensure accurate measurements, you will need a tape measure to get the dimensions of the spaces inside the picture frames.
- Wallpaper Smoothie or Brush: This is a tool used for smoothing the wallpaper onto the wall to remove air bubbles and wrinkles.
- Utility Knife: For trimming excess wallpaper to fit precisely within the frame.
- Scissors: For cutting the wallpaper to the right size before applying it.
- Level: To ensure your picture frame molding is aligned properly before starting the wallpaper process.
Once you’ve gathered these materials, you’re ready to start!
Step 1: Measure and Cut Your Wallpaper
The first step in how to wallpaper inside picture frame molding is to measure the area inside each frame. Take precise measurements of the width and height of the space inside the molding. Add a few extra inches on all sides to ensure you have room to trim the wallpaper and make sure it fits perfectly.
Using the measurements you just took, cut your wallpaper to size. You can either use scissors or a utility knife for this task. It’s essential to cut the wallpaper carefully to ensure it fits well within the frame without any gaps.
Step 2: Prepare the Wall and Apply Paste
Before applying the wallpaper, prepare the wall. Clean the surface to ensure there’s no dust, dirt, or debris that may affect the adhesion of the wallpaper. If you are using traditional wallpaper that requires paste, apply the paste to the back of the wallpaper using a wallpaper brush or roller. For peel-and-stick wallpaper, skip the paste and proceed to the next step.
Take your cut wallpaper and place it on the wall inside the picture frame molding. Make sure the design is facing the correct direction and the wallpaper is centered within the frame. You may want to use a level to check that the wallpaper is straight before proceeding.
Step 3: Smooth Out the Wallpaper
Once the wallpaper is placed inside the frame, it’s time to smooth it out. Use a wallpaper smoother tool or a soft brush to gently press down on the wallpaper, working from the center outwards. This will help eliminate any air bubbles and creases.
If you’re using traditional wallpaper that requires paste, make sure the wallpaper adheres firmly to the wall. You can use a clean damp sponge to remove any excess paste that might have seeped out from the edges of the wallpaper.
Step 4: Trim the Excess Wallpaper
Now that the wallpaper is smooth and firmly attached to the wall, it’s time to trim the excess wallpaper around the edges of the frame. Use a utility knife to carefully cut along the edges of the picture frame molding. Ensure that your cuts are clean and straight for a seamless, polished finish.
Step 5: Let It Dry
Allow the wallpaper to dry completely before handling it further. This ensures that the wallpaper adheres well to the surface and doesn’t shift once it’s in place. Depending on the type of wallpaper paste or adhesive you used, the drying time may vary. Follow the manufacturer’s recommendations for drying times to avoid any mishaps.
Step 6: Add Finishing Touches
Once your wallpaper is dry, you may want to add some final touches. For instance, if you want a more polished look, consider painting the picture frame molding in a contrasting or complementary color. This will create a clear distinction between the wallpaper and the trim, highlighting the framed areas.
Alternatively, you can leave the frame in its original color if you prefer a more subtle effect. You could even add some decorative elements like artwork or mirrors inside the framed areas for a more personalized touch.
Tips for Wallpapering Inside Picture Frame Molding
Here are a few helpful tips to make the wallpapering process even easier:
- Choose the Right Wallpaper: Make sure the wallpaper you select complements the rest of the room’s design. If your walls are already busy, opt for a subtle design or texture inside the frame to avoid overwhelming the space.
- Test on a Small Area: If you are unsure of how a particular wallpaper will look in the frame, try applying a small test piece first to get a feel for how it looks with the molding.
- Use Peel-and-Stick Wallpaper: If you’re looking for a quicker, more temporary solution, peel-and-stick wallpaper is a great choice. It’s easier to apply and remove, making it ideal for renters or those who like to change up their decor frequently.
- Consider Different Frame Sizes: The picture frame molding doesn’t have to be uniform throughout the room. You can mix and match sizes to create a more dynamic look, especially if you’re working with a larger wall.
Conclusion
Wallpapering inside picture frame molding is a creative and effective way to add personality and flair to any room. By following the steps outlined in this guide, you can easily transform an ordinary wall into a captivating focal point. Whether you are looking to create a vintage-inspired room or add a modern touch, this technique can work with a variety of design aesthetics. So, gather your materials and start wallpapering inside picture frame molding today to bring a whole new look to your space!