Vintage Military Foot Locker Makeover: Turning History into Home Style
There’s something uniquely charming about breathing new life into old pieces, and few items hold as much character as a vintage military foot locker. Once used by soldiers to carry essentials across continents, these sturdy trunks tell stories of resilience, history, and function. But what happens when you bring one into your home and transform it with a vintage military foot locker makeover? You get a stunning blend of utility and design, a show-stopping piece that adds soul to any space.
Whether you’ve inherited a foot locker, found one at a flea market, or scored a bargain at an estate sale, this guide will walk you through how to restore, reimagine, and style it. By the end, you’ll see why this project has become a favourite for DIY decorators and vintage enthusiasts alike.
Why Vintage Military Foot Lockers Are Worth Saving
Military foot lockers were designed for durability. Built from hardwood or heavy-duty plywood and reinforced with metal hardware, they could withstand the rigours of travel and harsh environments. Today, these trunks offer more than just practical storage—they’re a canvas for creativity.

Unlike store-bought furniture, every scuff, dent, and faded stencil on a military locker carries a history. Preserving or enhancing these features in your foot locker makeover can give your home a touch of authenticity and charm that’s impossible to replicate.
If you’re drawn to unique pieces that balance both history and style, these trunks are right up there with other decor gems like vintage printers’ trays or repurposed mirrors (see how to repurpose a sunburst mirror here).
Planning Your Vintage Military Foot Locker Makeover
Before diving in with paintbrushes and sandpaper, take a moment to plan. Ask yourself:
- Do you want to preserve the locker’s original look, or completely reinvent it?
- Will it serve as storage, a coffee table, or simply a statement piece?
- Does your existing décor lean rustic, industrial, or modern?
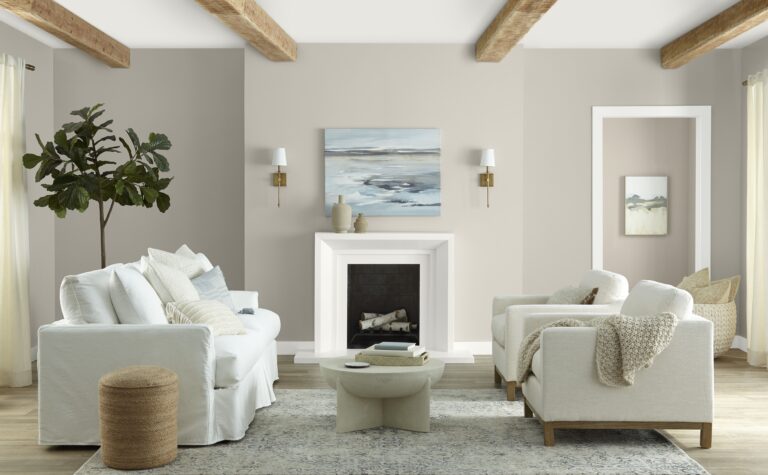
Your answers will help guide design choices such as finishes, hardware, and styling. For example, a locker painted in a moody perfect gray paint (learn how to choose the right shade here) might suit a sleek living room, while keeping its original green patina fits seamlessly into a rustic or industrial setting.
Step 1: Cleaning and Preparing the Foot Locker
The first step in any makeover is a thorough clean. Decades of storage often mean layers of dust, rust, and old paint.
- Empty and inspect: Remove any debris inside. Check hinges, locks, and handles for rust or damage.
- Vacuum and scrub: Use a stiff brush and mild soap solution to scrub away dirt.
- Address rust: Apply a rust remover or sandpaper to metal hardware.
- Neutralise odours: Baking soda or a vinegar wipe-down works wonders to refresh musty interiors.
This stage alone often reveals beautiful wood grains or unique stencilled numbers worth preserving.
Step 2: Sanding and Repairs
If the locker has rough edges or peeling paint, a light sanding can smooth things out. Use medium-grit sandpaper to remove imperfections, then finish with fine grit for a polished base.
- Wood repairs: Fill cracks with wood filler.
- Metal repairs: Replace missing screws or rivets. Consider polishing hardware if you’re keeping it original.
This step is crucial if you plan to paint or stain, ensuring the surface is ready for the finish.
Step 3: Choosing a Finish
Here’s where creativity shines. Depending on your style, you might:
- Preserve the original look: A coat of clear matte sealer will protect the patina while showcasing its history.
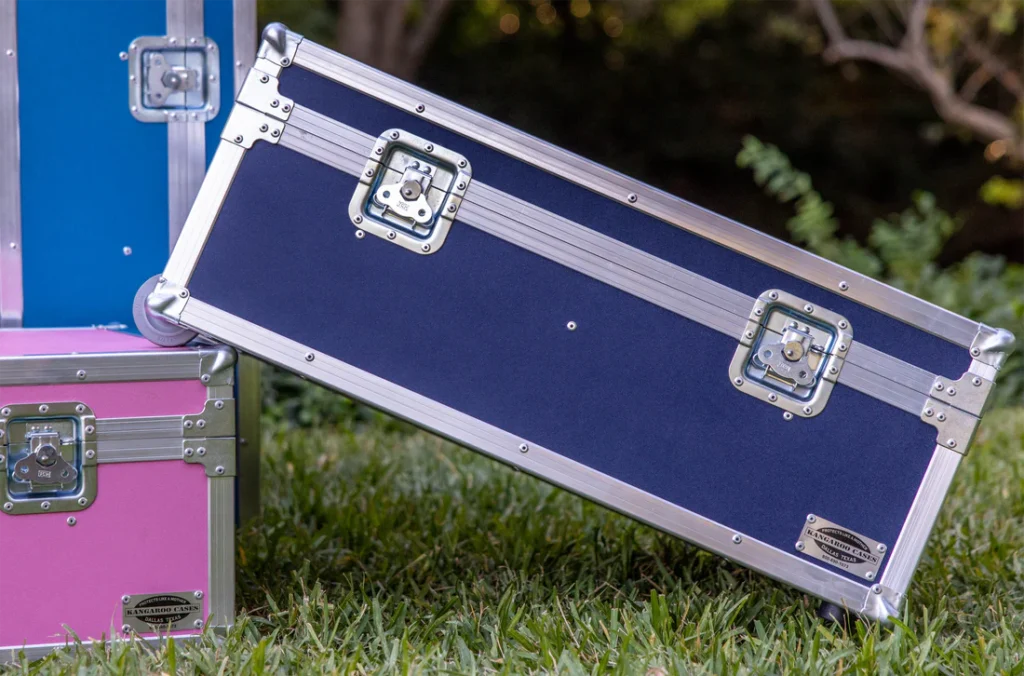
- Paint for a fresh vibe: Classic black, navy, or even neutral accent colours (see how accent chairs use these tones) can modernise the locker.
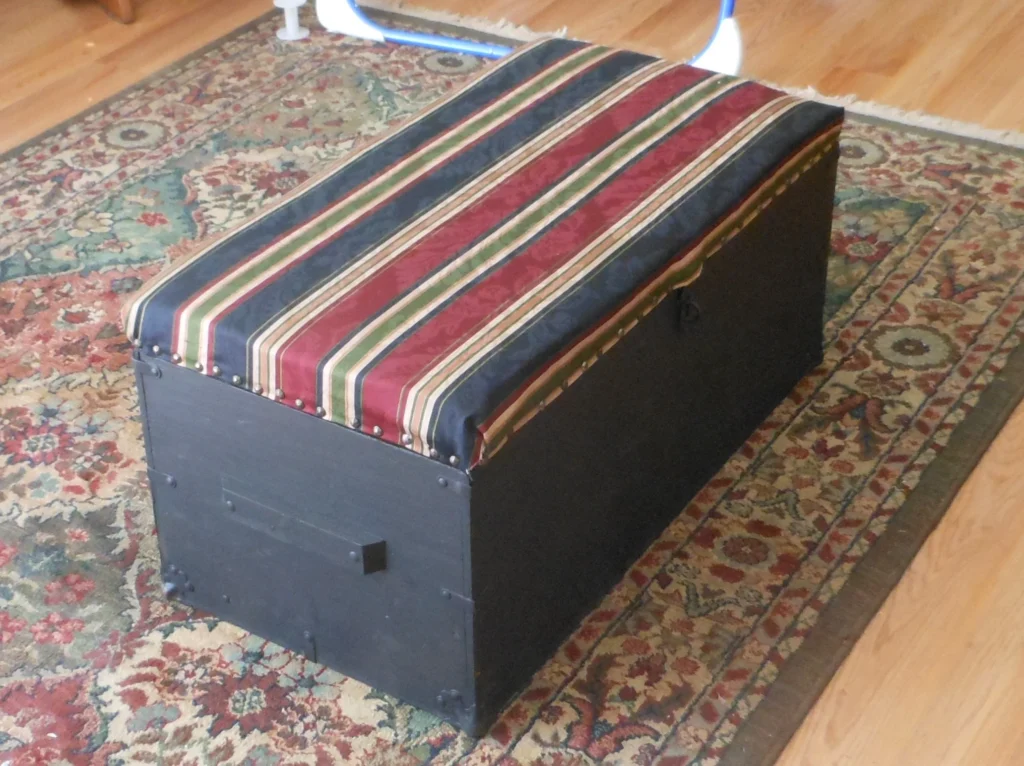
- Add character: Stencil initials, numbers, or stripes for a personalised military-inspired touch.
- Stain the wood: If the original wood grain is exposed, a dark walnut or lighter oak stain enhances natural beauty.
For an extra layer of charm, you could even apply wallpaper inside the picture frame style (tutorial here) to line the interior. This makes the trunk not only functional but also a hidden delight when opened.
Step 4: Hardware Upgrades
Vintage foot lockers often come with robust but worn hardware. You can either:
- Polish and restore the original pieces for authenticity.
- Replace with modern brass or matte black hardware for a fresh twist.
Mixing old and new elements often gives the most stylish results. Imagine pairing polished brass latches with a freshly painted trunk—it’s history meets modern glamour.
Step 5: Styling Your Foot Locker
Once the makeover is complete, it’s time to think about placement and styling. The versatility of a foot locker makes it useful in almost any room:
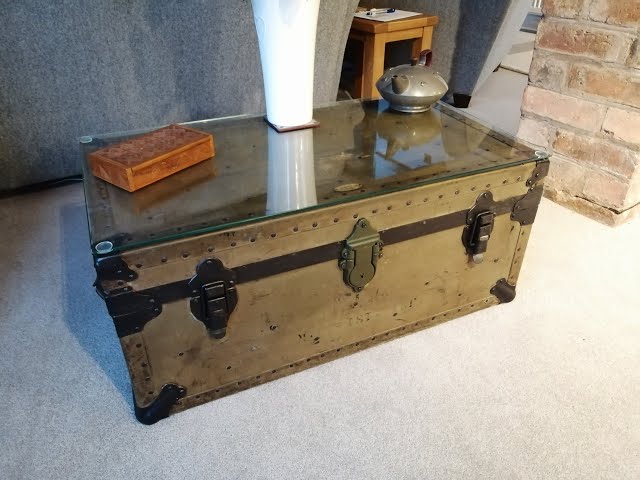
- Coffee table: Top it with a tray, a vase, and a few great coffee table books (see our curated picks here).
- Bedroom storage: Place at the foot of the bed to hold blankets or seasonal clothing.
- Hallway bench: Add a cushion for a practical yet stylish entryway seat.
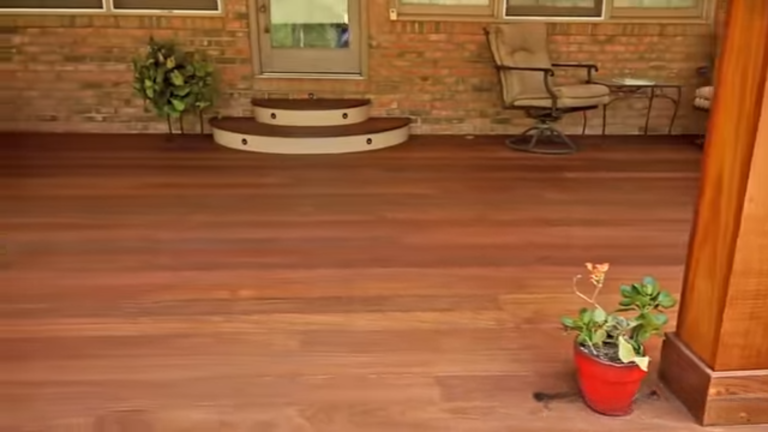
- Outdoor décor: If sealed properly, it can even serve as a quirky addition to a covered porch (see our summer back porch tour for inspiration).
The beauty lies in its adaptability—you can shift its purpose as your home evolves.
Vintage Military Foot Locker Makeover Ideas
Here are some creative twists to inspire your project:
- Industrial Chic: Keep the original olive-green paint, polish the metal, and style with exposed brick walls (check our DIY faux brick wall guide here).
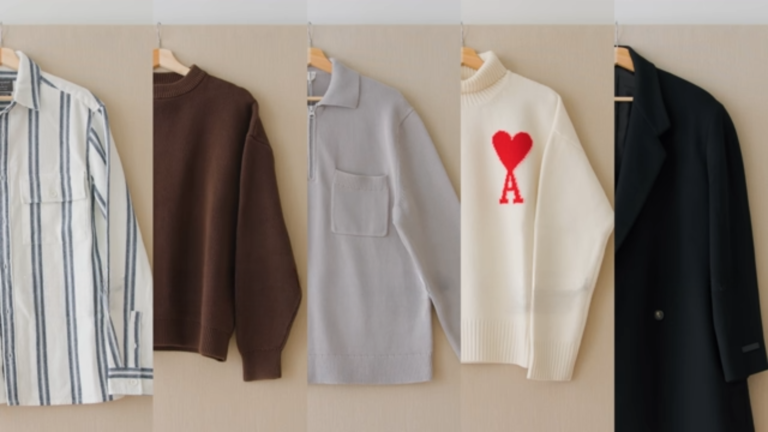
- Boho Luxe: Paint the trunk in muted pastels and top it with textiles. It pairs beautifully with eclectic touches like faux bone inlay nesting tables (makeover guide here).
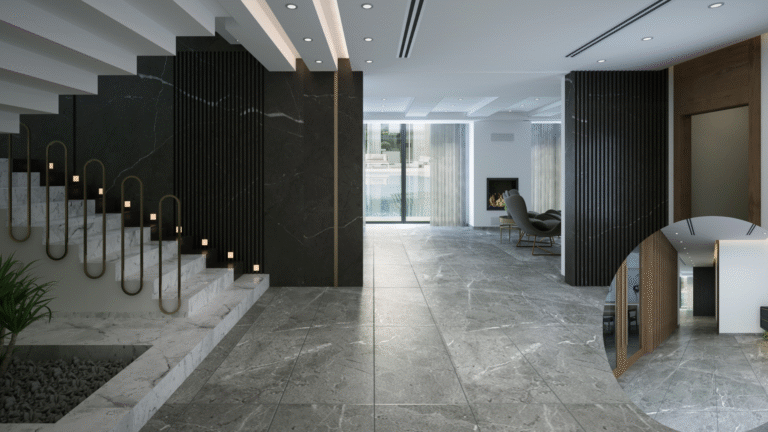
- Minimalist Modern: A clean coat of white or grey paint creates a sleek trunk that blends seamlessly with simplified décor (see our guide here).
- Rustic Charm: Sand it down to raw wood, stain in warm tones, and place it alongside dark home décor accents (ideas here).
Common Mistakes to Avoid
Even a simple project like this can go off track if you’re not careful. Watch out for:
- Over-sanding: You might lose valuable markings or patina.
- Skipping prep work: Paint won’t adhere properly if you don’t clean and sand.
- Choosing the wrong finish: Glossy paints may clash with rustic interiors—always test first.
- Neglecting functionality: Don’t over-decorate to the point that it becomes impractical to use.
The Joy of Transforming a Piece of History
A vintage military foot locker makeover is more than just a DIY project. It’s about honouring history while making it functional for your home today. Each time you walk past your trunk, you’ll be reminded not only of its past but of the creativity you put into reviving it.
It’s the kind of furniture that starts conversations, much like other statement pieces such as a DIY decorative chain made from clay (tutorial here) or a cozy fall porch setup (see how to style yours here).
And the best part? No two makeovers are the same. Every trunk carries its own marks of time, and your approach ensures it remains one-of-a-kind.
Final Thoughts
The beauty of a vintage military foot locker makeover lies in its ability to merge the past with the present. From sanding and staining to painting and styling, each step transforms the humble trunk into a versatile piece of furniture that adds depth and character to your home.
Whether you style it as a coffee table, storage bench, or conversation piece, the result is a timeless design element that tells a story. Pair it with carefully chosen accent furniture, layer in textiles, and let it shine against the backdrop of your unique home style.
If you’ve been thinking about tackling a DIY project with meaning, this is one that will reward you for years to come.