How to Make Texture Paint Using Baking Soda for Endless Decor Crafts

Texture paint has become a favourite among DIY enthusiasts and home decorators for its ability to transform plain surfaces into something extraordinary. Whether you want to refresh old vases, give your walls a modern update, or create custom art pieces, the process is surprisingly simple and affordable. One of the easiest methods is learning how to make texture paint using baking soda for endless decor crafts, a trick that has gained massive popularity in the DIY world.
This guide will walk you through the process step by step, from mixing your own paint recipe to applying it on different surfaces, while also offering creative craft ideas to inspire your next project.
Why Choose Baking Soda Texture Paint?
When it comes to creating texture, many people reach for expensive designer paints. But what if you could achieve the same rustic, modern look with a pantry staple? Baking soda is the secret ingredient that turns ordinary paint into a thick, chalky mixture with a stone-like finish.
Here are some reasons why baking soda texture paint is a go-to for crafters and decorators:
- Budget-Friendly – Instead of buying costly speciality paints, you only need leftover wall paint or acrylics and a spoonful of baking soda.
- Customisable Texture – The more baking soda you add, the rougher and more stone-like the finish becomes.
- Eco-Friendly Option – It allows you to upcycle and refresh old decor rather than buying new.
- Versatile – From terracotta pots to old lamps, almost anything can be revived with this simple mix.
If you enjoy experimenting with DIY finishes, you might also like our guide on DIY Gold Leaf Sculpture where you’ll learn another creative way to elevate ordinary objects into elegant statement pieces.
Materials You’ll Need
Before diving into how to make texture paint using baking soda for endless decor crafts, gather these simple supplies:
- Baking soda (regular household kind works perfectly)
- Acrylic paint, latex wall paint, or leftover house paint
- Mixing container (an old jar or bowl)
- Stirring stick or spoon
- Paintbrush or sponge
- Optional: Sandpaper for smoothing rough edges
Step-by-Step Guide: How to Make Texture Paint Using Baking Soda for Endless Decor Crafts
Step 1: Choose Your Paint
You can use virtually any water-based paint for this recipe. Acrylics work great for small crafts, while leftover wall paint is perfect for furniture or larger projects.
Step 2: Mix Baking Soda Into the Paint
- Start with one cup of paint in your container.
- Add one to two tablespoons of baking soda for a lightly textured look.
- If you prefer a heavier, stone-like finish, add up to three or four tablespoons.
Stir well until the mixture has a thick, gritty consistency.
Step 3: Apply Your First Coat
Using a brush or sponge, apply the paint to your chosen surface. Don’t worry if it looks a little uneven at first—this adds to the character.
Step 4: Let It Dry and Recoat
Allow the first layer to dry completely, then add a second coat for extra coverage and depth.
Step 5: Optional Finishing Touches
For a more refined look, lightly sand certain areas once dry. This will give your project a smoother yet still textured appearance.
If you love experimenting with surfaces, check out how adding texture can transform spaces in our article on Beefing Up Crown Molding and Baseboards.
Creative Ways to Use Baking Soda Texture Paint
One of the best things about this paint recipe is its versatility. Here are some inspiring decor craft ideas to get you started:
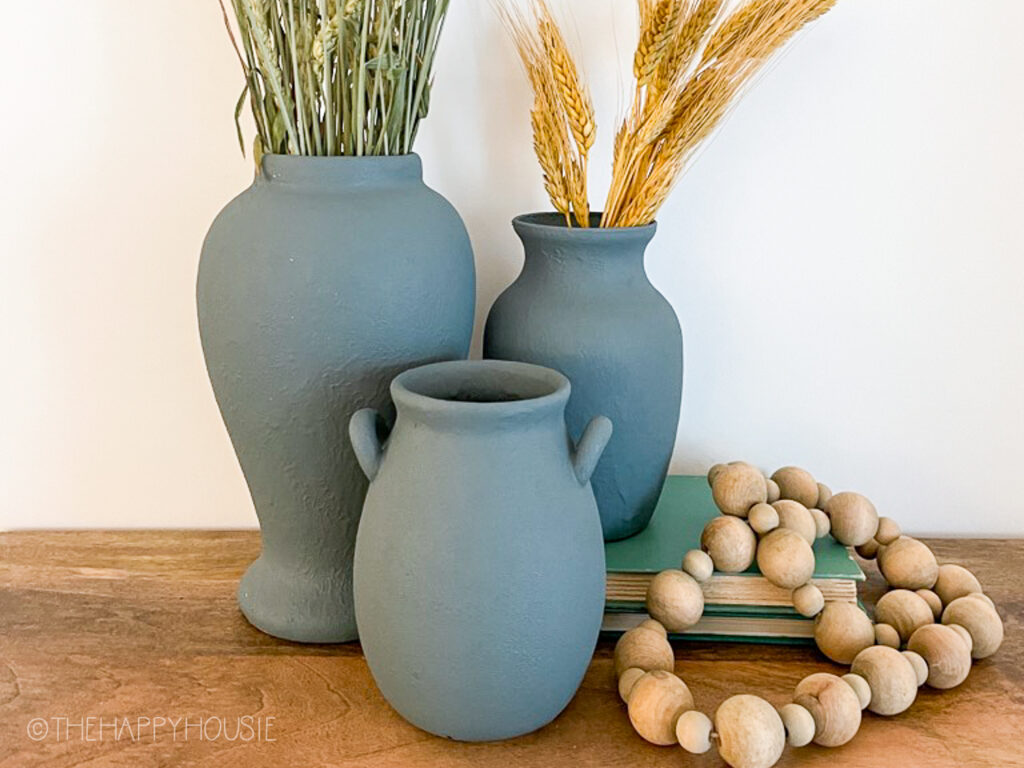
1. Revamp Old Vases and Jars
Transform plain glass or ceramic vases into rustic pottery dupes. Simply apply a couple of coats of your baking soda paint for that matte, stone-like finish.
2. Refresh Furniture Pieces
Give side tables, picture frames, or outdated lamps a new lease of life with texture paint. Pair this look with a Moody Modern Vintage Master Bedroom scheme for an instantly chic upgrade.
3. Create DIY Wall Artv
Use a palette knife to spread the mixture onto a canvas and create textured artwork. For additional design inspiration, explore our guide on Sentimental Art Ideas for Your Home.
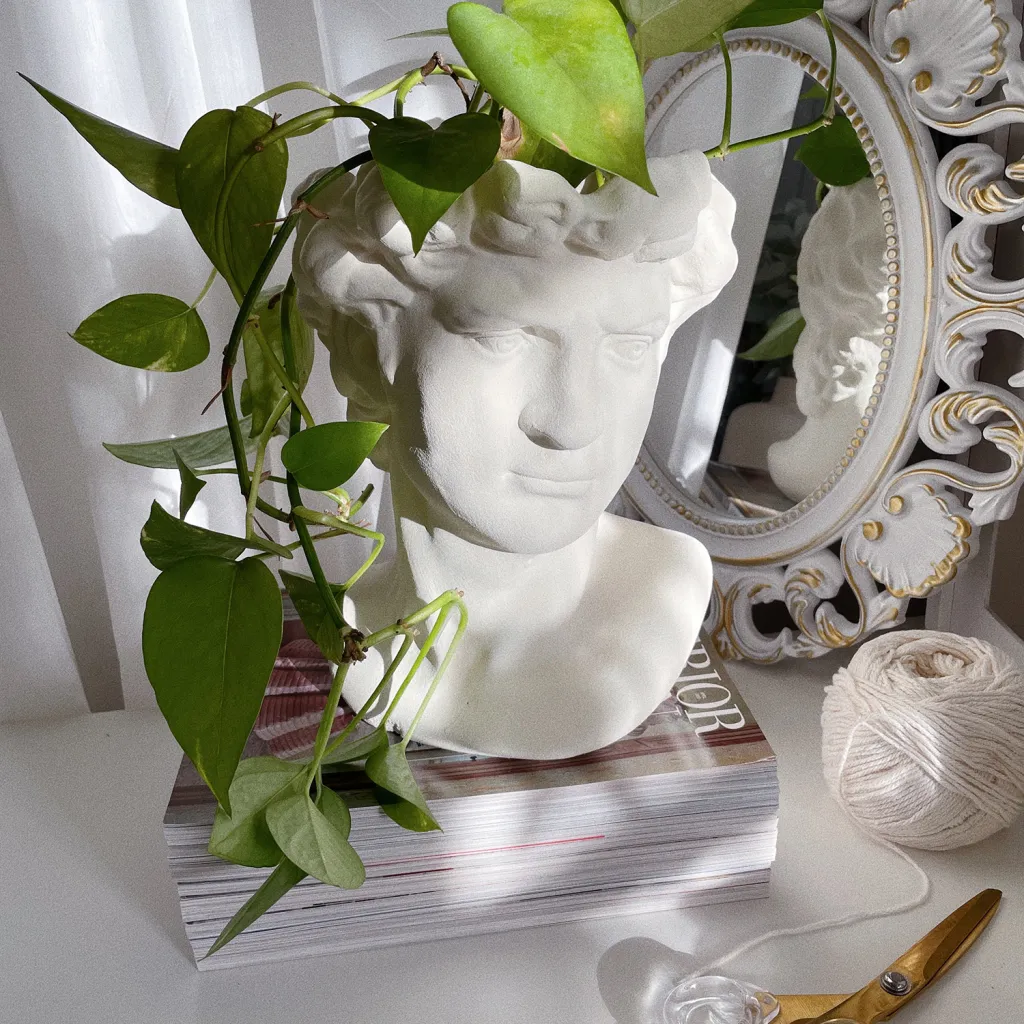
4. Decorate Plant Pots
Terracotta pots get a whole new vibe with this technique. The rough, rustic look makes them appear like high-end designer planters.
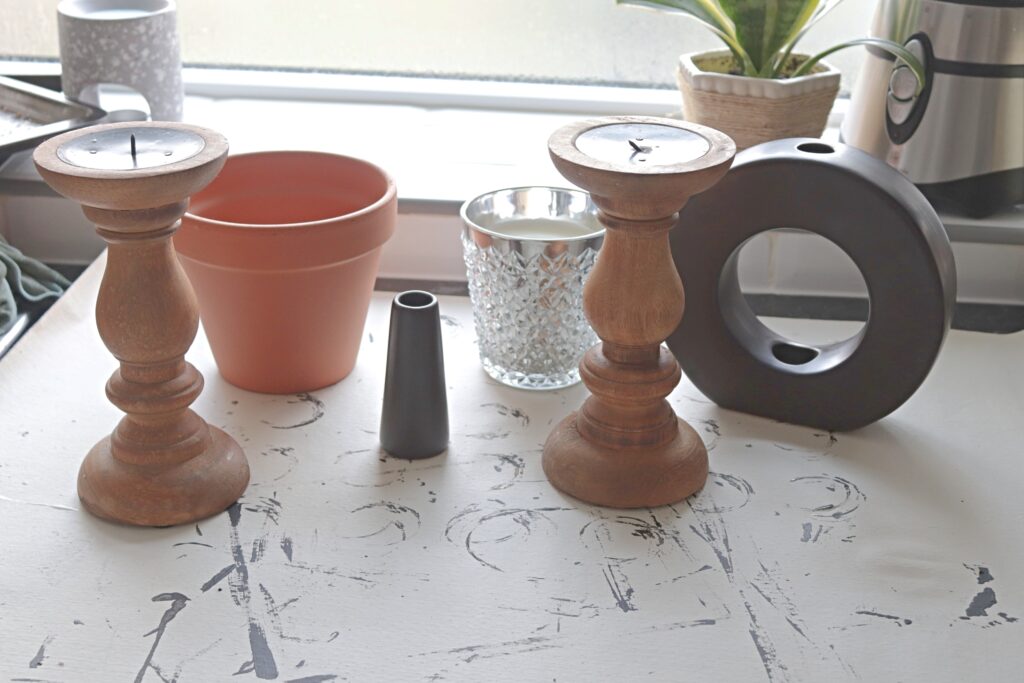
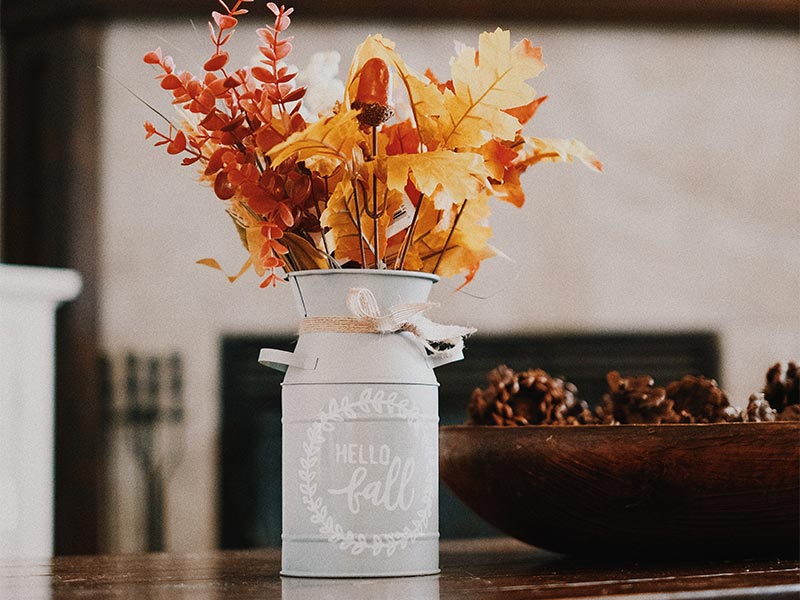
5. Accent Decor for Seasonal Styling
From candleholders to ornaments, texture paint works wonders for seasonal DIYs like fall, winter, or even Halloween. If you love seasonal décor, you might also enjoy DIY Marbled Vases for a Halloween Entryway.
Tips for Getting the Best Results
- Experiment First – Test the mixture on a scrap piece before applying it to your main project.
- Play With Colours – You can mix in different paint shades for a layered, weathered effect.
- Use Protective Sealant – If you plan to use the painted item outdoors or in high-traffic areas, apply a clear sealant for durability.
- Pair With Other DIYs – Combine this project with other design ideas such as Transitioning Away from Farmhouse Style to create a modern, updated home aesthetic.
Why This DIY Technique Is Perfect for Modern Interiors
Texture paint aligns beautifully with current design trends that embrace natural, raw, and artisanal finishes. Rather than shiny perfection, today’s interiors celebrate imperfection and handcrafted charm.
Using baking soda paint allows you to achieve that look without overspending. Plus, it’s incredibly satisfying to see an old object transform into something stylish that fits seamlessly into spaces designed with Perfect Gray Paint or Neutral Accent Chairs.
Storage and Clean-Up
Another advantage of this recipe is that it’s easy to store and clean:
- Storage – Keep leftover texture paint in an airtight jar. It should last a few weeks without drying out.
- Clean-Up – Brushes and containers wash easily with warm, soapy water since the base is water-soluble paint.
Final Thoughts
Learning how to make texture paint using baking soda for endless decor crafts is a game-changer for anyone who loves DIY projects. Not only does it save money, but it also gives you the freedom to customise and experiment across multiple surfaces. From upcycling furniture to creating bespoke art, this simple paint recipe is the key to endless creative opportunities.
If you’re looking for more DIY inspiration, explore projects like Vintage Military Foot Locker Makeover or our Organization Projects You Can Do in a Day. With a few household ingredients and some imagination, your home can reflect your unique style without breaking the bank.