DIY Light Fixture Made from a Repurposed Sunburst Mirror: A Step-by-Step Guide
If you’re on the hunt for a unique and stylish way to update your lighting without breaking the bank, creating a DIY light fixture made from a repurposed sunburst mirror might just be the perfect solution. Not only does this project allow you to give new life to an old mirror, but it also provides you with a chic, mid-century modern-inspired lighting fixture that will enhance the atmosphere of any room. In this guide, we’ll take you through everything you need to know to create your own beautiful light fixture from a repurposed sunburst mirror.
Why Choose a Sunburst Mirror for Your DIY Project?
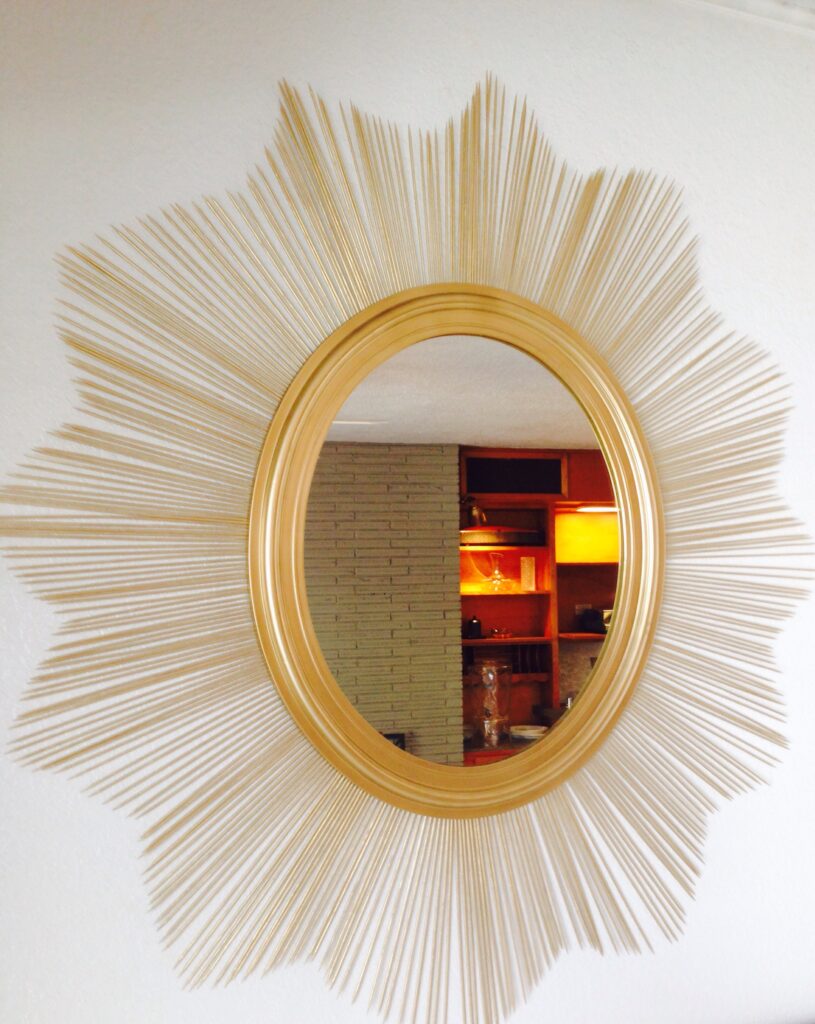
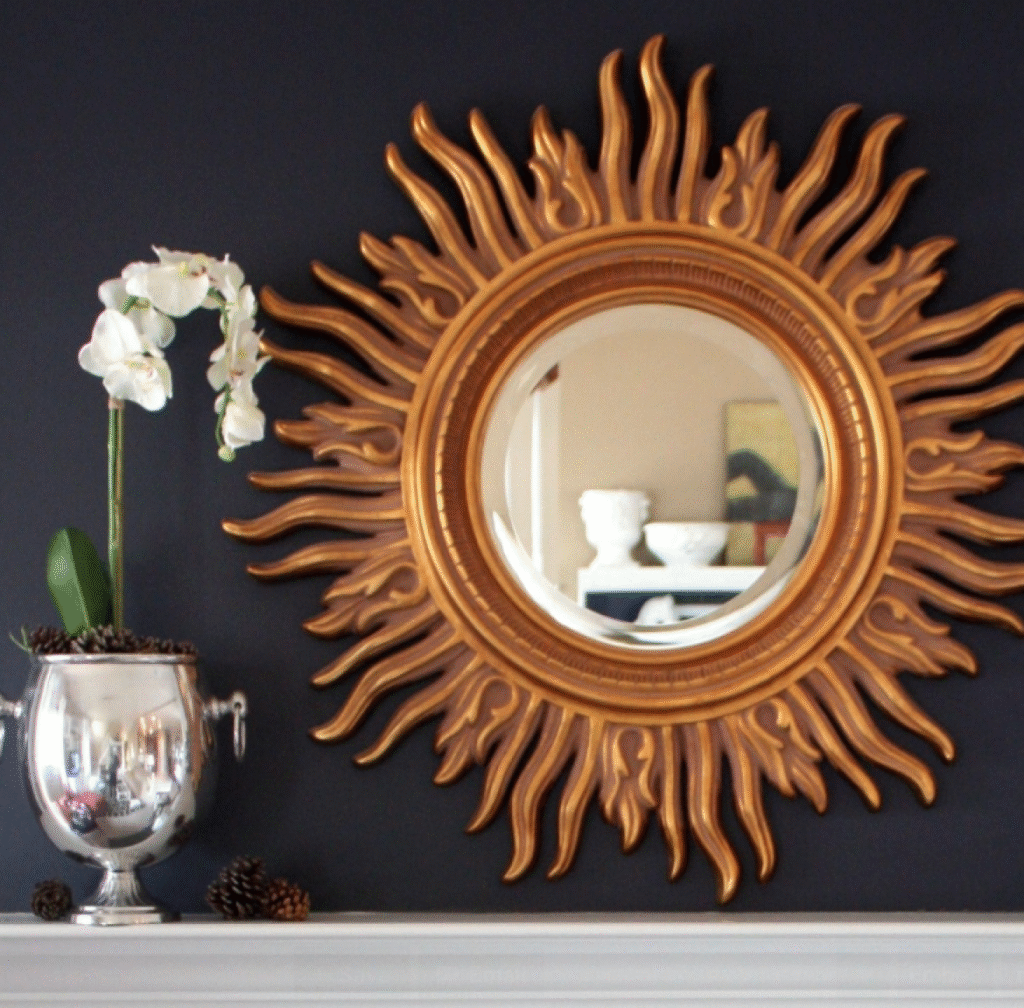
Sunburst mirrors have long been admired for their stylish, radiant appearance. Characterized by their spiky, outward-reaching rays, these mirrors have a nostalgic and elegant design, often associated with the mid-century modern era. What makes them so appealing is their versatility; they can fit seamlessly into various home styles, from boho chic to contemporary minimalist.
A sunburst mirror, with its unique design and bold features, can easily be transformed into a statement lighting fixture. By reimagining it as a light fixture, you not only get to reuse something that might otherwise be gathering dust in the attic but also create an eye-catching piece that’s sure to impress guests and elevate your home decor.
Materials You’ll Need for Your DIY Light Fixture
Before diving into the creative process, gather the following materials to ensure you have everything at hand:
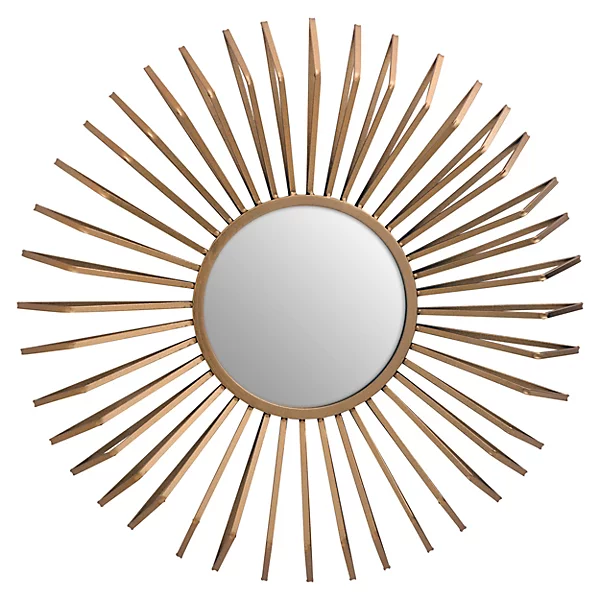
- Repurposed sunburst mirror: Find an old sunburst mirror that no longer fits into your current decor or one from a thrift store that you can give new life to.
- Light fixture kit: You’ll need a light fixture kit, which includes a light socket, wire, and electrical components.
- Drill with bits: To make holes for your wiring and the lightbulb socket.
- Lightbulb(s): Choose LED bulbs, as they are energy-efficient and emit a soft, warm glow.
- Hot glue gun: For securing parts of the mirror to the light fixture.
- Screws and anchors: For mounting the light fixture securely on the wall or ceiling.
- Wire cutters and strippers: To adjust the length of the wire and prepare it for installation.
- Safety gloves and goggles: To protect yourself while working with tools and wiring.
Step 1: Prepare the Sunburst Mirror
The first step in creating your DIY light fixture made from a repurposed sunburst mirror is preparing the mirror itself. If the mirror has a glass center, carefully remove it. Depending on your design, you may choose to leave the frame as it is or paint it for a fresh look. If you want to enhance the appearance, a metallic spray paint like gold or silver can give your sunburst mirror a luxurious feel.
Next, inspect the back of the mirror frame to ensure it’s in good condition and suitable for supporting the weight of the light fixture. You may need to reinforce the back with a sturdy piece of plywood or another flat material. If your mirror frame is lightweight, this step may not be necessary.
Step 2: Create Space for the Lightbulb Socket
Once your sunburst mirror frame is ready, the next step is to create space for the lightbulb socket. Depending on your design, you might want the socket to sit at the center of the sunburst mirror or slightly offset for a more dynamic look.
Use a drill to make a hole in the center of the mirror frame. This hole will accommodate the lightbulb socket. Be sure to select a drill bit that matches the size of the socket, and proceed carefully to avoid cracking the mirror or damaging the frame.
Step 3: Install the Light Fixture Kit
Now that your sunburst mirror has a hole for the socket, it’s time to install the light fixture kit. Start by threading the electrical wire through the hole and positioning the socket into place. Secure the socket using hot glue or screws, depending on the type of kit you’re using.
If your light fixture kit includes a ceiling mount, attach it to the back of the mirror frame. For an easier installation, you can also mount the fixture on a wall instead of the ceiling. Make sure the wires are securely attached to the socket and that the wiring is properly insulated. If you’re not confident in your wiring skills, it’s always a good idea to consult a professional electrician to avoid any electrical mishaps.
Step 4: Attach the Lightbulbs
Once the light socket is in place and the wiring is correctly connected, it’s time to screw in the lightbulb(s). Choose a bulb that complements your design – LED lights are an excellent choice because they are energy-efficient and have a longer lifespan. Depending on the look you’re going for, you can opt for exposed filament bulbs for a vintage feel or soft white bulbs for a warm and inviting ambiance.
Step 5: Mount the DIY Light Fixture
With the lightbulbs in place, it’s time to mount your DIY light fixture. If you’re installing it on the ceiling, carefully screw the light fixture into the mounting bracket. Ensure that the fixture is securely attached, as this will prevent it from becoming loose over time.
If you’re mounting it on the wall, use screws and anchors to fix the light fixture securely to the wall. Again, ensure the fixture is stable before proceeding.
Step 6: Add Final Touches
To complete your DIY light fixture made from a repurposed sunburst mirror, consider adding some decorative elements to enhance the overall look. You can hang decorative garlands, use a few faux plants, or add a touch of paint to the sunburst frame for a custom finish.
This is also the perfect opportunity to install a dimmer switch, which allows you to control the brightness of your light fixture and create the perfect atmosphere for any occasion.
Tips for Success:
- Choose the right size mirror: The larger the sunburst mirror, the bigger the light fixture you can create. Consider the size of the room where you plan to place the fixture and the desired effect.
- Pick complementary bulbs: Soft white bulbs work best for a cozy ambiance, while bright white bulbs can provide a more focused light.
- Test the fixture: Before you hang it, test the fixture to ensure it works as expected. Check for any loose connections or flickering lights.
- Be mindful of electrical safety: If you’re not comfortable with electrical work, don’t hesitate to consult an expert. Safety is paramount when working with electricity.
Why a DIY Sunburst Mirror Light Fixture Is Worth the Effort
A DIY light fixture made from a repurposed sunburst mirror is not only a budget-friendly way to transform an outdated piece of decor but also a project that adds a unique and personal touch to your home. Whether you’re looking to bring more light into a dark corner or add a statement piece to your living room, this DIY project offers a beautiful and functional solution.
By repurposing an old sunburst mirror, you’re also reducing waste and giving an item a second life, which makes this project eco-friendly as well. The satisfaction of creating something entirely your own, combined with the functional beauty it brings to your home, makes it a rewarding endeavor.
Conclusion
Creating a DIY light fixture made from a repurposed sunburst mirror is a fun and creative project that can elevate the style of your space while offering a personalized touch. Whether you’re working with an old mirror you already own or finding one at a thrift store, this project is an affordable way to bring a touch of vintage charm and modern functionality into your home. So gather your materials, roll up your sleeves, and get ready to light up your home with a one-of-a-kind sunburst mirror light fixture.