Our Full Kitchen Organization Makeover – A Practical, Stylish Transformation
Tired of rummaging through overstuffed drawers, mismatched containers, and cluttered countertops? So were we. Our kitchen, once bursting at the seams with chaos, has now undergone a complete transformation and the difference is both functional and beautiful. In this post, we’re walking you through our full kitchen organization makeover, sharing every tip, trick, and tool we used to turn our kitchen into an efficient, streamlined space. Whether you have a small galley kitchen or an open-plan layout, our makeover offers plenty of UK-specific inspiration and practical takeaways.
The “Before”: Chaos in the Kitchen
Let’s be honest — our kitchen wasn’t a disaster, but it definitely wasn’t working for us. We had:
- Overloaded spice racks
- Random snack bags in drawers
- Unstackable pots and pans
- A cluttered fridge with mystery leftovers
- Forgotten dry goods hiding in the back of cupboards
There was no cohesive system. We knew it was time to stop shoving things into corners and finally tackle the heart of our home.
Step 1: Declutter with Intention
Before you can organise, you have to purge. We went through every cupboard, drawer, and shelf and asked ourselves:
- Do we actually use this?
- Is it a duplicate?
- Is it broken or expired?
We donated what we could, recycled responsibly, and threw away what couldn’t be salvaged. This step alone freed up 30% of our storage space.
Step 2: Zoning the Kitchen
Next, we restructured our kitchen into zones, making it more intuitive. Here’s how we laid it out:
- Cooking Zone: Pots, pans, utensils, oils, and spices
- Prep Zone: Chopping boards, mixing bowls, knives
- Cleaning Zone: Sink, dishwasher tablets, cloths, bin liners
- Food Storage Zone: Pantry goods, snacks, tinned items
- Crockery Zone: Plates, mugs, glasses, serving ware
Creating zones cut down on time spent hunting for things, especially during busy weekday dinners.
Step 3: Smart Storage Solutions
We invested in a few game-changing organisation products, many of which are available in UK stores like IKEA, Dunelm, and John Lewis.
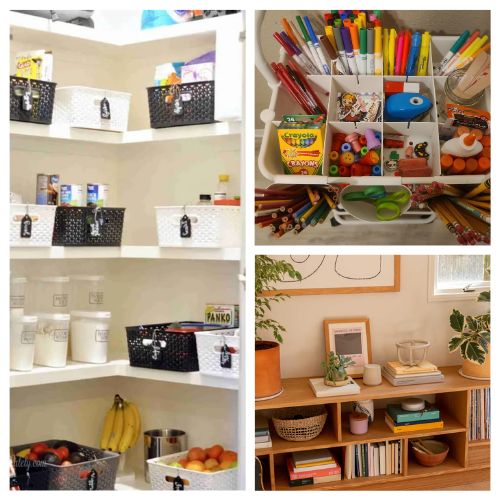
Clear Containers & Labels
Decanting pantry staples into clear, airtight containers helped us:
- See exactly what we have
- Reduce packaging clutter
- Prevent food waste
We used a label maker to create neat, consistent tags for each jar.
Tiered Shelf Risers
Perfect for tins and sauces, these allow you to see everything at a glance. No more doubling up on tomato purée because we couldn’t find it.
Lazy Susans
Ideal for oils, vinegars, and condiments in deep cupboards. We placed one inside our fridge too for sauces and spreads.
Drawer Dividers
Our cutlery drawer was once a mess of teaspoons, peeler blades, and garlic crushers. Now, it’s neatly segmented.
Pan and Lid Organisers
Vertical stacking helped us free up an entire cupboard and made grabbing the right pot effortless.
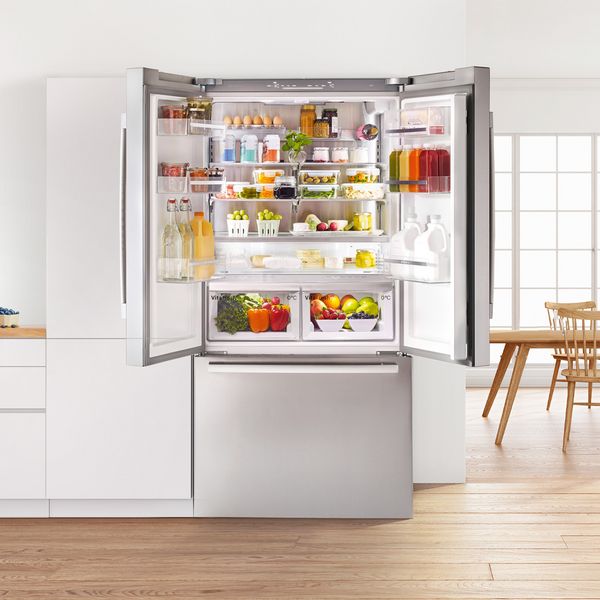
Step 4: Tackling the Fridge & Freezer
Fridge organisation is often overlooked. We followed the “like with like” method:
- Dairy in one container
- Fruit and veg in pull-out bins
- Meat and leftovers on separate shelves
- A labelled “use first” box for items close to expiry
Freezer bins now separate frozen veg, meat, snacks, and batch-cooked meals.
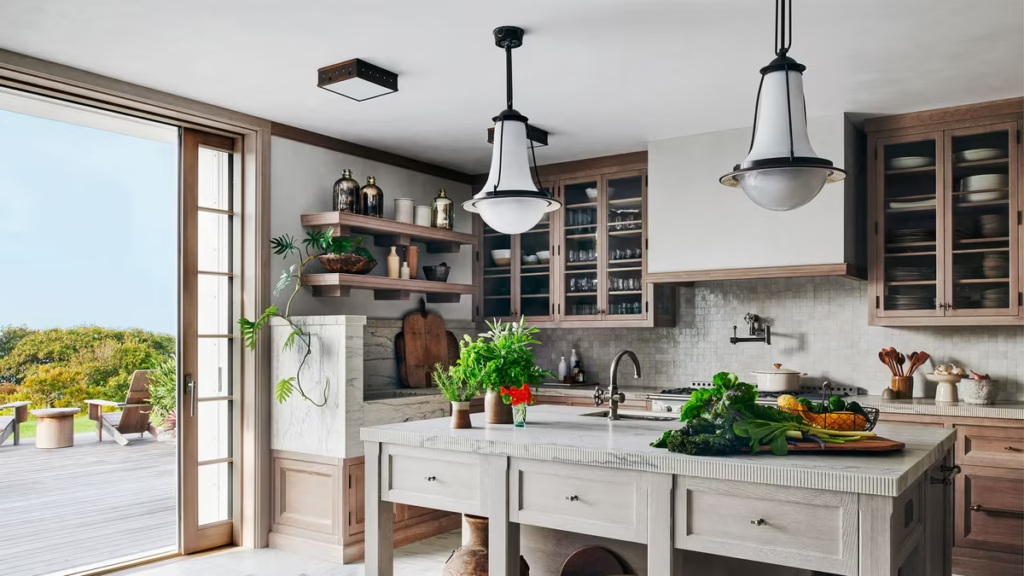
Step 5: Making the Most of Vertical Space
If you’re working with a smaller kitchen like ours, vertical storage is essential.
We installed:
- Hooks inside cupboard doors for measuring spoons and oven gloves
- Floating shelves to house recipe books and jars
- A magnetic knife strip to save drawer space
- Wall-mounted spice racks for easy access
These additions made a huge difference without costing much or taking up floor space.
Step 6: Under-the-Sink Magic
This is one of the most ignored — and often messiest — spaces. We added:
- A tension rod for hanging spray bottles
- Stackable bins for sponges, dishwasher tabs, and cloths
- A pull-out tray for easy access to back items
It’s now one of the most satisfying cupboards to open!
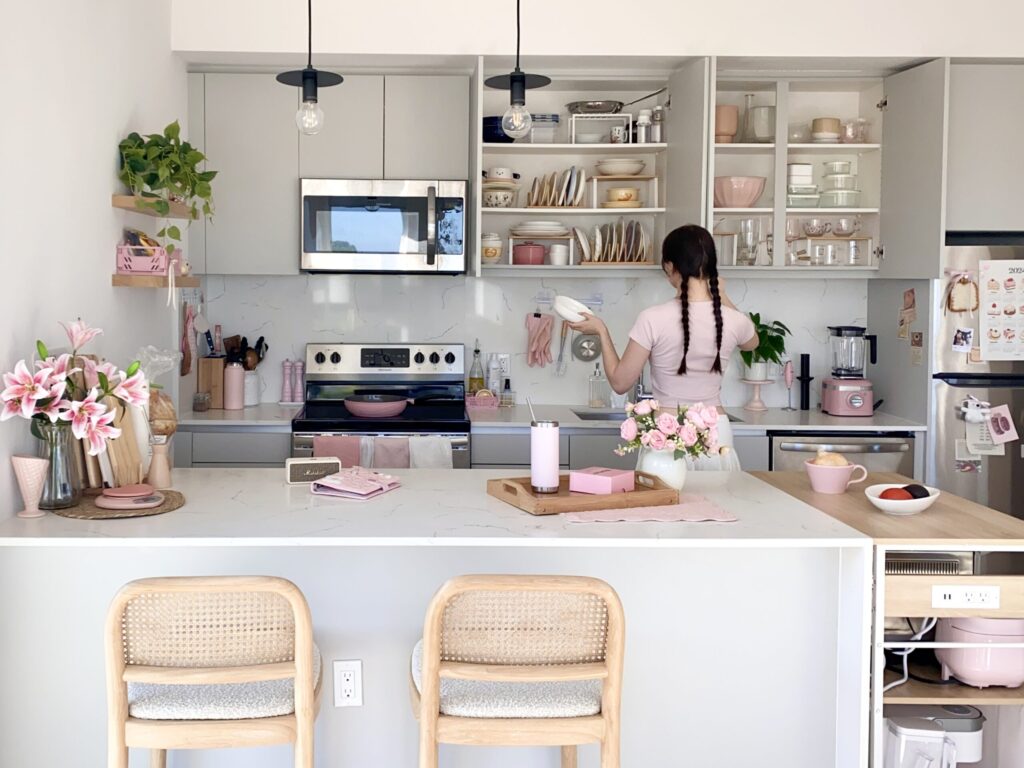
Step 7: Aesthetic Touches
Function doesn’t have to mean boring. We added style through:
- Matching wooden lids on jars for a cohesive look
- Woven baskets for open shelving
- Black matte labels for a modern finish
- Mini indoor plants for freshness and colour
Our kitchen feels cleaner, calmer, and more welcoming.
Budget Breakdown
We kept things affordable by sourcing items from high-street UK favourites:
| Item | Store | Cost (approx.) |
|---|---|---|
| Airtight pantry containers | IKEA | £30 (set of 10) |
| Label maker | Amazon UK | £20 |
| Drawer dividers (2 sets) | Dunelm | £14 |
| Lazy Susans (2) | Lakeland | £16 |
| Shelf risers | John Lewis | £25 |
| Magnetic knife strip | Amazon UK | £12 |
| Floating shelves | B&Q | £18 |
| Hooks and bins for sink area | Wilko | £10 |
Total: Around £145, but the results were priceless.
Final Thoughts: Was the Makeover Worth It?
Absolutely. Our full kitchen organization makeover wasn’t just about aesthetics — it completely changed how we use and feel in our kitchen. Cooking is now smoother, cleaning is quicker, and food waste has dropped. We’re even saving money by knowing what we have and using it all before restocking.
If your kitchen feels overwhelming, start small — one drawer or cupboard at a time. With some planning and a few clever tools, any kitchen can become a beautifully organised space.