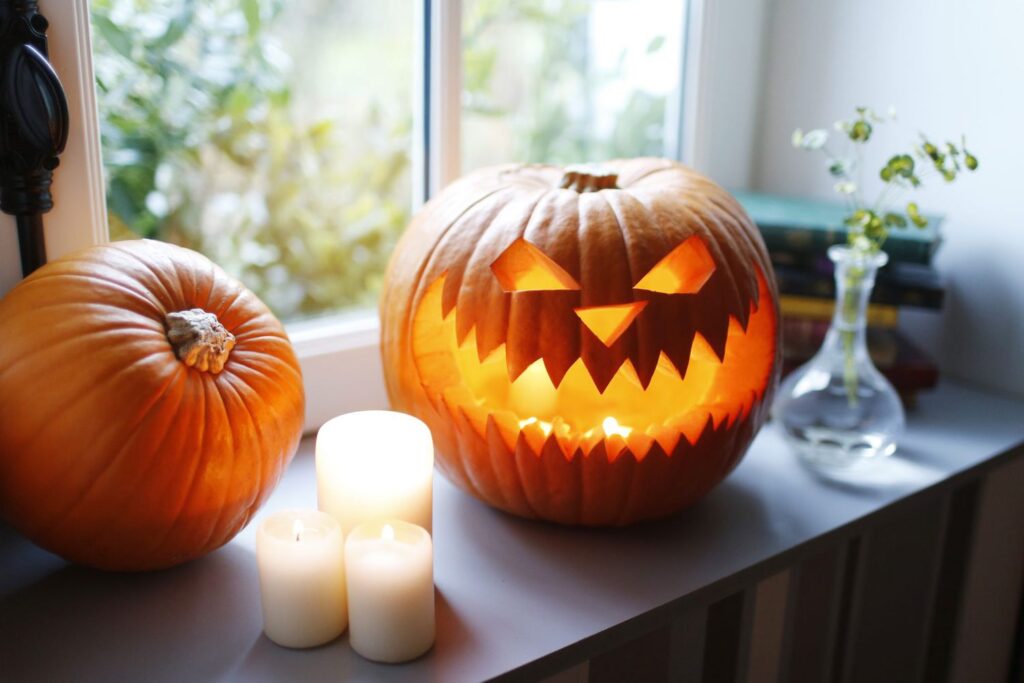
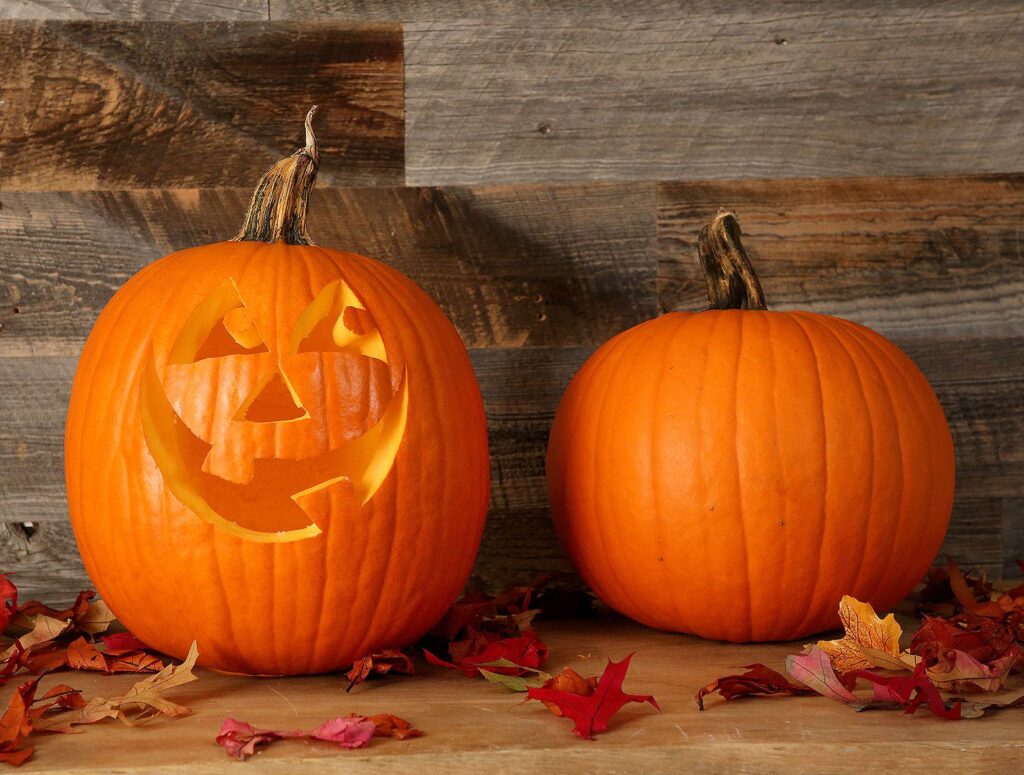
How to Keep Pumpkins from Rotting: 1-Minute Trick to Make Them Last All Season
Pumpkin season is here — from cosy porch displays to autumn kitchen centrepieces, pumpkins bring that quintessential fall charm we all love. But there’s one pesky problem every homeowner faces: they don’t last long. Within days, that perfect orange beauty can start to collapse into a mouldy mess.
So, if you’ve ever wondered how to keep pumpkins from rotting (1-minute trick) this guide reveals the quick, foolproof solution that’ll save your autumn décor. Whether you’re carving spooky jack-o’-lanterns or displaying mini gourds indoors, you’ll learn how to keep them fresh for weeks longer than usual.
🎃 Why Do Pumpkins Rot So Quickly?
Before we dive into the 1-minute trick, it helps to understand why pumpkins decay. Pumpkins are organic, moisture-rich, and highly susceptible to bacteria and fungi. Once they’re picked, the protective stem seal starts to weaken, and oxygen sneaks in. Add damp autumn air, rain, or even indoor humidity, and your pumpkin begins to soften and rot.
Common culprits include:
- Microbial growth: Bacteria and mould love warm, damp conditions.
- Carving damage: Cutting into pumpkins speeds up decomposition by exposing inner flesh.
- Environmental factors: Sun exposure, frost, and fluctuating temperatures all shorten a pumpkin’s life.
But don’t worry — the 1-minute trick combats all of these effectively.
🧴 The 1-Minute Trick: Vinegar and Bleach Bath
Here’s the quick, science-backed method for how to keep pumpkins from rotting — and yes, it really does take just a minute or two.
You’ll Need:
- 1 gallon (about 4 litres) of water
- 1 tablespoon of bleach or white vinegar
- A clean spray bottle or large bowl
Steps:
- Mix Your Solution: Combine water with bleach or vinegar in your chosen container. Bleach kills bacteria and mould spores, while vinegar offers a more natural alternative.
- Spray or Soak: Gently wipe down or spray your pumpkin’s surface, covering the entire exterior. If using a bowl, soak the pumpkin for one minute.
- Dry Completely: Allow it to air dry thoroughly before displaying it. Moisture left behind encourages rot.
- Optional Bonus Step: Apply a thin layer of petroleum jelly or vegetable oil on the surface to lock in moisture and slow oxygen exposure.
This simple cleaning step disinfects your pumpkin, killing bacteria before they can spread — giving you extra days or even weeks of freshness.
🌿 Vinegar vs Bleach: Which Is Better?
Both options work, but your choice depends on where you’ll place your pumpkins.
- For Outdoor Displays: Bleach is stronger and lasts longer against rain and wind.
- For Indoor Use: Vinegar is the eco-friendly, pet-safe choice and doesn’t release harsh fumes.
If you love all-natural home care, you might enjoy this DIY texture paint idea using baking soda — another household staple that works wonders for creative projects and natural cleaning.
🏡 Preventative Tips: Keeping Pumpkins Fresh Even Longer
The 1-minute trick is the foundation, but a few extra steps can help your pumpkins look picture-perfect all season.
1. Choose Healthy, Firm Pumpkins
When selecting pumpkins, inspect the surface carefully. Avoid any with soft spots, cuts, or mouldy patches. A hard stem and solid bottom indicate good health.
If you’re decorating for fall, check out Fall Home Décor Favourites Under £40 for budget-friendly pieces that beautifully complement your pumpkins.
2. Keep Them Dry
Water accelerates rot. Always place pumpkins on a dry surface — never directly on damp grass or wooden decks. Use a layer of straw, hay, or even a decorative stand to elevate them off the ground.
3. Avoid Direct Sunlight
Pumpkins may love cool air but not direct heat. Too much sun speeds up drying and cracking, leading to premature spoilage. Shaded porches or indoor spots with indirect light are ideal.
4. Refrigerate Overnight
If temperatures rise unexpectedly, bring smaller pumpkins indoors overnight or refrigerate them to slow the ageing process.
5. Handle Gently
Rough handling creates invisible micro-cracks, which later become entry points for bacteria. Always lift pumpkins by their base, not the stem.
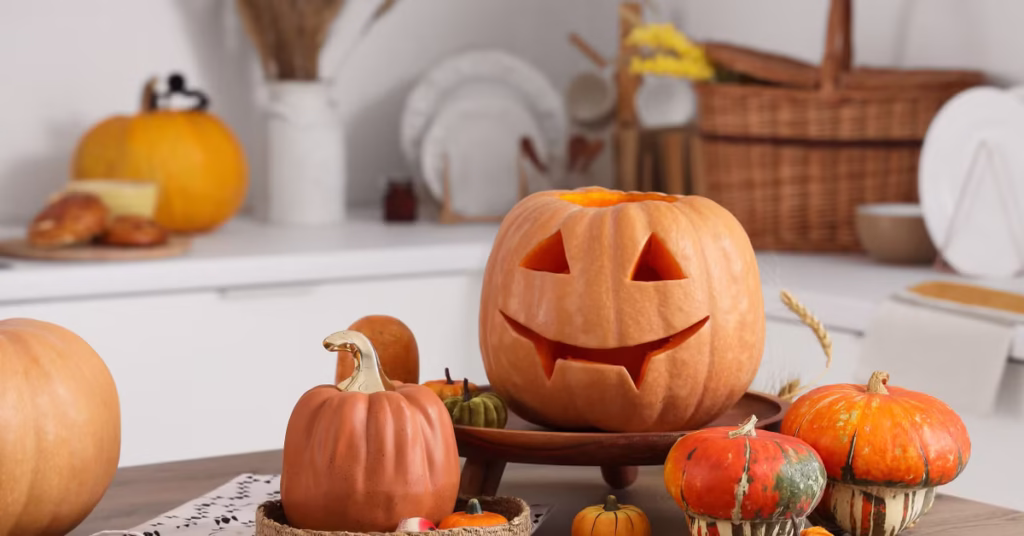
🔥 The Secret Post-Carving Trick
If you’re carving pumpkins for Halloween, there’s one extra step that can make or break your masterpiece’s lifespan.
After carving, submerge your pumpkin in the same bleach-water solution for about 10 minutes. This kills bacteria on the exposed surfaces. Then pat it dry completely and coat the cut edges with petroleum jelly or coconut oil.
For an aesthetic, old-world look to your Halloween display, you’ll love this Faux Rusted Vintage Scale Makeover — perfect for styling alongside pumpkins and other rustic pieces.
🕯️ Creative Ways to Style Long-Lasting Pumpkins
Now that your pumpkins are protected, let’s talk styling. Whether indoors or out, these ideas help your home radiate that seasonal charm without worrying about daily clean-ups.
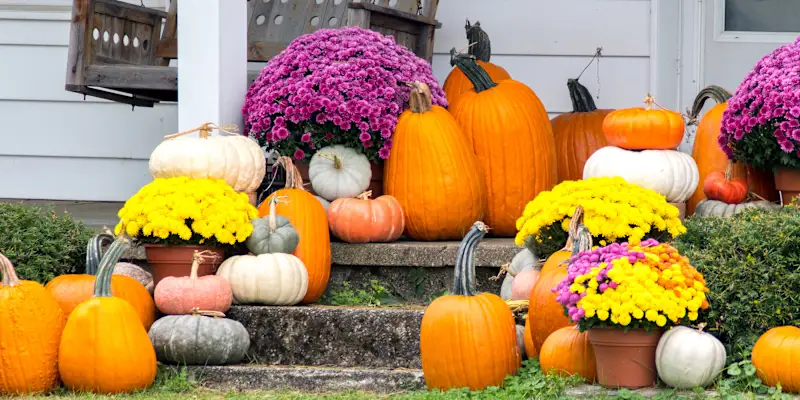
1. Classic Porch Display
Pair pumpkins with lanterns, straw bales, and plaid blankets for a timeless farmhouse vibe. Add a few cozy fall porch accents to tie it all together.
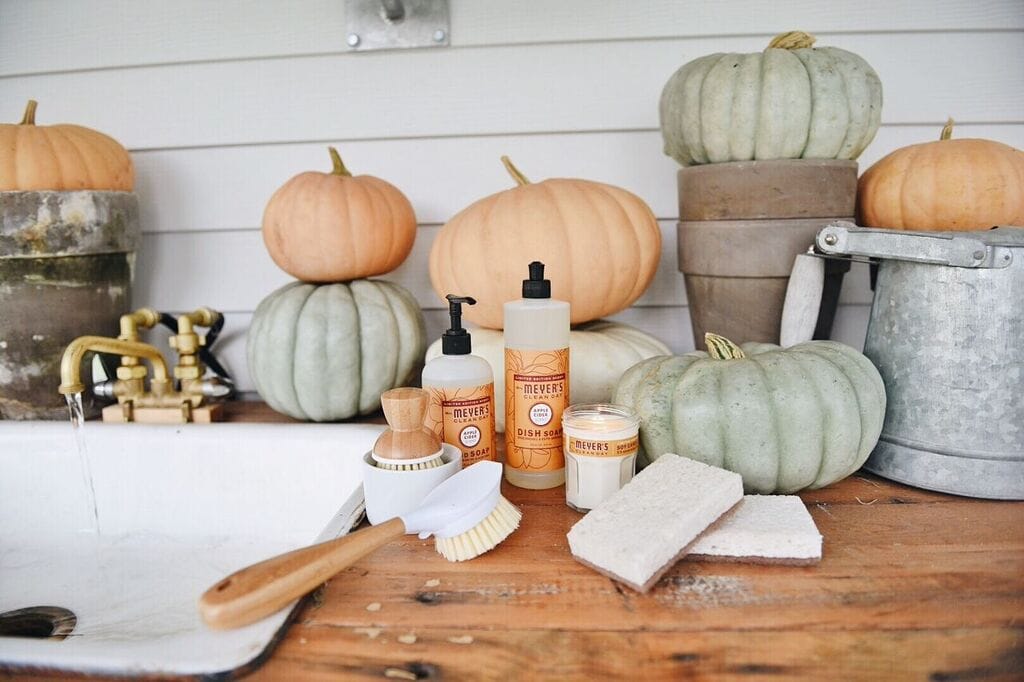
2. Indoor Centrepiece
Arrange mini pumpkins in a shallow bowl with pinecones, cinnamon sticks, and fairy lights. It’s simple yet stunning — ideal for dining tables or entryway consoles.
3. Moody Modern Aesthetic
Combine dark-toned pumpkins with brass candlesticks and matte black décor. For more ideas, check out Moody Modern Vintage Master Bedroom — it’s filled with inspiration for mixing dramatic tones and vintage elements.
4. Elevated Shelf Décor
If you’re styling open shelving, balance pumpkins with books, neutral pottery, and small plants. Learn the art of cohesive styling with How to Decorate Shelves — a perfect guide for achieving that effortlessly curated look.
🌰 Natural Alternatives for Pumpkin Preservation
If you’d rather avoid chemicals altogether, try these natural methods to extend pumpkin life:
- Lemon Juice & Water Mix: A natural disinfectant that slows mould growth.
- Essential Oils: Peppermint or clove oil sprayed lightly can deter bacteria.
- Cinnamon Dusting: Sprinkle on cut edges for a subtle fragrance and mild preservative effect.
Pair these approaches with the Simplified Decorating method — embracing minimal, mindful home design for the season without unnecessary clutter.
💡 Bonus Tip: Repurpose Old Pumpkins
Even with the best tricks, pumpkins eventually break down. But don’t toss them just yet — here are some creative reuse ideas:
- Compost Them: Add them to your garden compost pile for nutrient-rich soil next spring.
- DIY Bird Feeders: Scoop out the inside and fill with seeds — a fun project for families.
- Painted Décor: When they start to fade, paint over the skin for a rustic display piece, similar to the aesthetic of DIY Gold Leaf Sculpture projects.
🍂 Quick Recap: How to Keep Pumpkins from Rotting (1-Minute Trick)
To recap, the secret to long-lasting pumpkins lies in this simple formula:
👉 Clean + Dry + Protect.
Here’s the quick version:
- Mix 1 gallon of water with 1 tablespoon of bleach or vinegar.
- Spray or soak your pumpkins for one minute.
- Dry thoroughly.
- Apply a thin protective layer of oil or jelly.
- Store in a cool, shaded area.
Do this once at the start of the season, and your pumpkins will stay firm, mould-free, and display-ready for weeks.
✨ Final Thoughts
Preserving pumpkins doesn’t have to be complicated — and it definitely doesn’t need to take hours. With this 1-minute trick, you can easily extend the life of your autumn décor, save money, and enjoy your seasonal displays longer.
Pair your perfectly preserved pumpkins with stylish fall home décor favourites under £40 or vintage-inspired pieces to create a home that feels both festive and timeless.
So next time you bring home a pumpkin, take that extra minute — it’s the simplest seasonal secret to keeping your autumn gorgeous, one day longer.