Our Guest Bedroom Makeover Reveal: A Cosy Transformation on a Budget
Transforming a guest bedroom can be both exciting and daunting. Whether you’re hosting family from afar or friends dropping in for the weekend, a well-designed guest room adds a warm, inviting touch to your home. In this reveal, we’re sharing the full story of how we revamped Our Guest Bedroom Makeover Reveal, stylish, and truly comfortable—on a realistic budget and with plenty of charm.
Why We Decided to Refresh the Guest Bedroom
Our guest room had long been overlooked. It was more of a storage spot than a welcoming retreat. The walls were scuffed, the carpet worn, and the furniture mismatched. With guests due to visit during the holidays, we felt it was finally time for a change. Our goal? A tranquil, hotel-like space that felt both luxurious and homey—without a huge spend.
Setting the Mood: Choosing a Colour Palette
First up was selecting the colour scheme. We wanted something calm, versatile, and on-trend—nothing too bold or overpowering.
We settled on a soft, neutral palette:
- Warm greys for the walls (we used Farrow & Ball’s “Ammonite”)
- Crisp white for the trim and ceiling
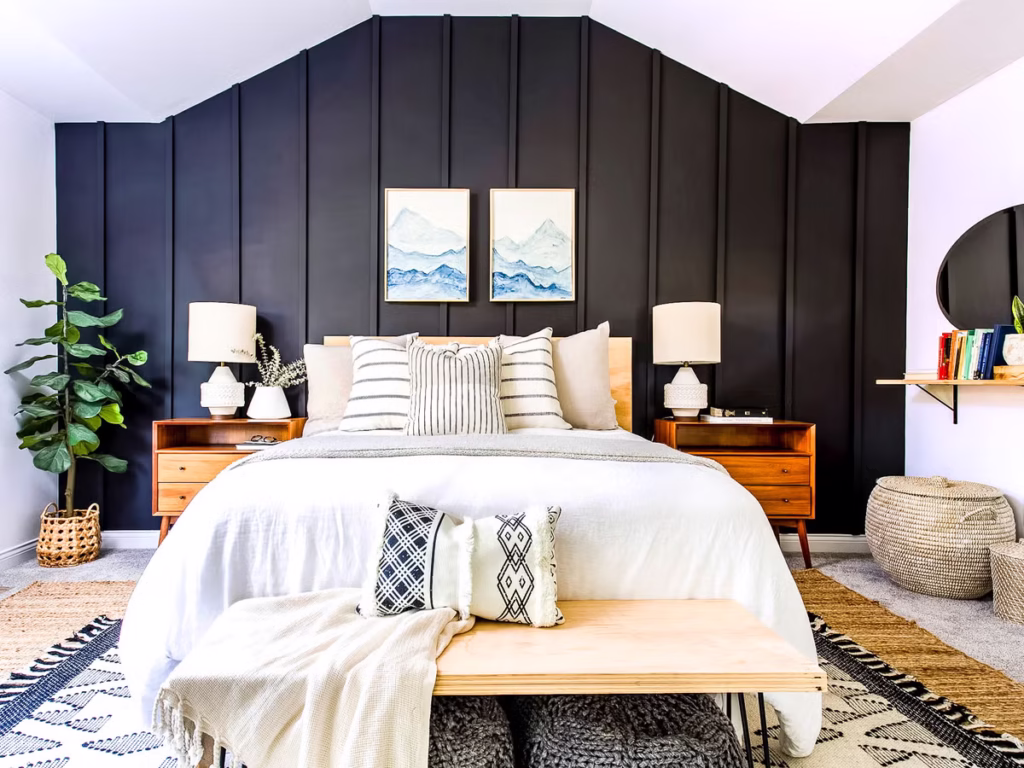
- Touches of navy and blush through accents and textiles
This combo created an elegant, gender-neutral feel with a hint of modern sophistication.
Furniture: Mixing Old with New
We were working with a tight budget, so rather than replacing everything, we decided to repurpose and upcycle what we could.
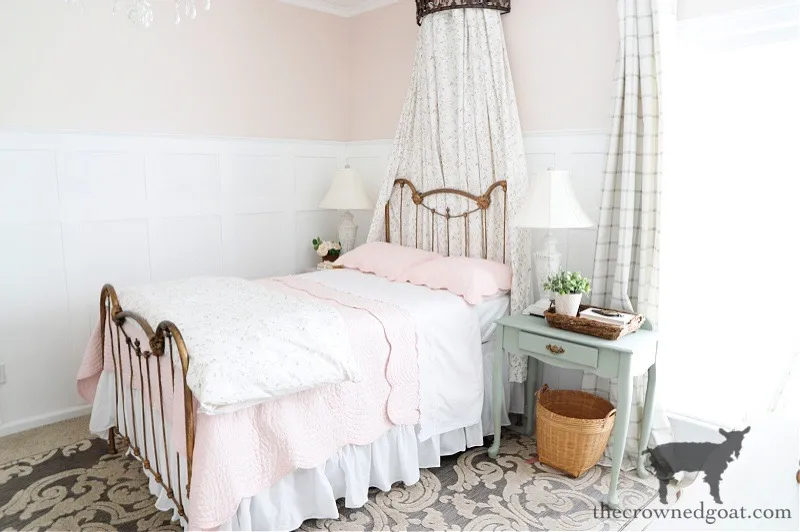
The Bed
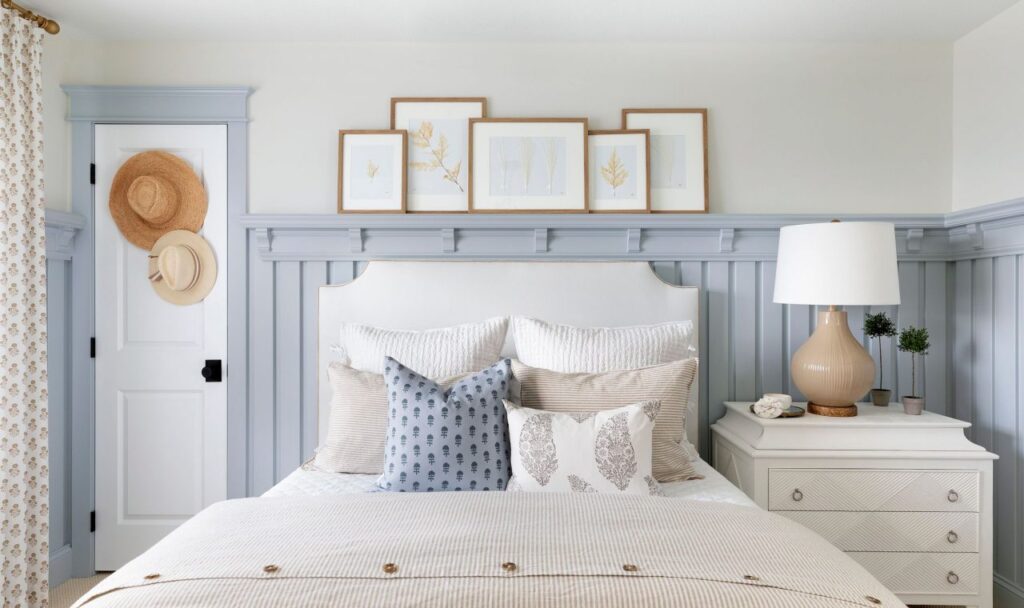
We kept the existing bed frame but updated it with a new upholstered headboard in a soft grey linen. It instantly made the bed feel like a centrepiece. We added a deep mattress topper for extra comfort.
Bedside Tables
Our mismatched tables were sanded, painted in a matching tone, and given new brass handles for a cohesive, boutique-hotel look.
Storage
To avoid bulky wardrobes, we added a freestanding open rail with wooden hangers and a woven basket underneath for guests’ belongings. A tall chest of drawers tucked into the corner offers ample storage without taking up too much space.
Soft Furnishings: Comfort is Key
To give the space a soft and welcoming vibe, we layered up the textiles.
- Bedding: We chose high-thread count white sheets with a grey linen duvet cover and a navy throw blanket for a splash of contrast.
- Cushions: A mix of textures—velvet, cotton, and knit—in complementary tones added depth.
- Curtains: Full-length blackout curtains in a light oatmeal fabric not only look beautiful but are practical for helping guests sleep well.
- Rug: A large woven jute rug under the bed helped ground the space and add texture.
Lighting: Layers Make All the Difference
We focused on layered lighting to create a relaxing atmosphere.
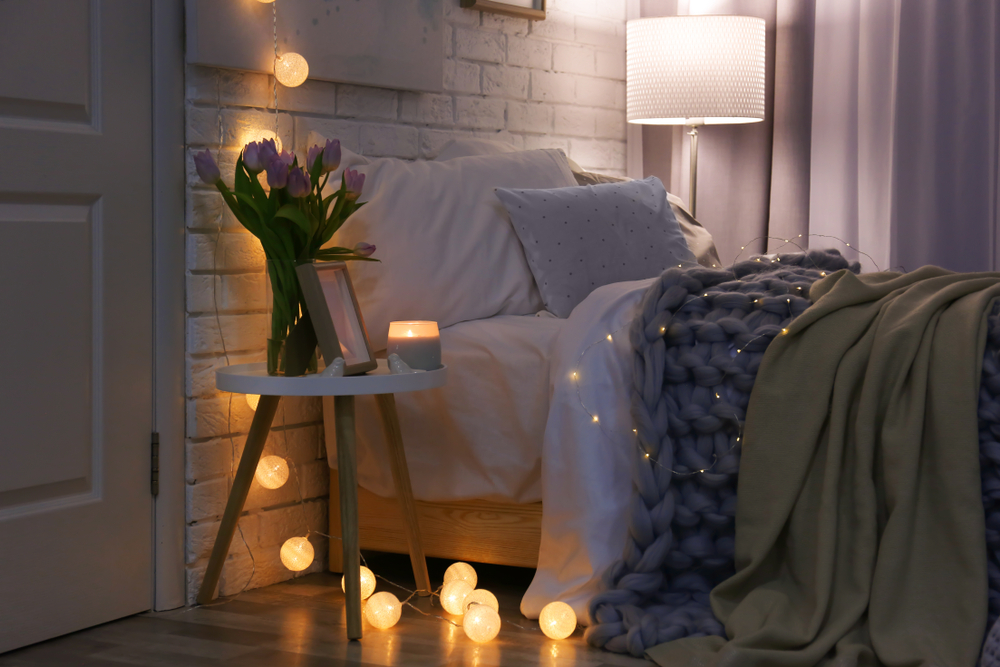
- Ceiling light: We updated the central pendant to a soft glass fixture with warm lighting.
- Bedside lamps: Matching ceramic lamps with dimmable bulbs provided ambient lighting and a cosy glow.
- Fairy lights: Draped along the headboard for a gentle, romantic touch.
Art and Accessories: Finishing Touches
The right accessories really bring a guest room to life.
Wall Art
We created a small gallery wall using affordable prints and some framed personal photographs. One piece even featured a map of London—our subtle nod to our favourite city.
Mirror
A full-length mirror not only serves a practical purpose but reflects light and makes the room feel bigger.
Plants
A couple of low-maintenance houseplants like a snake plant and a trailing pothos added life and freshness to the space.
Welcome Tray
On the bedside table, we placed a small tray with:
- A glass water carafe
- A couple of books and magazines
- A scented candle
- A small vase with fresh flowers when guests are due
These small touches go a long way in making guests feel special.
Budget Breakdown
Here’s a general idea of where the money went:
| Item | Cost (approx.) |
|---|---|
| Paint and supplies | £90 |
| Headboard | £120 |
| Bedding + cushions | £150 |
| Bedside table upgrades | £40 |
| Rug | £70 |
| Curtains | £85 |
| Lighting fixtures | £65 |
| Mirror | £30 |
| Accessories & tray items | £50 |
| Total | £700 |
For under £750, we were able to create a space that feels significantly more luxurious than the price tag suggests.
What We Learned
- Plan your mood board first: Visualising everything together helped us stay focused and avoid impulse purchases.
- Reuse and upcycle where possible: Sandpaper and paint can work wonders.
- Think about the guest experience: What would make you feel comfortable as a guest?
- Lighting changes everything: Avoid relying on ceiling lights only.
Guest Reactions So Far
Since finishing the makeover, we’ve hosted two sets of guests—and their reactions have made all the effort worthwhile. Comments like “It feels like a boutique hotel!” and “That bed is so comfortable!” made us feel proud of the transformation.
Future Additions
While we’re delighted with how the room turned out, we’ve made a few notes for future upgrades:
- Adding a small desk or vanity table for guests who want to work or get ready
- A wall-mounted smart TV for added luxury
- Installing built-in shelving for more long-term storage options
Final Thoughts
Our guest bedroom makeover was not just about improving a space—it was about creating an atmosphere of comfort, care, and hospitality. It’s amazing what you can achieve with a clear vision, thoughtful choices, and a bit of elbow grease.
If you’re considering giving your guest room a refresh, our biggest tip is: keep the guest in mind at every stage. Focus on comfort, simplicity, and a cohesive look, and you’ll be well on your way to a room that makes every visitor feel truly at home.