Faux Bone Inlay Nesting Tables Makeover: A Stylish Transformation for Your Home
Faux bone inlay nesting tables offer a stylish and affordable way to add a unique touch to home decor. These tables mimic the look of traditional bone inlay craftsmanship while using materials that are easier to maintain and more budget-friendly.
They provide the elegant appearance of bone inlay furniture without the high cost or delicate care requirements. Many people choose these tables to refresh their living spaces with a mix of classic design and modern practicality.
1) Advantages of Faux Bone Inlay Nesting Tables
Faux bone inlay nesting tables offer a stylish look without the high cost of real bone inlay. They use resin or other materials to mimic the intricate patterns found in traditional designs.
These tables are also cruelty-free and more sustainable. They allow for diverse patterns and colors, making them versatile for different home styles.
2) Durability Compared to Natural Bone Inlay
Faux bone inlay is generally more durable than natural bone. It resists cracks and chips better because it uses materials like resin or MDF.
It can handle everyday use without showing much wear. Natural bone inlay requires more care to avoid damage.
3) Eco-Friendly Aspects of Faux Bone Inlay
Faux bone inlay uses synthetic materials like resin, avoiding real animal bones. This makes it a cruelty-free option.
The process often involves non-toxic adhesives, which reduce environmental harm. It helps create beautiful designs without heavy resource use.
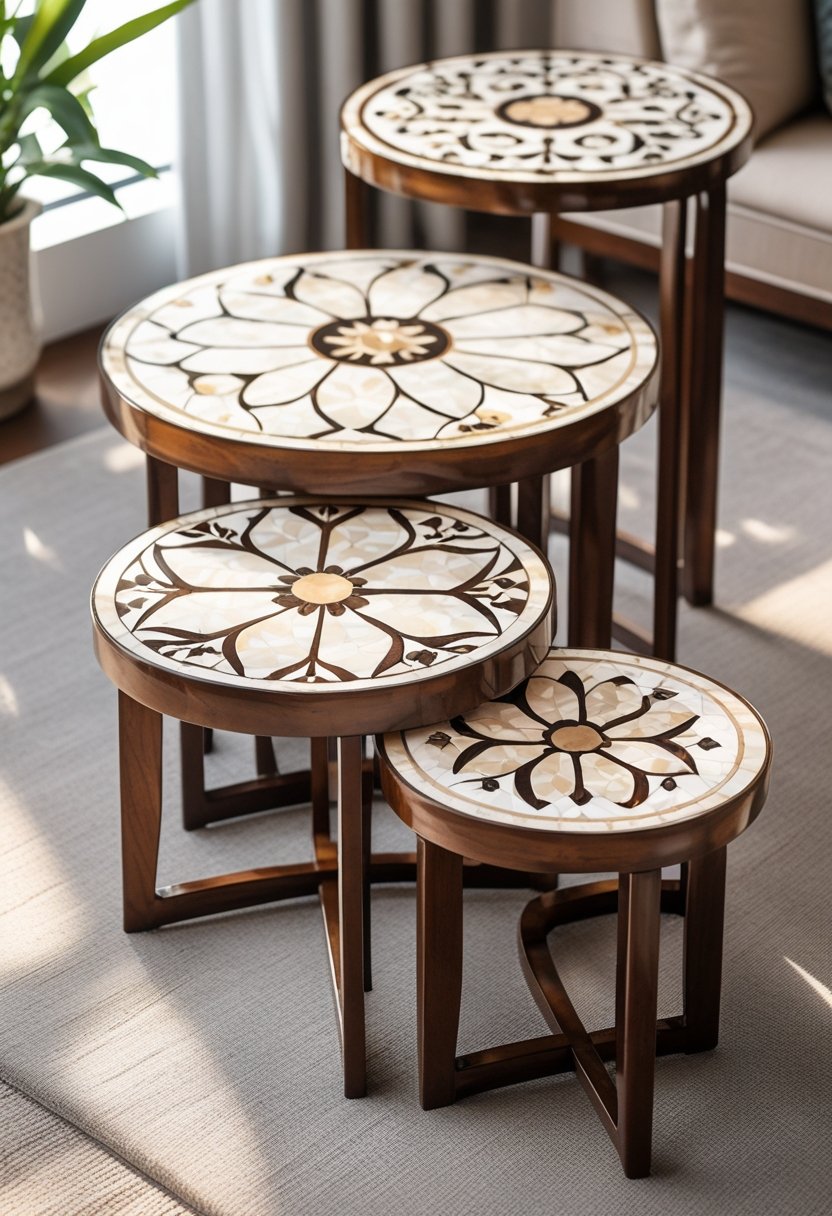
4) Popular Faux Bone Inlay Patterns
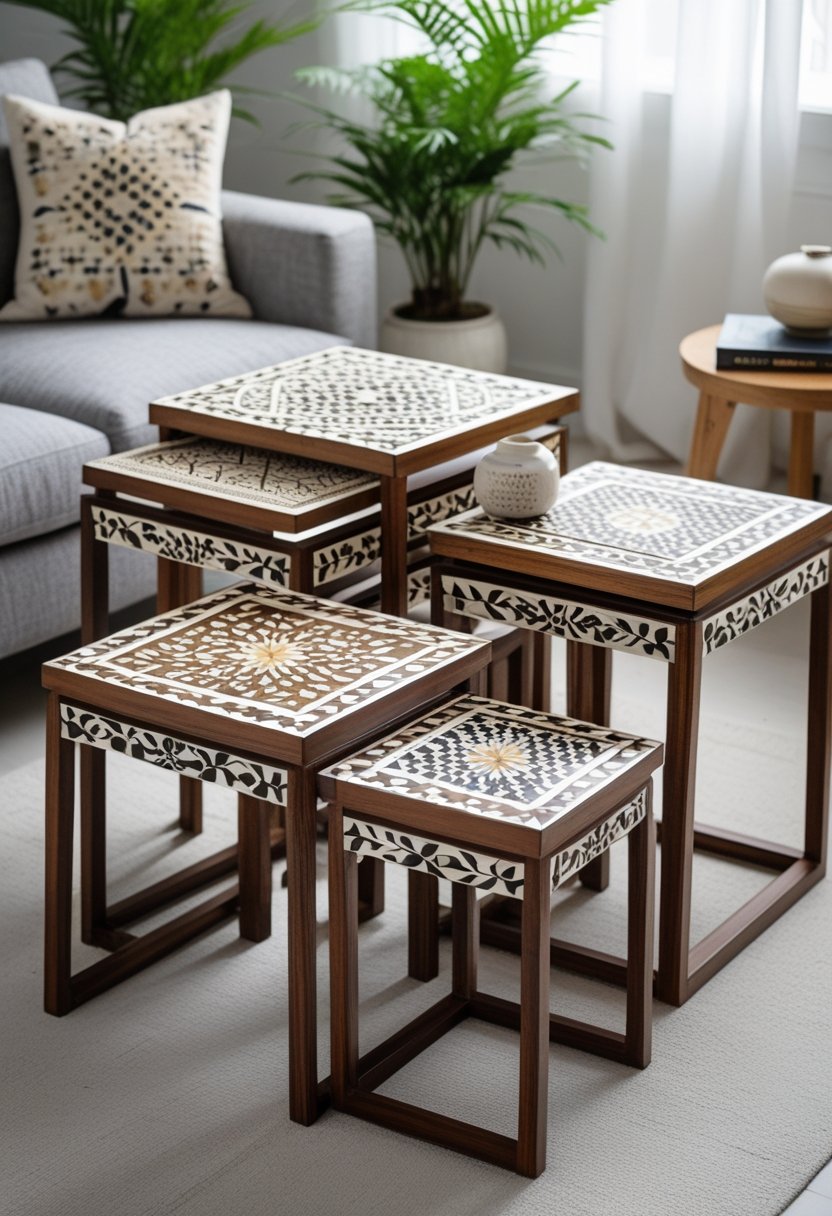
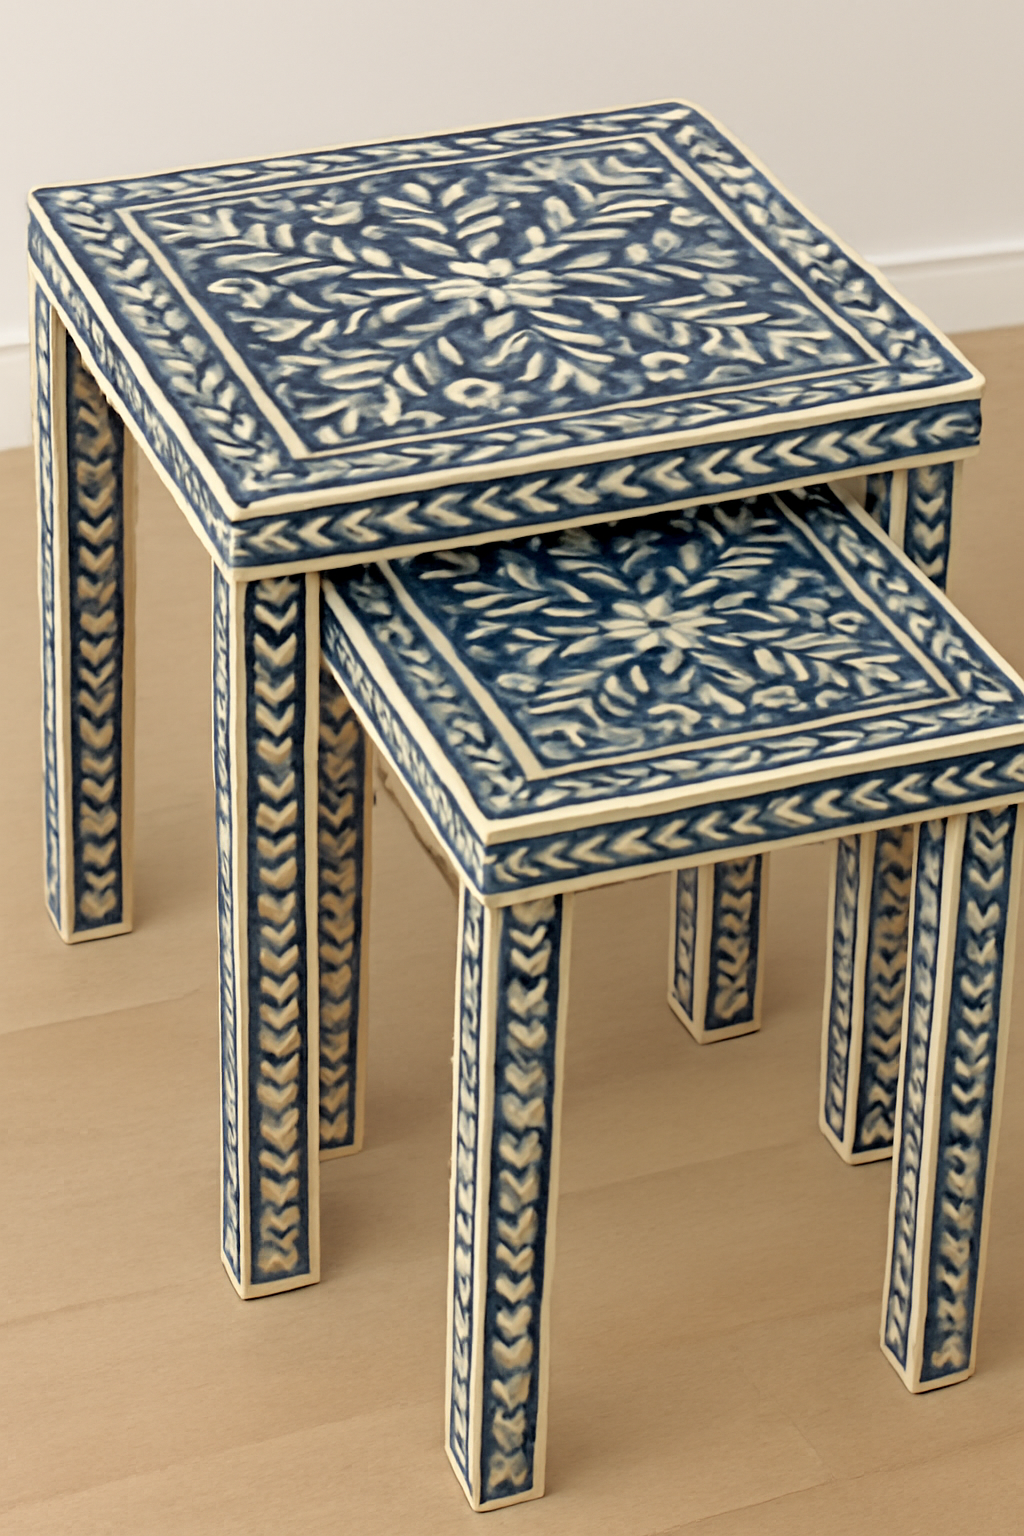
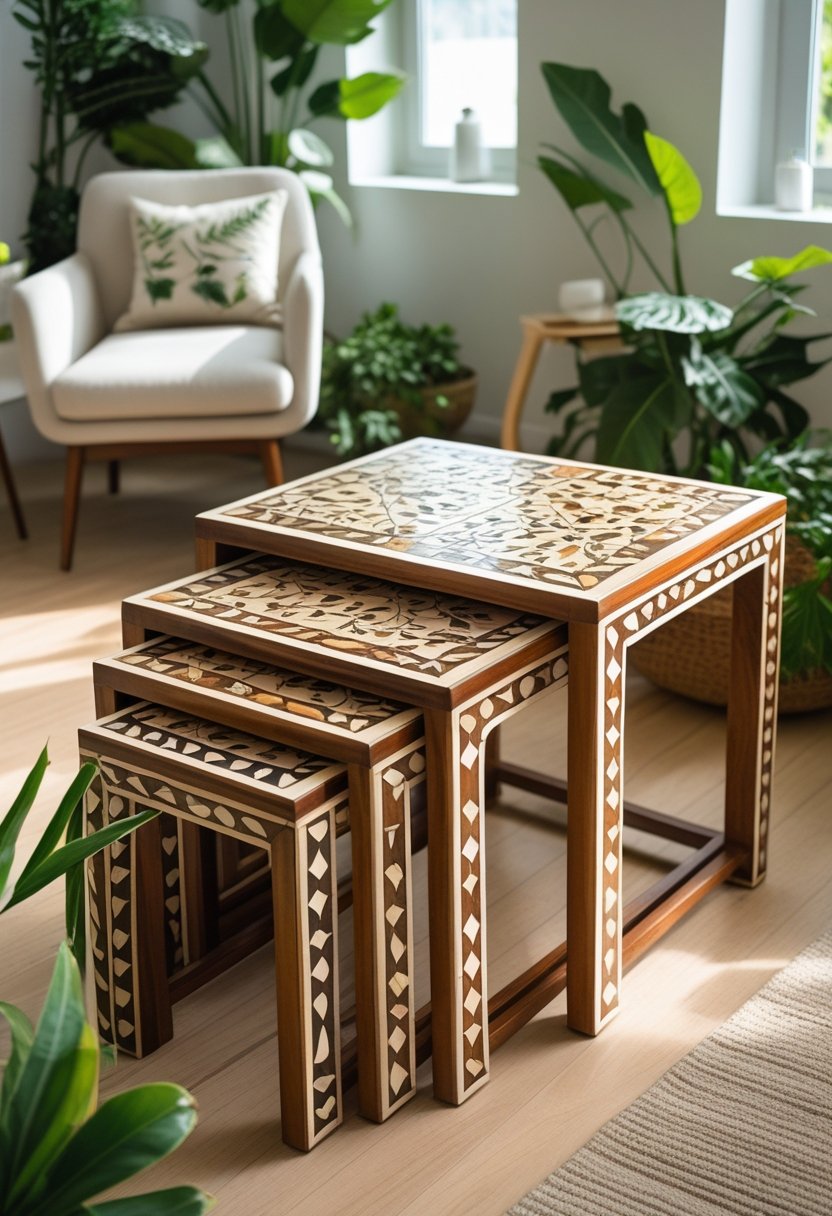
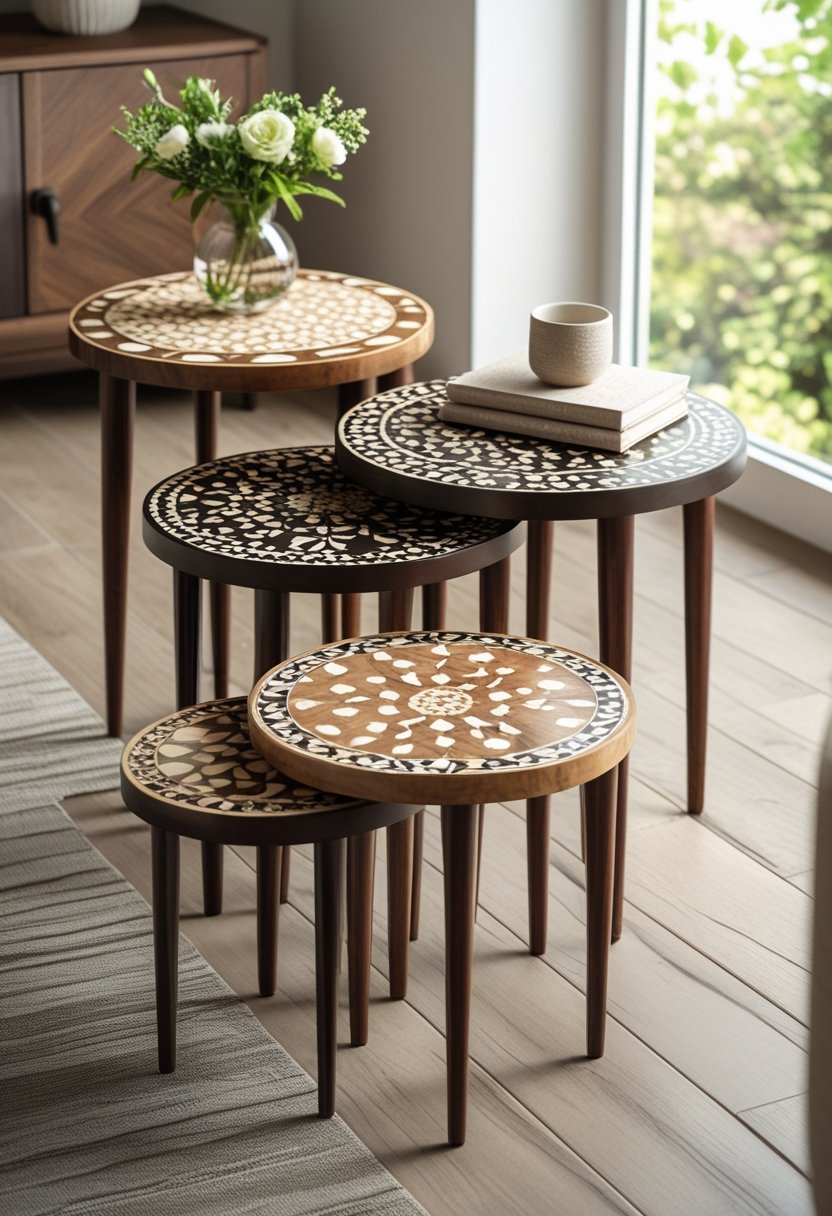
Popular faux bone inlay patterns include geometric shapes and floral designs. Geometric patterns often form borders, giving a clean, structured look. Floral patterns are commonly used in the center for a softer, decorative effect. These designs mimic traditional bone inlay styles effectively.
5) How Faux Bone Inlay Is Created
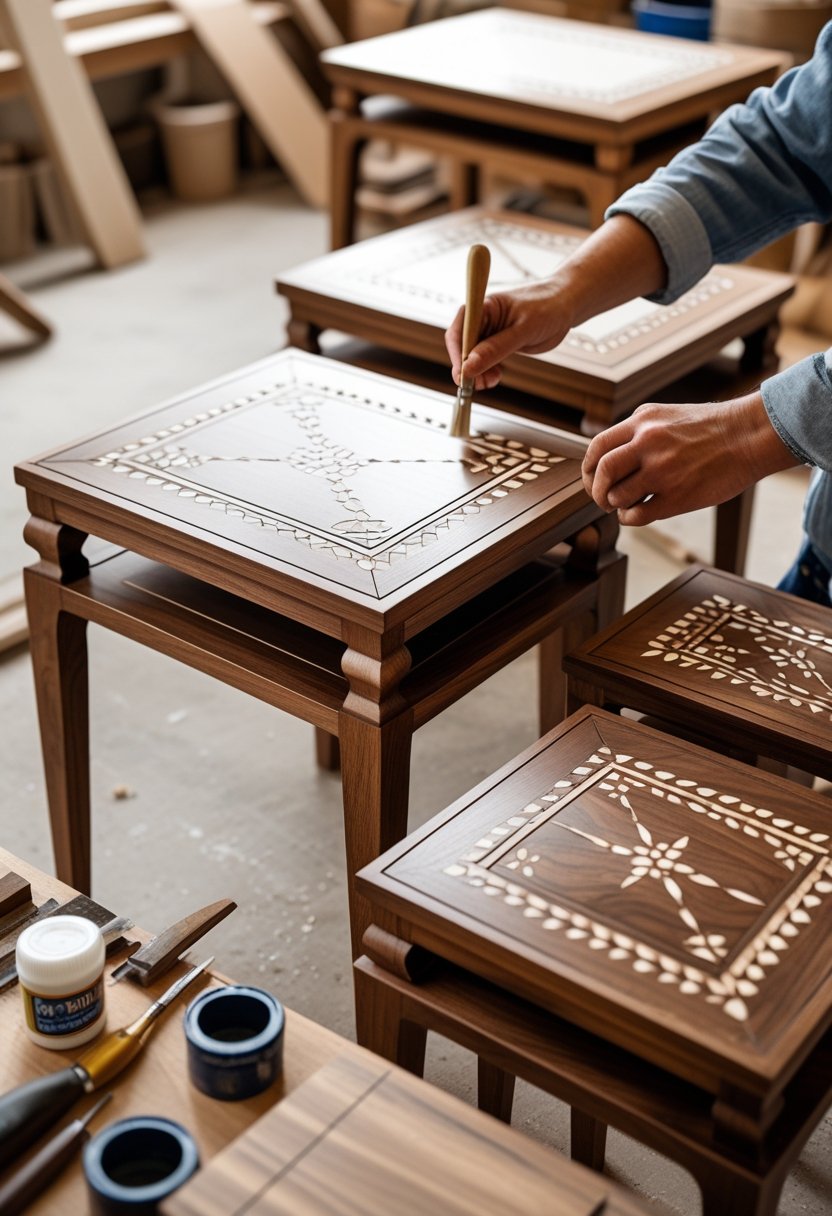
Faux bone inlay is made by applying resin or similar materials to wooden surfaces. Artists use stencils or molds to create the delicate, detailed patterns that look like real bone.
After shaping, the surface is often sealed with lacquer or paint for durability and a polished finish.
6) Styling Tips for Faux Bone Inlay Nesting Tables
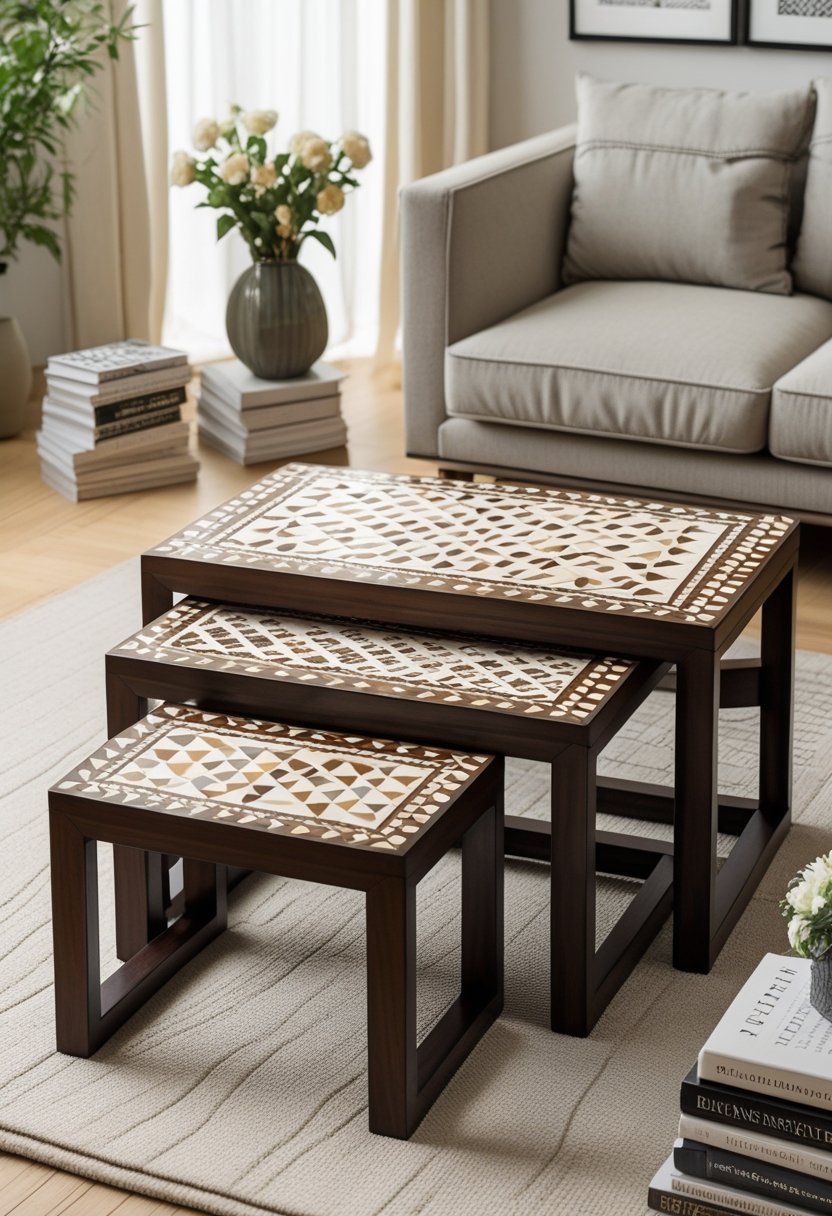
They work well as a focal point in a room due to their unique patterns. Pair them with neutral décor to highlight their detail without overwhelming the space. Using soft lighting can enhance the texture and add warmth. Layering with simple accessories keeps the look balanced and elegant.
7) Top Colors for Faux Bone Inlay Finishes
Neutral shades like white, cream, and beige are popular for faux bone inlay finishes.
Soft pastels and muted tones add a subtle elegance.
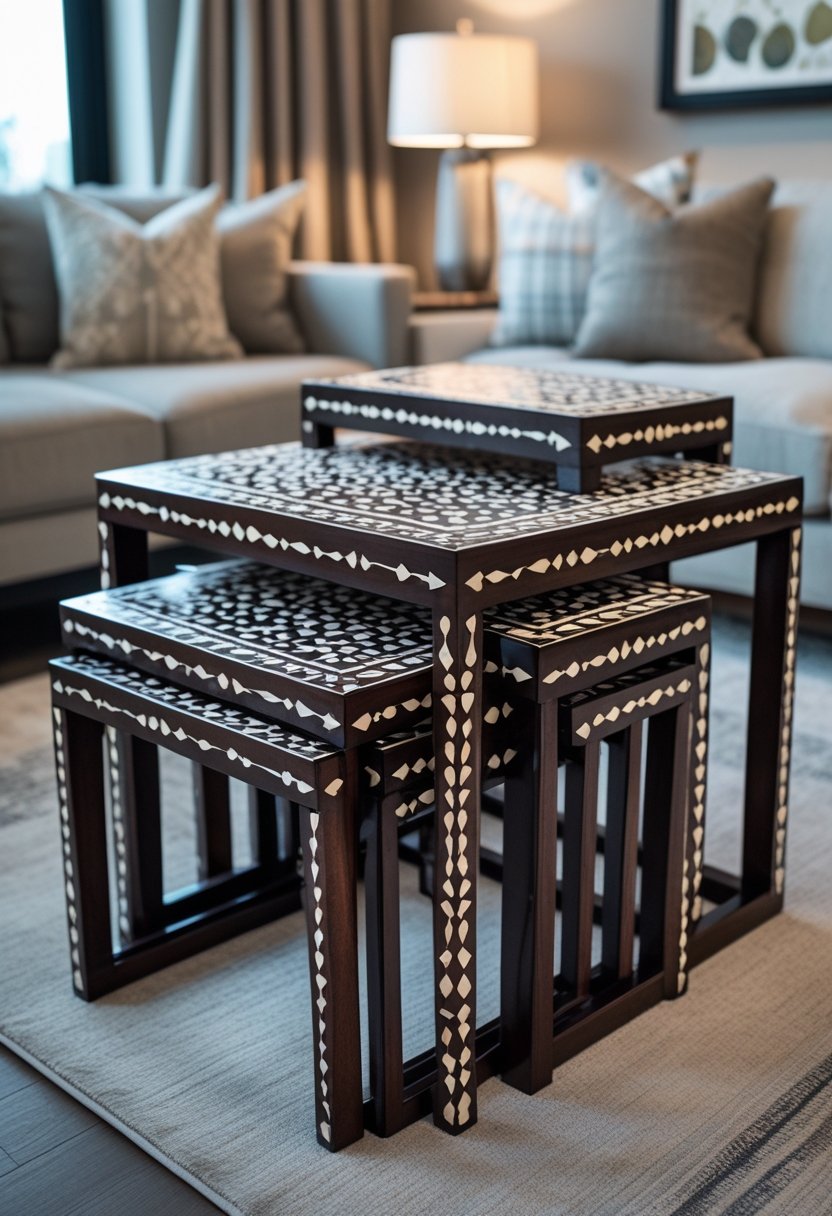
Dark colors like black and navy create strong contrast and highlight the inlay pattern well.
8) Faux Bone Inlay vs. Real Bone Inlay Cost Comparison

Faux bone inlay is usually much less expensive than real bone inlay. Real bone requires skilled craftsmanship and costly materials, which raises the price. Faux options use paint or resin, making them more affordable and accessible for many buyers.
9) Maintenance Tips for Faux Bone Inlay Furniture
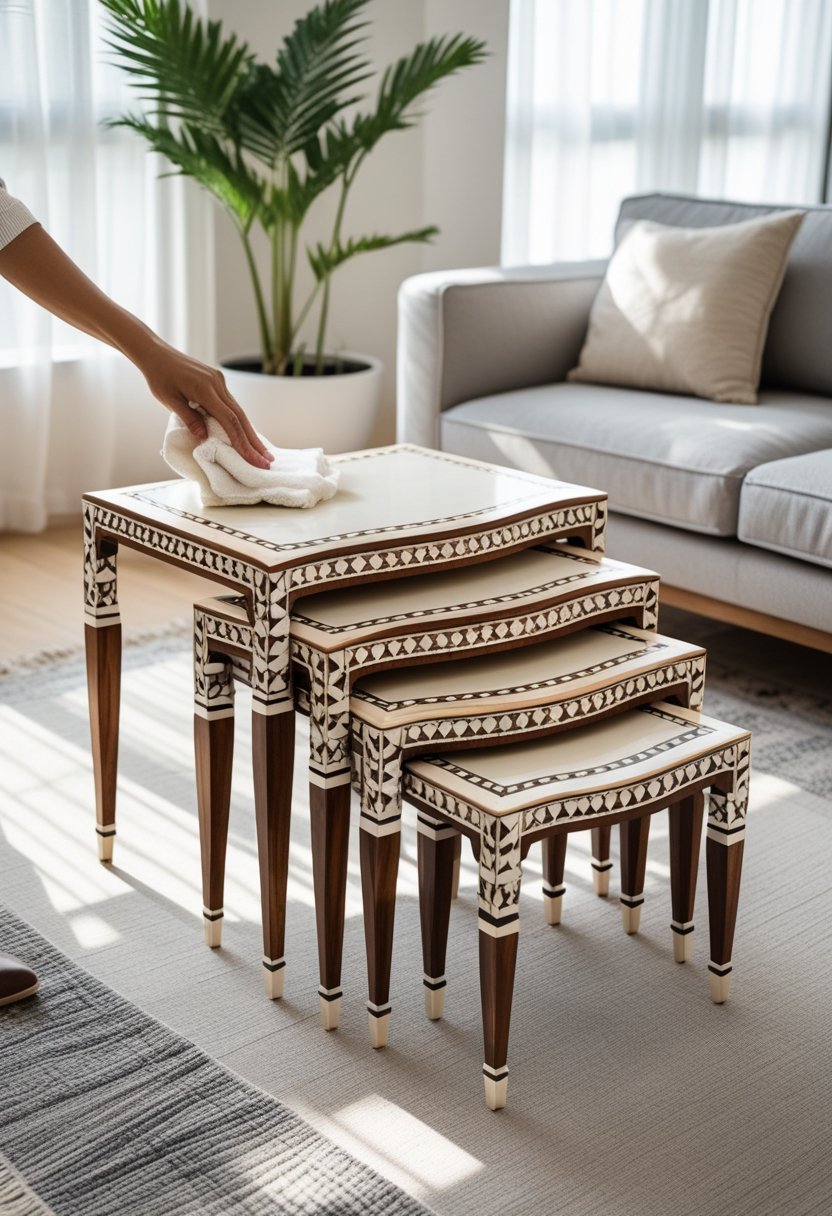
They should dust the tables regularly with a soft, dry cloth to prevent dirt buildup. Avoid using harsh cleaners or soaking the surface to protect the inlay detail. It is best to keep them away from direct sunlight and moisture to prevent fading and damage.
10) Best Rooms to Place Faux Bone Inlay Nesting Tables
Faux bone inlay nesting tables work well in living rooms for easy access and style. They also fit nicely in hallways, adding a decorative touch without taking much space. Bedrooms benefit from their versatility as side tables or extra surfaces for lamps and books.
Frequently Asked Questions
Faux bone inlay nesting tables require specific care to keep their look and finish intact. The variety of patterns offers many design choices, and how these tables hold up outdoors depends on their materials and construction.
How do I maintain and clean nesting tables with a faux bone inlay?
They should be cleaned with a soft, damp cloth to avoid scratching the surface. Avoid harsh chemicals or abrasive cleaners, as these can damage the finish or discolor the faux bone.
Regular dusting and wiping spills promptly help preserve the tables. Applying a mild wood polish to any wooden parts can maintain their shine without harming the inlay.
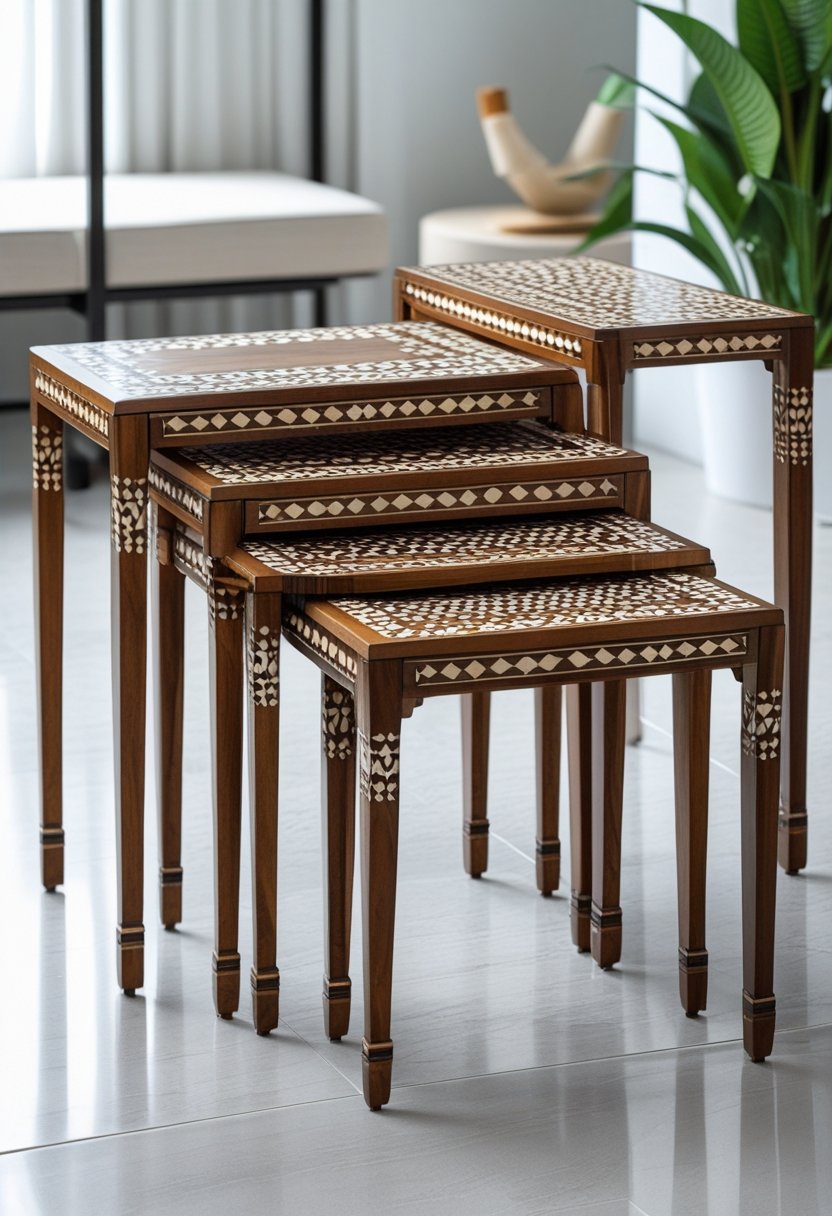
What styles and patterns are available for faux bone inlay nesting tables?
Common designs include geometric shapes, floral motifs, and traditional Indian-inspired patterns. These patterns often use contrasting colors such as white or cream against darker wood tones.
The faux bone pieces are usually arranged in symmetrical layouts to create an elegant and detailed look. Some tables feature simple repetitive patterns, while others show more intricate, handcrafted designs.
Can faux bone inlay nesting tables be used outdoors?
They are generally not recommended for use outdoors unless specifically treated for outdoor conditions. Exposure to moisture and sunlight can damage the faux bone surface and the underlying materials.
If used outdoors, they should be placed under a covered area and protected from rain and direct sunlight to extend their lifespan. Proper sealing and weather-proof finishes can improve durability but will not make them fully weather-resistant.