DIY Traditional Grid Molding Focal Wall: A Timeless Touch for Your Interiors

Adding character to plain walls can be a challenge, especially when you’re looking for something that feels both timeless and stylish. One of the most effective ways to elevate a blank wall is by creating a DIY traditional grid molding focal wall. This classic design instantly transforms any space, lending architectural charm and an air of sophistication without needing to hire a professional.
Whether you’re sprucing up your living room, hallway, bedroom or study, this DIY project is budget-friendly, achievable over a weekend, and delivers a major visual impact.

What is a Traditional Grid Molding Focal Wall?
A traditional grid molding design features symmetrical panels created with decorative trim or moulding to form a square or rectangular grid pattern. When applied to a focal wall—the main feature wall in a room—it creates depth, structure, and a visually pleasing centrepiece.
This style is often associated with Georgian or Edwardian architecture, but it works beautifully in both period and modern homes when styled thoughtfully.
Benefits of a DIY Grid Molding Wall
- ✅ Adds architectural detail affordably
- ✅ Completely customisable to your space
- ✅ Works with both classic and contemporary interiors
- ✅ Enhances property value and visual interest
- ✅ Fun and rewarding DIY weekend project
Tools & Materials You’ll Need
To begin your DIY traditional grid wall project, gather the following:
🛠 Tools:
- Mitre saw or hand saw with mitre box
- Tape measure
- Spirit level
- Nail gun or hammer and finishing nails
- Sandpaper (120 and 220 grit)
- Caulking gun
- Paintbrushes or small rollers
- Pencil and masking tape for marking
🧱 Materials:
- MDF strips (commonly 6mm to 12mm thick for grid moulding)
- Wood filler
- Caulk (paintable)
- Primer
- Wall paint (in your desired colour)

Planning Your Grid Wall Layout
1. Choose the Focal Wall
Select a wall that naturally draws attention—behind a bed, a sofa, a hallway entry, or even a dining room wall.
2. Decide on Panel Size
Traditional grid walls usually feature symmetrical squares or rectangles. Use painter’s tape to mock up the grid and determine what spacing looks best. A common choice is 5×4 or 4×3 panels depending on wall size.
3. Measure & Sketch It Out
Carefully measure the height and width of your wall. Subtract the total width of all vertical and horizontal moulding pieces to calculate the space between them.
Top tip: Use a sketchbook or digital planner to draw the full layout with exact dimensions.
Step-by-Step Guide to Building Your Grid Molding Wall
Step 1: Prep the Wall
- Remove any nails, screws, or imperfections from the wall.
- Lightly sand the surface for a smoother base.
- Wipe clean with a damp cloth.

Step 2: Mark the Layout
- Use a pencil and spirit level to mark the positions of all vertical and horizontal moulding pieces.
- Apply masking tape to visualise the grid before fixing anything permanently.
Step 3: Cut the Moulding
- Using a mitre saw (or mitre box), cut your MDF strips to the required lengths.
- Label each strip if needed to keep them organised.
Step 4: Attach Vertical Pieces
- Start with the outermost vertical mouldings (left and right edges).
- Apply adhesive to the back and press onto the wall.
- Secure with nails or a nail gun.
- Continue attaching the remaining vertical strips, using a level to ensure straight alignment.
Step 5: Add Horizontal Pieces
- Begin with the top and bottom horizontal strips.
- Attach them using the same method—adhesive + nails.
- Add the internal horizontal mouldings, ensuring the grid remains even throughout.
Step 6: Fill, Caulk & Sand
- Fill nail holes with wood filler.
- Apply caulk where the moulding meets the wall and between joints for a seamless look.
- Once dry, sand smooth.
Step 7: Prime & Paint
- Apply primer over all moulding and wall areas.
- Once dry, paint with your chosen colour using a brush for moulding and a roller for flat wall areas.
- Apply 2 coats for a smooth, professional finish.
Paint Colour Ideas for a Traditional Grid Wall
Your colour choice can dramatically change the feel of the room. Here are some UK-inspired colour palettes:

- Classic White – Timeless and brightens the room.
- Muted Sage or Olive Green – Pairs beautifully with wooden floors and soft furnishings.
- Charcoal Grey or Navy Blue – Adds drama and sophistication.
- Stone or Taupe – Perfect for a neutral, cosy backdrop.
Try paints from UK favourites like Farrow & Ball, Dulux Heritage, or Little Greene for a high-quality, durable finish.
Styling Your Grid Molding Wall
Once your grid wall is complete, it’s time to style the space:
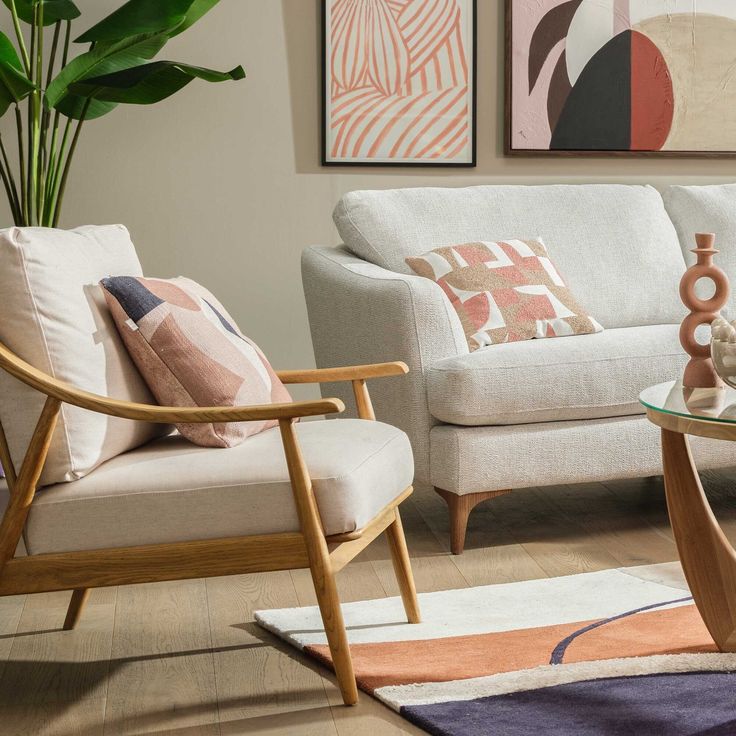
- Living Room: Place a statement mirror or artwork within one of the panels. Add a classic console or velvet sofa in front.
- Bedroom: Use the grid wall as a headboard backdrop. Layer with cushions, throws, and antique bedside tables.
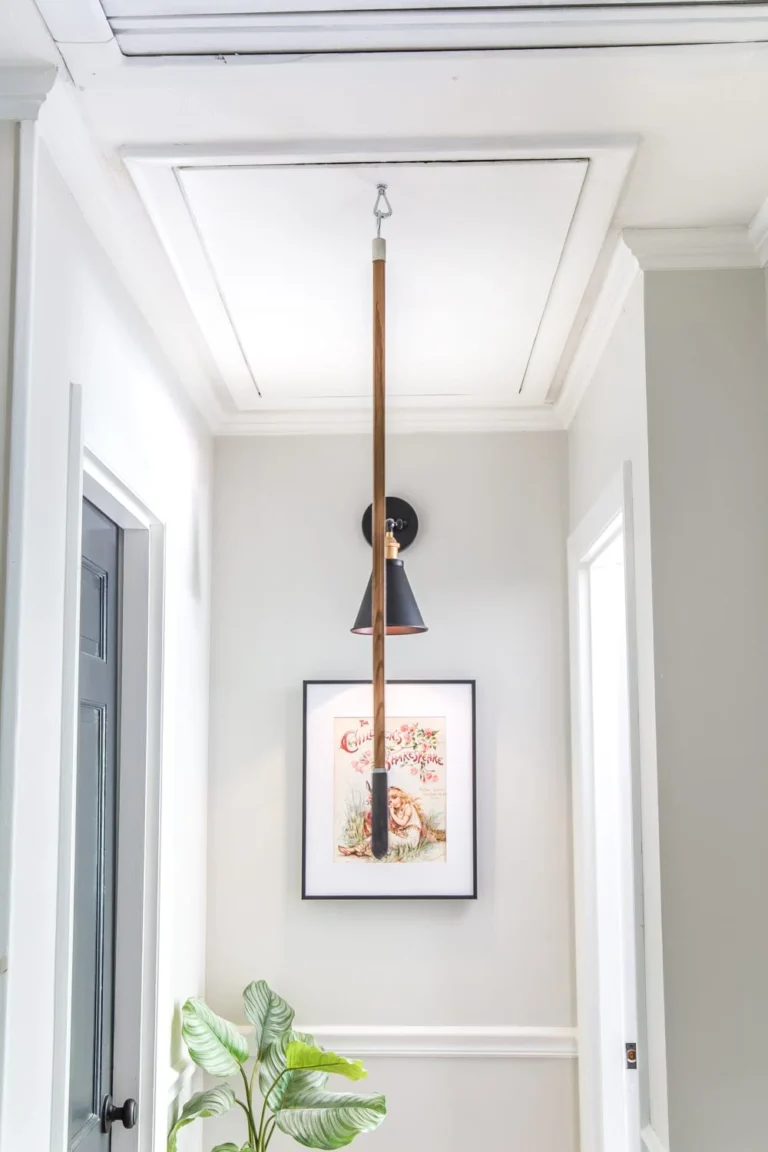
- Hallway: Combine with a vintage bench or coat hooks for a functional, stylish space.
- Dining Room: Hang a chandelier or pendant light above a solid wood dining table to complement the traditional grid style.
Frequently Asked Questions
❓ Can I do this if my walls aren’t perfectly flat?
Yes, but minor imperfections should be sanded or filled before applying moulding. A laser level helps greatly.
❓ Is this suitable for renters?
If you can’t use nails or adhesive on walls, try creating a removable MDF panel with the grid and mounting it with Command strips.
❓ Can I use real wood instead of MDF?
Yes, timber works well too. However, MDF is easier to cut, more affordable, and has a smoother surface for painting.

Final Thoughts
A DIY traditional grid molding focal wall is one of the most stylish, affordable, and satisfying upgrades you can make in your home. Whether you’re enhancing a new build or breathing life into an older property, this timeless feature brings both beauty and elegance to your interiors.
With a bit of planning, patience, and creativity, you’ll end up with a show-stopping wall that looks like it was installed by a pro – but at a fraction of the cost.