How to Quickly Beef Up Crown Molding and Baseboards
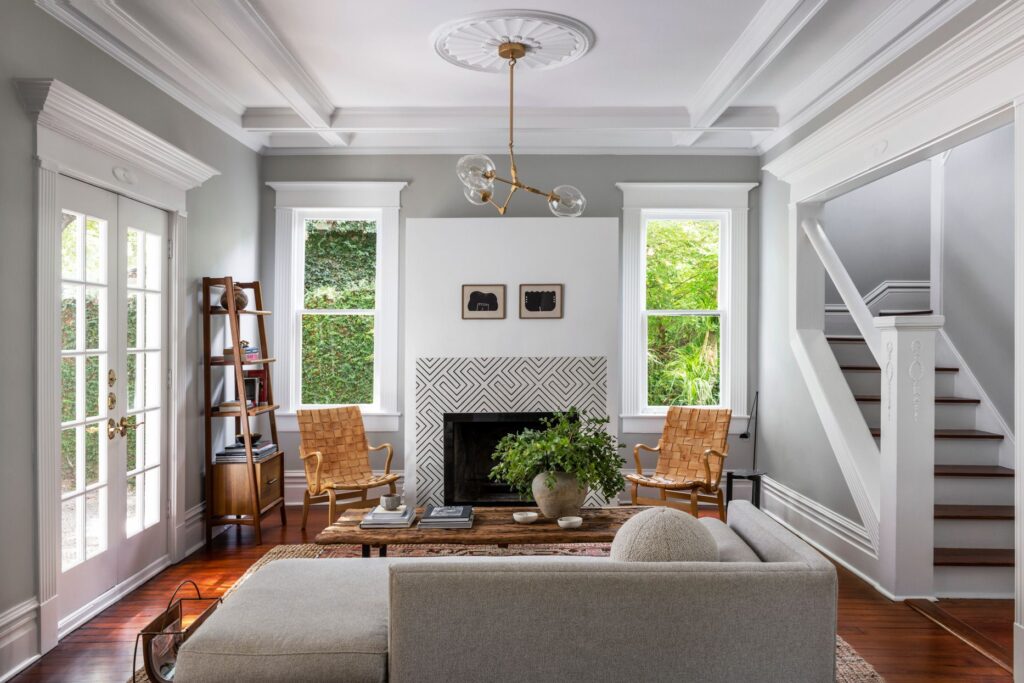
When it comes to adding instant elegance and architectural charm to a room, few upgrades rival the impact of crown moulding and baseboards. These trim details frame your walls, create visual balance, and give even the simplest rooms a polished finish. But what if your current trim feels too skimpy, flat, or outdated? The good news is that you don’t need a full remodel or costly millwork to achieve a high-end look. With a few clever techniques and DIY-friendly approaches, you can beef up crown molding and baseboards quickly and effectively.
In this guide, we’ll explore practical methods, budget-friendly ideas, and styling tips that will help you transform your trim from builder-basic to bespoke.
Why Upgrade Crown Molding and Baseboards?
Baseboards and crown mouldings are often overlooked, yet they play a crucial role in shaping the overall character of a home. Slim or minimal trim can make a space feel unfinished, while wider, layered trim instantly conveys a sense of quality craftsmanship.
Some of the biggest benefits of upgrading include:
- Visual Height: Larger mouldings draw the eye upward, making ceilings appear taller.
- Architectural Interest: They add depth, texture, and definition to plain walls.
- Home Value: Buyers tend to perceive homes with upgraded trim as more luxurious.
- Style Consistency: Trim ties together design features such as paint colour, flooring, and furniture.
If you’ve already considered other design updates like perfect grey paint or neutral accent chairs, enhancing your mouldings will harmonise beautifully with these choices.
Tools and Materials You’ll Need
Before diving into the techniques, it’s worth gathering the right supplies. Most of these can be found at your local hardware store.
- Measuring tape and level
- Mitre saw (or mitre box for manual cuts)
- Construction adhesive or finishing nails
- Wood filler and caulk
- Sandpaper
- Paint or stain
- Trim boards or MDF strips for layering
For homeowners already comfortable with DIY projects—like creating a DIY DVD storage closet or repurposing a vintage military foot locker—this project is highly achievable.
How to Beef Up Crown Molding and Baseboards
Here are some effective ways to make your trim look taller, thicker, and more customised without a contractor-sized budget.
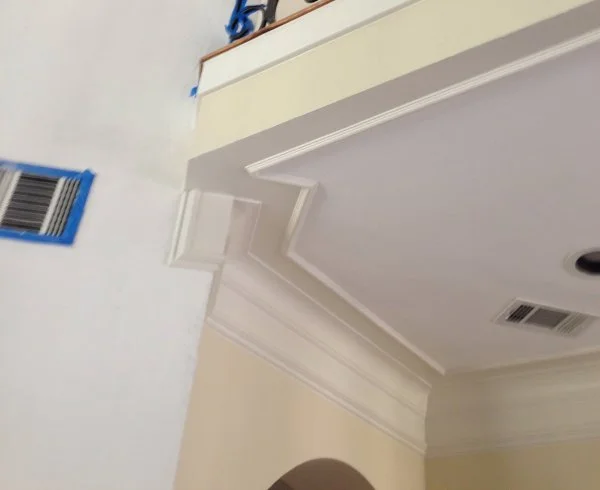
1. Add a Second Layer of Trim
One of the easiest ways to beef up trim is by layering. Install a second piece of moulding a few inches below your crown moulding or above your baseboard, then paint the wall between them the same colour as the trim. This creates the illusion of one large, continuous piece.
- Crown Molding: Add a simple cove or lattice moulding below the crown to extend its depth.
- Baseboards: Add a quarter round or small strip above the baseboard for a stacked effect.
This trick is both budget-friendly and visually dramatic.
2. Use Backer Boards for Depth
If your walls currently feature thin trim, backer boards can give the illusion of bulk. Simply place a flat board behind your moulding, extending its height or depth. Once caulked and painted, the transition looks seamless.
This technique works particularly well in modern homes where you may want a clean, square-edged look instead of ornate profiles.
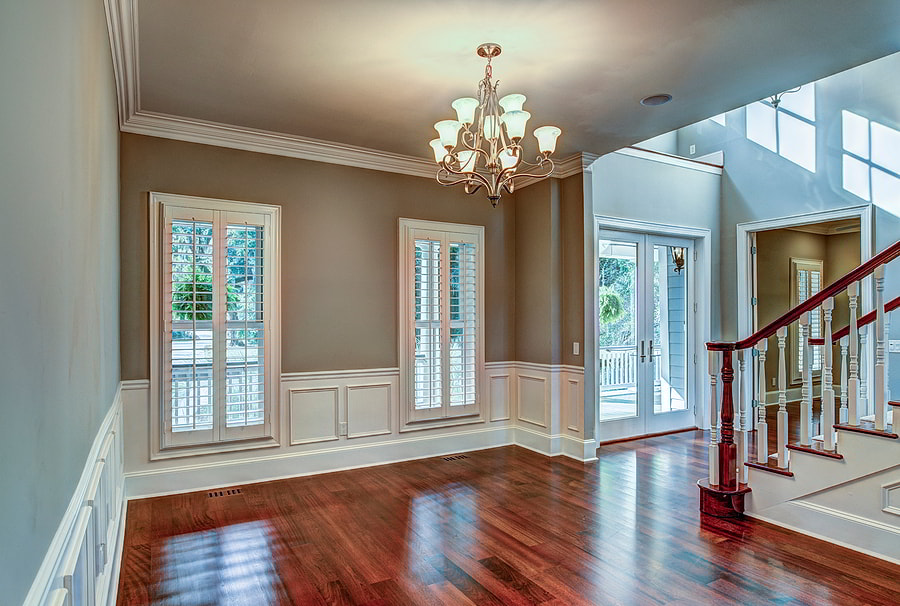
3. Try Picture-Frame Layering
To bring character to otherwise plain walls, combine larger baseboards or crown with wall mouldings in picture-frame style. Not only does this beef up crown molding and baseboards, but it also adds panel-like detailing that’s perfect for dining rooms, hallways, or feature walls.
If you love the idea of creative wall treatments, you might also enjoy exploring wallpaper inside picture frames or even a DIY faux brick wall for a similar impact.
4. Paint Tricks for a Taller Look
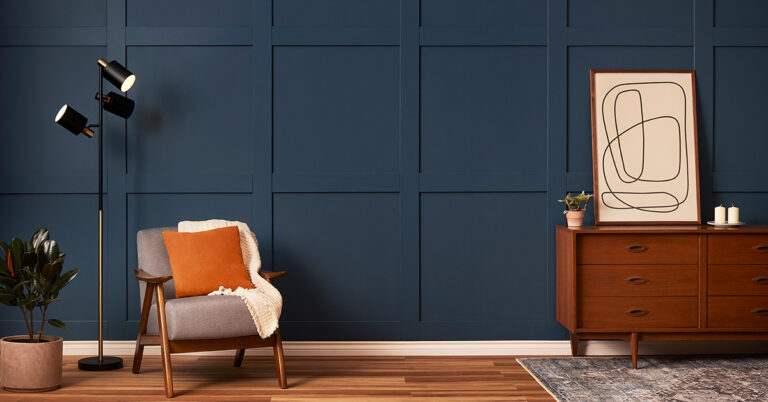
Paint is an underrated tool when it comes to enhancing trim. By painting both the moulding and the adjacent wall space in the same colour, you can “extend” the trim visually without adding extra wood. This is especially effective if you’re using timeless shades like grey, white, or soft neutrals.
Pair this approach with furniture accents—like a faux bone inlay nesting table to create a cohesive, upscale effect.
5. Install Faux Panels Beneath the Crown
For a grand look, consider installing MDF panels beneath your existing crown moulding and then painting everything the same shade. This technique makes the crown appear much deeper and is particularly striking in tall rooms or entryways.
6. Upgrade with Decorative Profiles
Sometimes, the quickest way to achieve a bold look is to replace slim profiles with more elaborate ones. Wide colonial, ogee, or stepped mouldings are excellent choices. While this involves purchasing new trim, the installation process is straightforward if you already have DIY confidence.
7. Don’t Forget the Details
Once your new trim is in place, finish it with precision:
- Use caulk to fill gaps between wall and trim.
- Sand joints for smoothness.
- Apply two coats of semi-gloss paint for durability and shine.
Attention to finishing details ensures your mouldings look truly custom and not just added on.
Styling Tips for Enhanced Mouldings
Once you’ve successfully beefed up your trim, consider how to style the rest of the room so everything feels balanced.
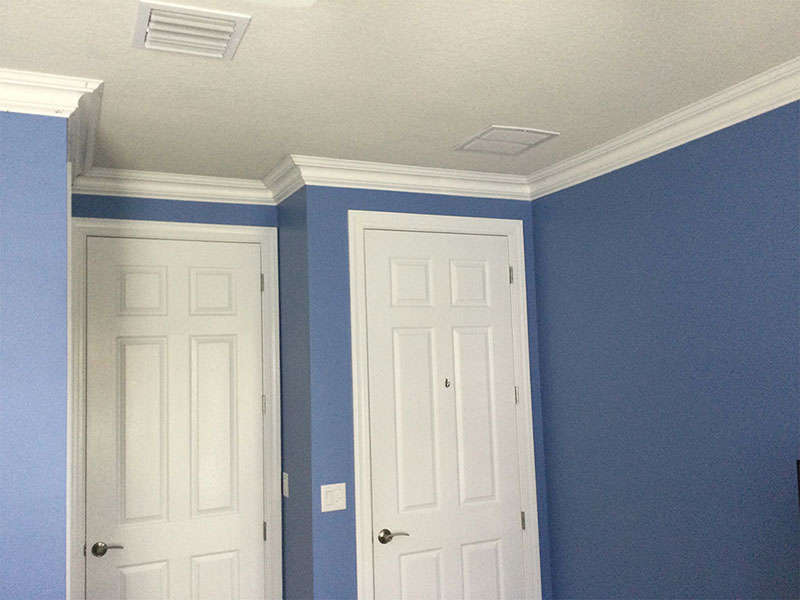
- Contrast with Wall Colours: White mouldings against bold walls make trim pop. If you’re considering a redesign, try pairing with hues from your mood board.
- Coordinate with Furniture: Chunkier mouldings pair beautifully with heavier furniture like upholstered combination beds or solid wood tables.
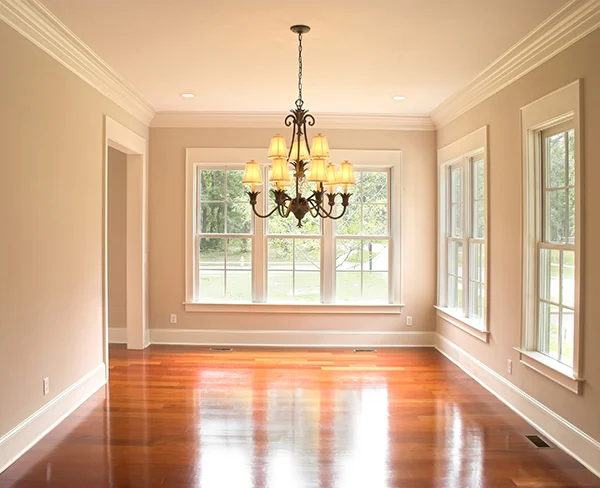
- Highlight Lighting: Install shaded chandeliers or sconces to draw attention to upgraded trim lines.
- Add Art: A room with strong trim provides the perfect backdrop for sentimental art ideas, photographs, or statement mirrors.
Common Mistakes to Avoid
While this project is straightforward, a few pitfalls can diminish the final result:
- Skipping Caulk: Visible gaps ruin the seamless effect.
- Uneven Cuts: Ensure your mitre angles are precise, especially in corners.
- Wrong Proportions: Oversized trim can overwhelm small rooms, while tiny trim disappears in larger spaces.
- Mismatched Styles: Keep the profile consistent with your home’s overall architecture.
Final Thoughts
Learning how to quickly beef up crown molding and baseboards is one of the most impactful ways to elevate your home’s interior without extensive renovations. Whether you choose to layer trim, use backer boards, experiment with paint, or replace profiles altogether, the end result is a room that feels intentional, polished, and high-end.
These upgrades pair beautifully with other DIY home improvements, from nursery closet makeovers to simplified decorating. By tackling one project at a time, you’ll gradually build a home that reflects both style and substance.