DIY DVD Storage Closet: Creative Ways to Organise Your Collection
For many households, DVDs hold a special place. Whether they are treasured films, nostalgic TV box sets, or family recordings, these collections often deserve more than being stacked in dusty boxes or left scattered across living room shelves. Building a DIY DVD storage closet is a clever and practical way to give your collection the attention it deserves while keeping your home organised.
In this guide, we’ll walk you through the benefits of creating your own DVD storage, design inspirations, step-by-step building ideas, and decorating tips to help your new closet blend seamlessly with your home.
Why Build a DIY DVD Storage Closet?
A DVD collection is more than just discs—it’s a snapshot of your personality and memories. Here’s why investing in a dedicated storage space makes sense:
- Organisation – A proper system means you’ll always know where your favourite movie is.
- Protection – DVDs last longer when stored upright, away from sunlight and dust.
- Space Efficiency – A closet design maximises vertical storage, making better use of tight spaces.
- Custom Style – Unlike store-bought units, a DIY project can be tailored to your décor and storage needs.
Think of it the same way you might approach a nursery closet makeover or a repurposed furniture upgrade—it’s not just about storage, it’s about blending functionality with design.
Planning Your DIY DVD Storage Closet
Before grabbing your tools, a little planning goes a long way.
- Measure Your Collection: Count how many DVDs you have and allow room for growth. Standard DVDs are about 19mm thick, so 50 DVDs require just under a metre of shelf space.
- Choose a Location: Spare closets, under-stairs nooks, or even the corner of a living room can work.
- Think Accessibility: Make sure shelves are easy to reach and that the door opens without obstruction.
- Style Integration: If your décor leans towards neutral tones or classic simplicity, your DVD closet can mirror that style.
Design Ideas for Your DVD Closet
Here are some ways to bring personality and efficiency to your DIY project:
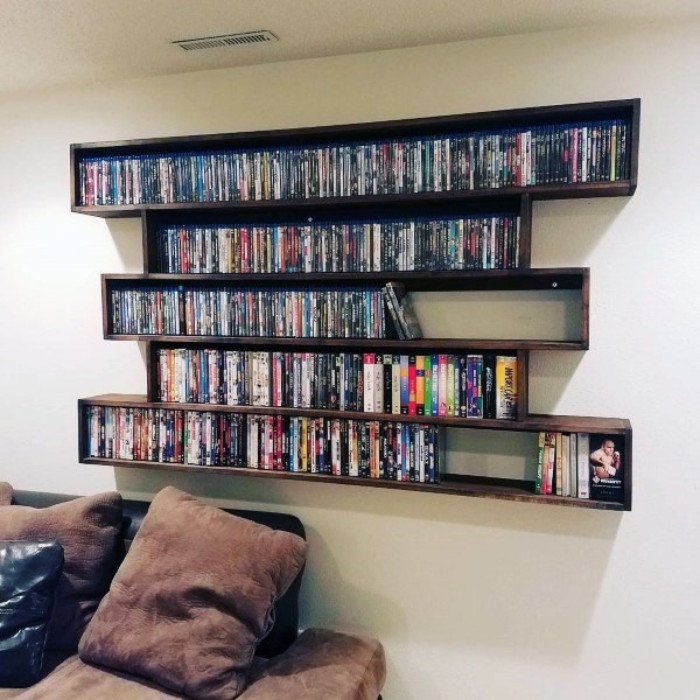
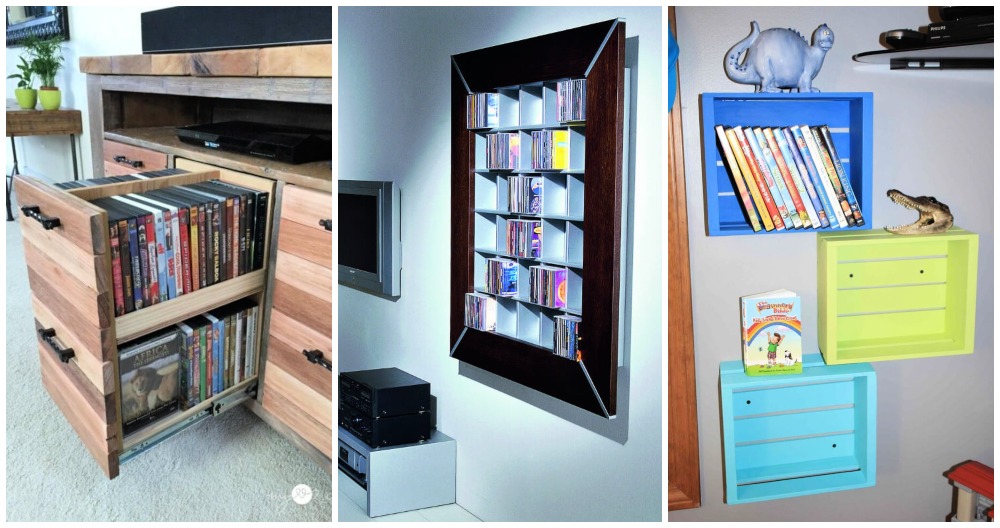
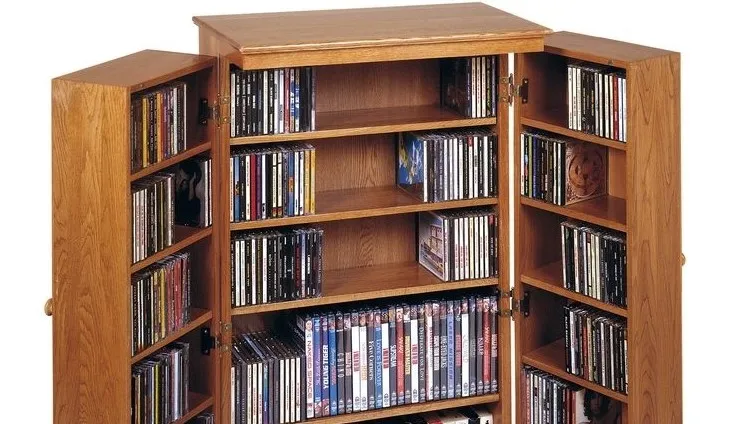
1. Built-In Shelving
Custom shelves fitted directly into a closet wall create a streamlined look. Adjustable shelves give you the flexibility to store DVDs, Blu-rays, or even coffee table books alongside your films.
2. Sliding Storage Panels
If you’re tight on space, sliding vertical panels allow you to store hundreds of DVDs without bulky shelving. Think of it as a mini library system inside your closet.
3. Decorative Doors
Your closet doors are an opportunity for design. A coat of perfect grey paint or even a faux brick wallpaper finish can transform a plain cupboard into a stylish feature.
4. Multi-Purpose Closet
Pair your DVDs with other forms of entertainment storage—such as vinyl records, gaming consoles, or board games—for a full media hub.
Step-by-Step Guide to Building Your DIY DVD Storage Closet
Here’s a simplified process you can adapt based on your skills and space:
Step 1: Clear and Prep the Space
Empty the closet completely, check for dampness, and sand or repaint walls if needed. If your home is undergoing wider changes—like a backyard beer garden upgrade—this is the perfect time to tackle multiple projects at once.
Step 2: Install the Framework
Use timber battens or metal brackets to support your shelving. Make sure they’re fixed to studs for maximum strength.
Step 3: Add Shelves
Cut MDF or plywood to fit. Sand the edges and paint or stain them to match your home’s style. Adjustable shelf pins are a good investment for future flexibility.
Step 4: Organise Your DVDs
Sort by genre, alphabetical order, or even by sentimental value. You might draw inspiration from sentimental art displays—arranging your most meaningful DVDs at eye level where you’ll see them most often.
Step 5: Finish with Style
Add lighting strips for a cinematic feel, fit attractive handles to the doors, and consider decorative accents like framed posters or wallpapered panels inside the closet.
Creative Styling and Décor Tips
A storage closet doesn’t have to be purely functional. Here are ideas to elevate your design:
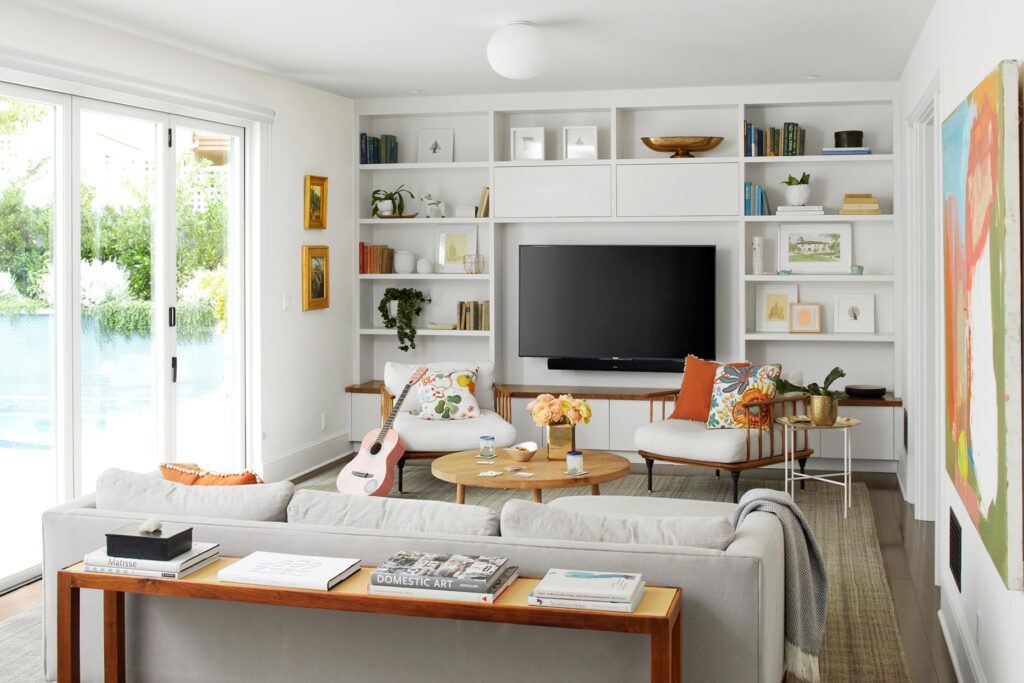
- Colour Schemes: Pair your DVD closet with tones already present in your home—perhaps the soft hues of neutral furniture or the sophistication of dark home décor.
- Lighting: Motion-sensor LED strips make it easier to browse your collection and add a touch of modernity.
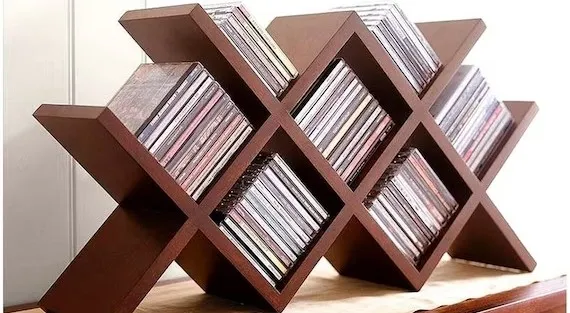
- Labels & Dividers: Acrylic dividers or wooden markers keep sections neat and easy to navigate.
- Personal Touches: Incorporate memorabilia, such as cinema tickets or posters, to make the closet feel like a personal film archive.
Beyond DVDs: Expanding the Concept
A DIY DVD storage closet can inspire broader home improvement projects. The same design approach can be applied to:
- Books and Magazines – Use similar shelving for reading material.
- Games and Consoles – Pair DVDs with gaming storage for a full entertainment nook.
- Decorative Collectibles – From faux marble table accents to framed artwork, your closet can evolve into a display space as well as storage.
This project also ties into a growing appreciation for multi-functional and personalised living spaces. Just as a vintage military foot locker makeover breathes new life into old furniture, a DVD closet turns unused corners into purposeful areas.
Maintenance and Longevity
Once your DVD closet is complete, keep it functional and attractive by:
- Dusting shelves regularly.
- Keeping humidity levels low to avoid disc damage.
- Updating organisation methods as your collection grows.
- Refreshing the look occasionally with a coat of paint or new door handles.
Much like maintaining a decorated living room or keeping a summer porch inviting, small upkeep ensures your storage closet continues to serve both practical and aesthetic purposes.
Final Thoughts
A DIY DVD storage closet is more than just a home improvement project—it’s a way to celebrate the media that has shaped your experiences while keeping your living space clutter-free. By planning carefully, incorporating design touches, and drawing inspiration from other home projects, you can transform an overlooked corner into a stylish, functional hub.
Whether you lean towards modern simplicity, rustic charm, or eclectic creativity, this project gives you control over both form and function. Much like other DIY transformations—from attic door fixes to decorative furniture updates—it’s a rewarding way to bring order, personality, and practicality into your home.