How to Make a Mood Board for a Room Design and Kitchen Refresh Plans
When you’re planning to revamp a space whether it’s your living room, bedroom, or kitchen—one of the most valuable tools in your design toolkit is a mood board. This simple but powerful concept can help you visualize your ideas, refine your style, and ensure every element you choose works beautifully together.
If you’ve ever walked into a home décor store and been overwhelmed by options (tile samples in one hand, paint swatches in the other, your phone full of Pinterest saves), a mood board will be your best friend. It’s like having your design vision condensed into a single, inspiring page.
In this guide, I’ll walk you step-by-step through how to make a mood board for a room design and kitchen refresh plans including practical tips, examples, and some common pitfalls to avoid.
Why a Mood Board is Essential for Room Design
Before diving into the “how,” let’s cover the “why.” A mood board helps you:
- Clarify Your Vision – Sometimes we think we know what we want until we see all the elements together. A mood board turns abstract ideas into something tangible.
- Spot Clashes Early – That mint-green cabinet paint you loved in isolation might not play nicely with your rustic oak floors.
- Stay Focused – When shopping, it’s easy to get distracted by trends or bargains. Your mood board acts as a design compass, keeping you on track.
- Communicate Your Ideas – If you’re working with a partner, contractor, or designer, a mood board makes it easy for everyone to get on the same page.
Step 1: Define the Purpose and Feel of the Space
Start by asking yourself a few questions:
- What is this room’s main function?
- How do I want the space to make me feel? (Calm, cozy, energizing, airy?)
- Are there existing elements that must stay? (Flooring, appliances, architectural features?)
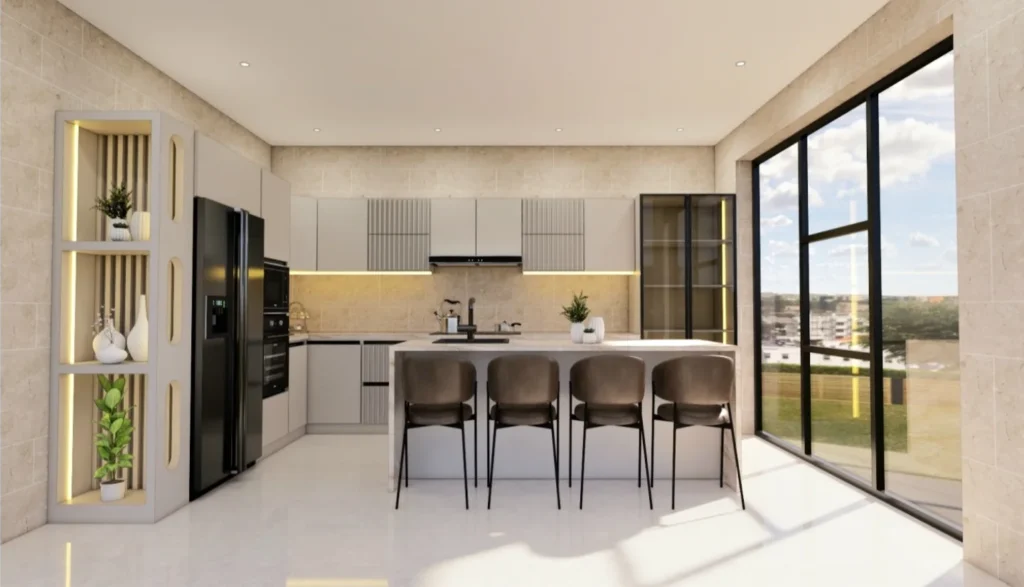
For example, if you’re doing a kitchen refresh, maybe your priority is to brighten the space without doing a full remodel. You might want a fresh paint color, new cabinet hardware, updated lighting, and a statement backsplash.If it’s a living room redesign, your mood might lean toward warm neutrals, layered textures, and better storage solutions.
Step 2: Gather Inspiration
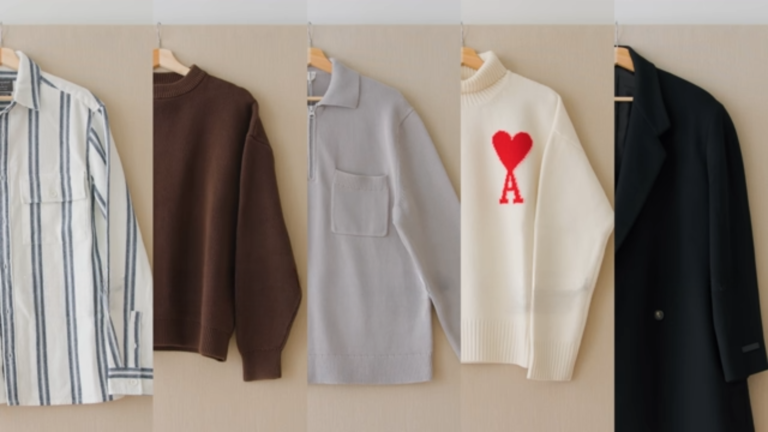
This is where the fun begins. Your goal is to collect a wide range of visuals:
- Pinterest – Create a dedicated board for your project.
- Instagram – Follow interior design hashtags like #KitchenInspo or #CozyLivingRoom.
- Magazines & Catalogs – Tear out pages and keep them in a folder.
- Material Samples – Grab paint swatches, fabric samples, and flooring chips from home improvement stores.
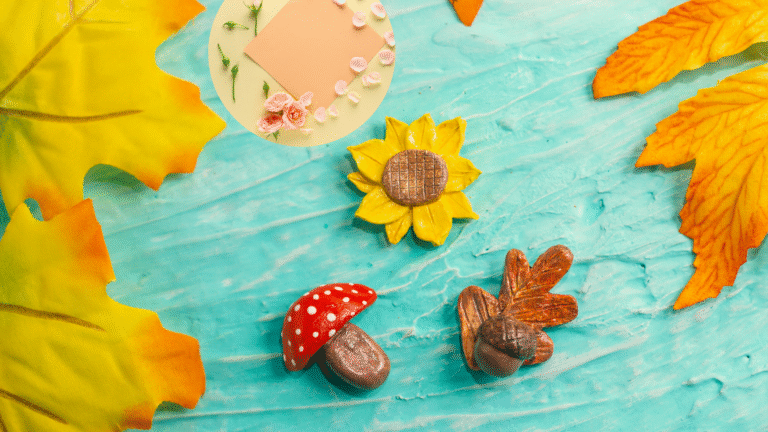
Don’t limit yourself to interior photos. A mood board can also include images of nature, travel photos, or art pieces that capture your desired color palette or vibe.
Step 3: Choose a Color Palette
Your color palette is the backbone of your design. It doesn’t have to be complicated—three to five main colors is plenty.
Tips for choosing colors:
- Start with one or two anchor colors (often neutrals like white, beige, gray, or black).
- Add one or two accent colors for personality.
- Consider undertones—warm vs. cool shades can drastically change how colors work together.
For a kitchen refresh, you might choose:
- Anchor: Soft white (cabinets, backsplash)
- Secondary: Warm oak (open shelving)
- Accent: Sage green (island base)
- Metallic: Brushed brass (hardware, lighting)
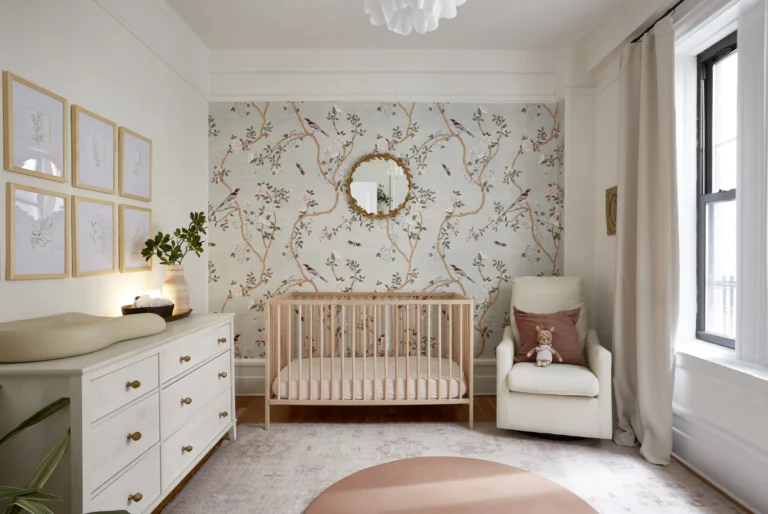
Step 4: Select Key Elements for the Mood Board
A mood board should include more than just pretty pictures—it should represent the actual pieces and finishes you plan to use.
Consider adding:
- Flooring or rug samples
- Paint swatches
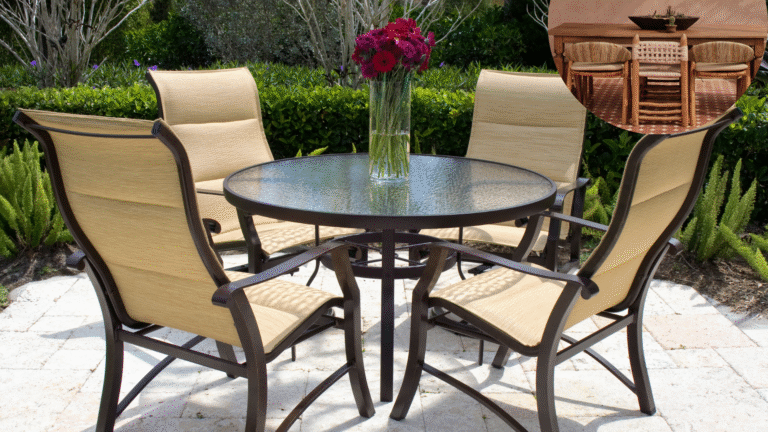
- Furniture pieces (sofa, dining table, chairs)
- Lighting fixtures
- Textiles (curtains, cushions, throws)
- Décor accents (vases, art prints, planters)
- Kitchen-specific elements like countertop material, cabinet style, or faucet design
The more specific you can be, the better. If you already know the exact product you want (e.g., “West Elm Mid-Century Dining Chair”), include an image of it.
Step 5: Decide on a Format
You can create a mood board in two main ways:
Physical Mood Board
Perfect for tactile designers who like to touch and feel samples. Use a corkboard or poster board, and physically pin or glue your items.
Pros:
- Tangible and interactive
- Easy to move pieces around
- Great for testing real material textures
Cons:
- Limited to what you can physically collect
- Harder to share digitally
Digital Mood Board
Great for flexibility and sharing online. Popular tools include:
- Canva (user-friendly and free for basic features)
- Milanote (designed for creative projects)
- Pinterest (good for inspiration gathering, less for layout)
- Adobe Express or Photoshop (for more advanced design control)
Pros:
- Easy to rearrange and scale images
- Shareable via email or social media
- Unlimited access to images from online sources
Cons:
- Lacks the tactile feel of real samples
Step 6: Arrange and Edit
When assembling your mood board, place your largest and most important elements first (like a sofa, flooring, or cabinetry) and build around them.
Design tips:
- Group similar colors together to see how they interact.
- Include a mix of large “statement” items and small “supporting” details.
- Keep enough white space so it doesn’t look cluttered.
- Aim for balance—avoid having all the dark colors in one corner and all the light ones in another.
Don’t be afraid to edit ruthlessly. If an item doesn’t fit your vision, leave it out—even if you love it individually.
Step 7: Use Your Mood Board as a Guide
Once your mood board is complete, take it with you (physically or digitally) when shopping for your project. Compare every potential purchase to your board and ask:
- Does it match the color palette?
- Does it fit the style I’m aiming for?
- Will it work with the other elements?
A good mood board is not a rigid rulebook it’s a guide to keep your design cohesive.
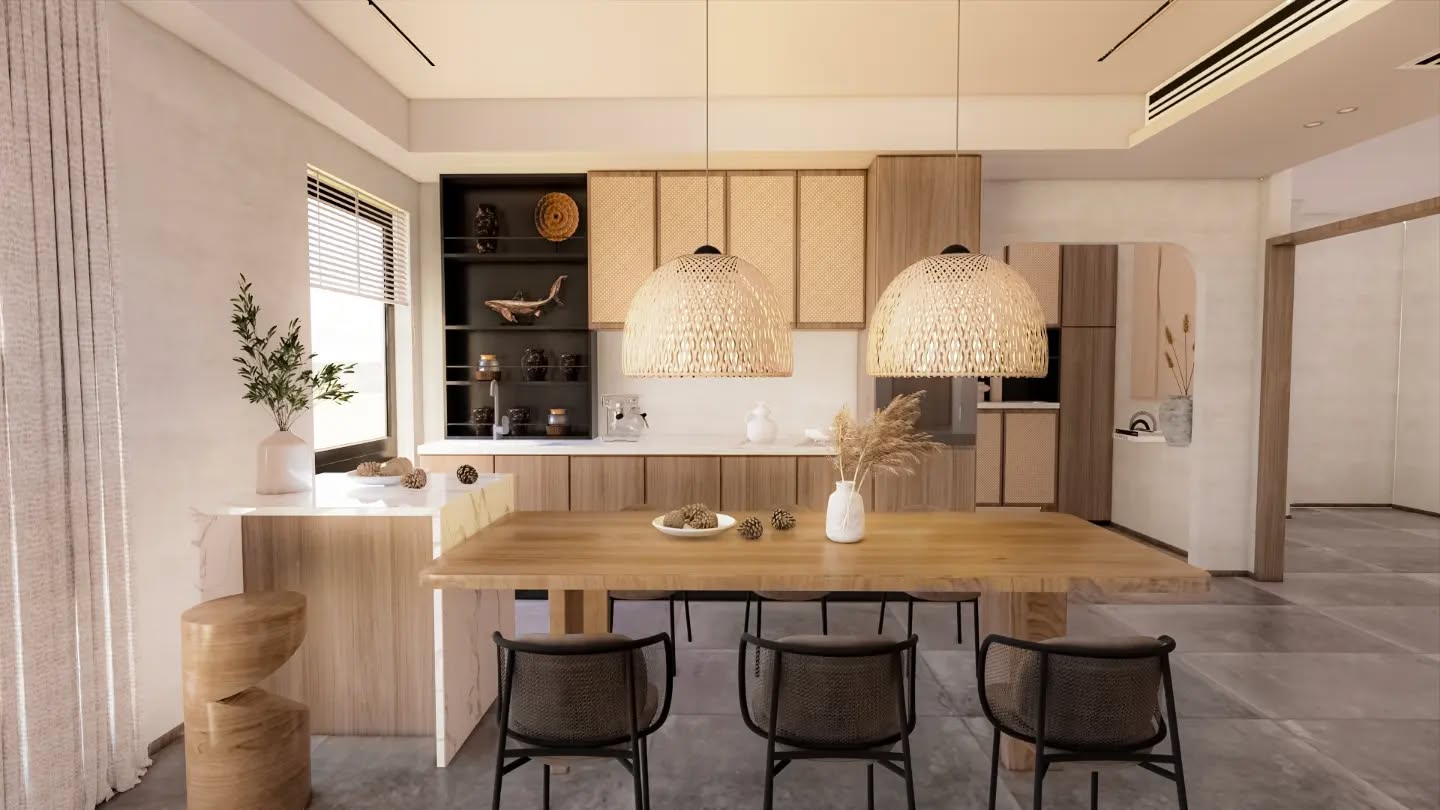
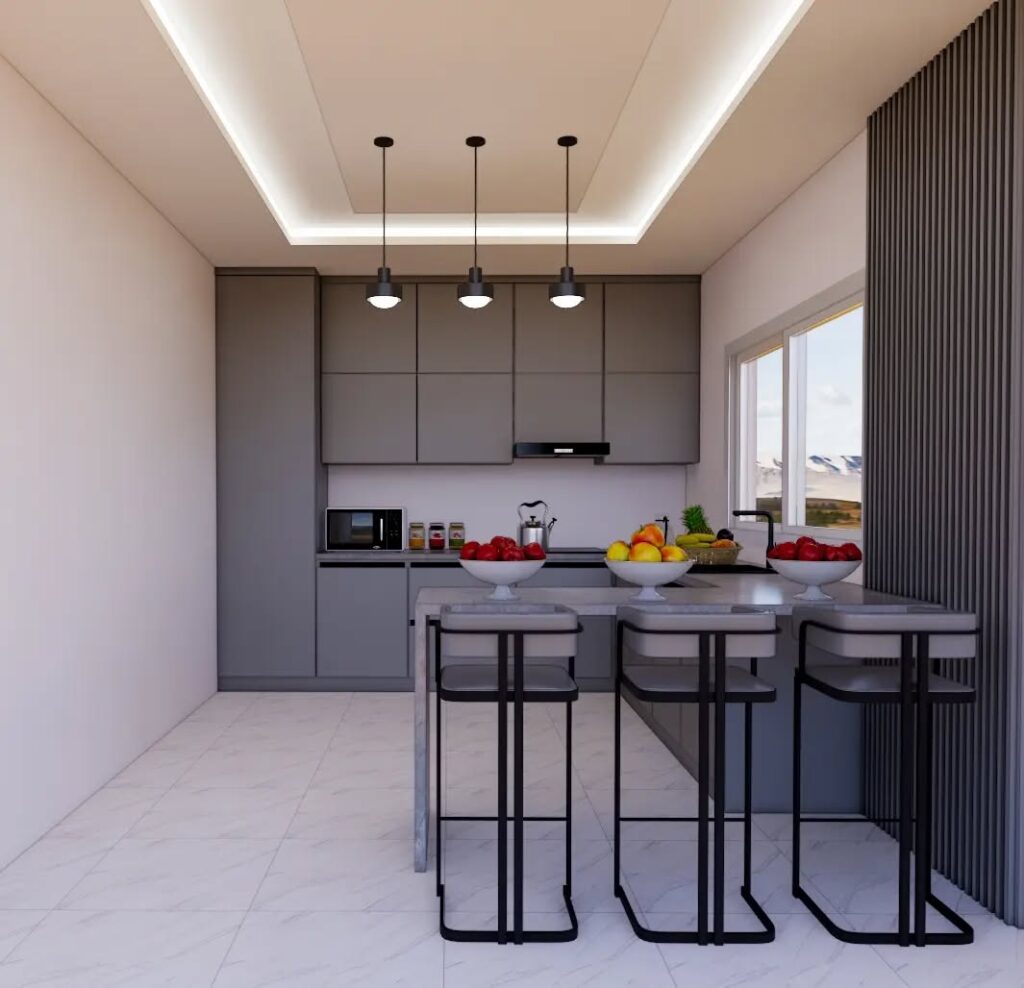
Example: Mood Board for a Kitchen Refresh
Let’s walk through a mini example. Imagine you have a dated kitchen with dark wood cabinets, black appliances, and beige tile. You want a lighter, more modern look without gutting the entire space.
Your mood board might include:
- Paint swatch: Warm white for upper cabinets
- Paint swatch: Sage green for lower cabinets
- Material sample: Butcher block for countertops
- Hardware: Brushed brass bar pulls
- Lighting: Pendant lamps with clear glass shades
- Accent: Vintage-style patterned tile for backsplash
- Décor: Wooden cutting boards, potted herbs, ceramic serving bowls
With this visual in hand, you’ll know exactly which finishes and colors to shop for—and you can easily share it with your contractor or partner.

Common Mistakes to Avoid
- Too Many Colors or Styles – Keep your palette and style consistent to avoid a chaotic look.
- Ignoring Lighting – The way colors appear can change drastically depending on natural and artificial light.
- Skipping Realistic Sourcing – Don’t include items on your board that you can’t realistically find or afford.
- Forgetting Scale – That gorgeous oversized pendant might look great online, but in your small kitchen, it could overwhelm the space.
Final Thoughts
Learning how to make a mood board for a room design and kitchen refresh plans can be a game changer for your home projects. It turns scattered ideas into a cohesive vision, helps you make confident decisions, and keeps you from wasting money on pieces that don’t work together.
Whether you’re digitally curating images from across the internet or physically arranging samples on a corkboard, your mood board will be the north star of your design journey. Start with a clear vision, stay true to your palette, and don’t be afraid to edit—and you’ll end up with a space that feels intentional, harmonious, and uniquely yours.