DIY Marbled Vases Halloween Entryway: Stylish & Spooky Decor Idea
Creating a memorable Halloween entryway doesn’t require expensive store-bought decorations. With a bit of creativity and a hands-on approach, you can add an elegant yet spooky touch using DIY marbled vases. These stylish decor pieces can be customised to your Halloween theme, whether it’s gothic glam, minimalist monochrome, or pumpkin-spiced rustic. In this article, we’ll guide you through making DIY marbled vases halloween entryway, using easy-to-find materials right here in the UK.
Why Choose Marbled Vases for Halloween?
When we think of Halloween décor, garish plastic skeletons and synthetic cobwebs may come to mind. But for homeowners looking to blend seasonal festivity with modern aesthetics, marbled vases offer a refreshing alternative. Here’s why:
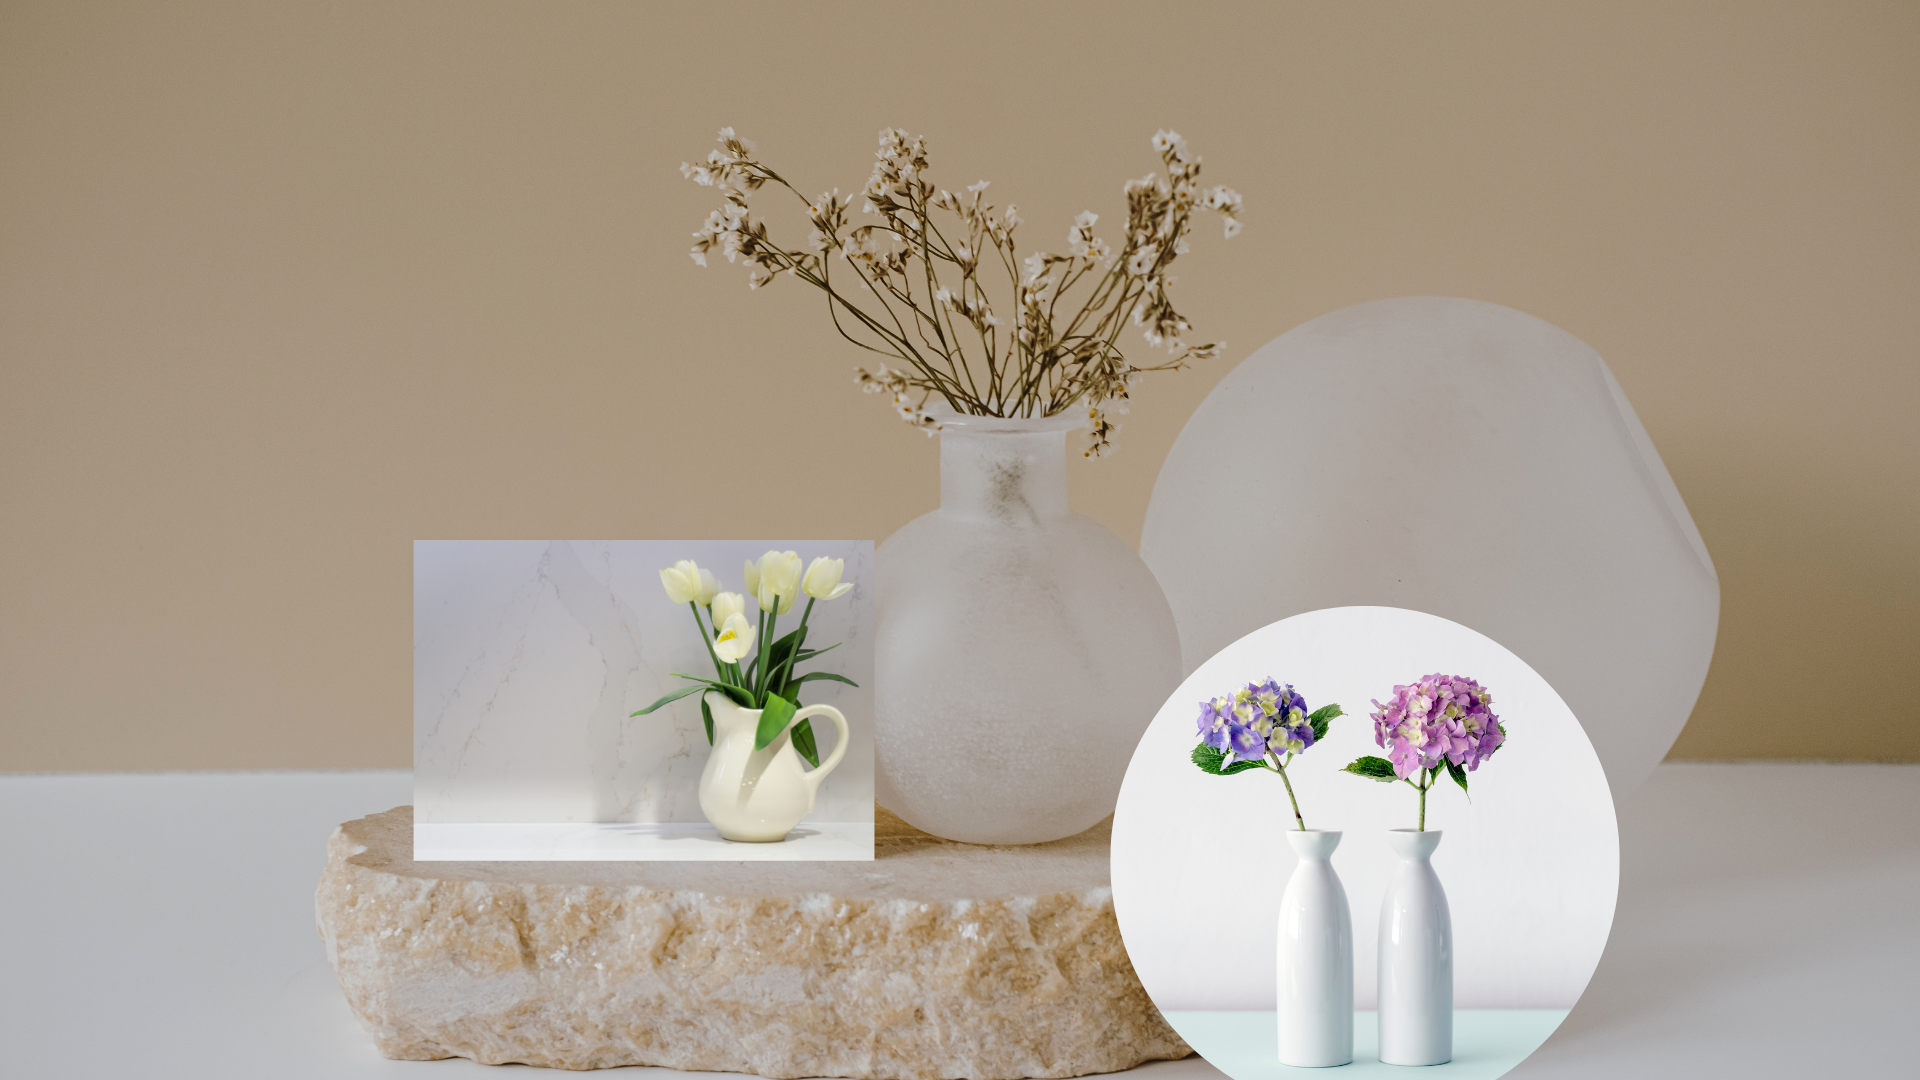
- Elegant and versatile: Marbling creates a fluid, sophisticated look that suits both spooky and stylish interiors.
- Budget-friendly: Most materials can be found in your kitchen cupboard or local hobby shop.
- Customisable: Use black, white, orange, or even gold marbling to suit your Halloween colour palette.
- Reusable: These vases can be updated seasonally or used year-round with different flowers or decorative branches.
Materials You’ll Need (UK Sources)
To make your DIY marbled Halloween vases, you don’t need anything fancy. Here’s your shopping list, with suggestions for where to buy in the UK:
Basic Supplies:
- Plain glass or ceramic vases – Try IKEA, The Range, or your local charity shop.
- Nail polish (in black, orange, white, silver, or purple) – Available at Boots or Superdrug.
- Disposable container (plastic tub or an old washing-up bowl)
- Warm water
- Toothpicks or skewers
- Gloves
- Masking tape
- Newspaper or dust sheets (to protect your work surface)
- Clear spray sealant (available at B&Q or Hobbycraft)
Optional:
- Gold leaf flakes for an extra luxe touch
- Spray paint (black or matte white) for vase base coats
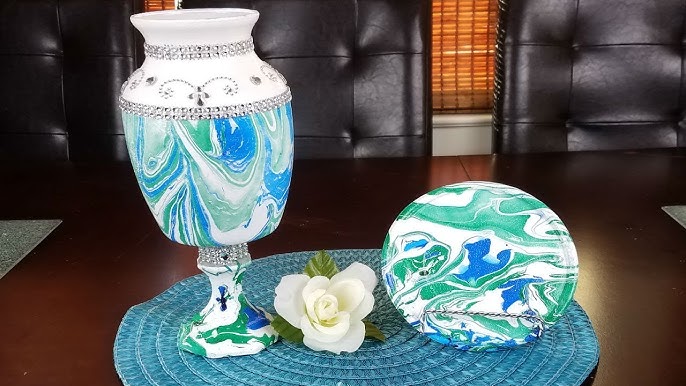
Step-by-Step Guide: DIY Marbled Halloween Vases
Step 1: Prepare Your Work Area
Cover your surface with newspaper or an old cloth. Wear gloves to avoid staining your fingers, and ensure the room is well-ventilated.
Step 2: Choose and Prep Your Vases
Clean the vases thoroughly with warm soapy water and let them dry. Use masking tape if you want to leave any part of the vase unpainted (e.g., top rim or base). If your vases are a bold colour, consider giving them a light spray of white or black paint as a base.
Step 3: Fill a Tub with Warm Water
Fill your disposable container with warm (not hot) water. The warmth helps the nail polish spread better on the surface.
Step 4: Add Nail Polish to the Water
Drip different shades of nail polish (black, white, orange, silver) onto the water’s surface. The polish will spread in circular ripples. Use a toothpick to gently swirl the colours for a marbled effect.
Step 5: Dip the Vase
Hold the vase by the neck or base and dip it slowly into the water at an angle. Twist it gently to pick up the marbled polish pattern. Lift it out quickly but smoothly.
Step 6: Let It Dry
Place the vase upright on newspaper or a drying rack. Let it dry completely – at least 1–2 hours. Do not touch the surface during this time.
Step 7: Seal the Design
Once dry, spray a light coat of clear sealant over the vase to protect the marbled finish. This step ensures the design lasts throughout the season and beyond.
Styling Your Halloween Entryway with Marbled Vases
Your stunning DIY vases are now ready – but how do you style them to create a captivating Halloween entrance?
1. Floral Magic
Use dark faux flowers like black roses, burgundy peonies, or deep purple lilies. You can find realistic options at Wilko, Dunelm, or Flying Tiger.
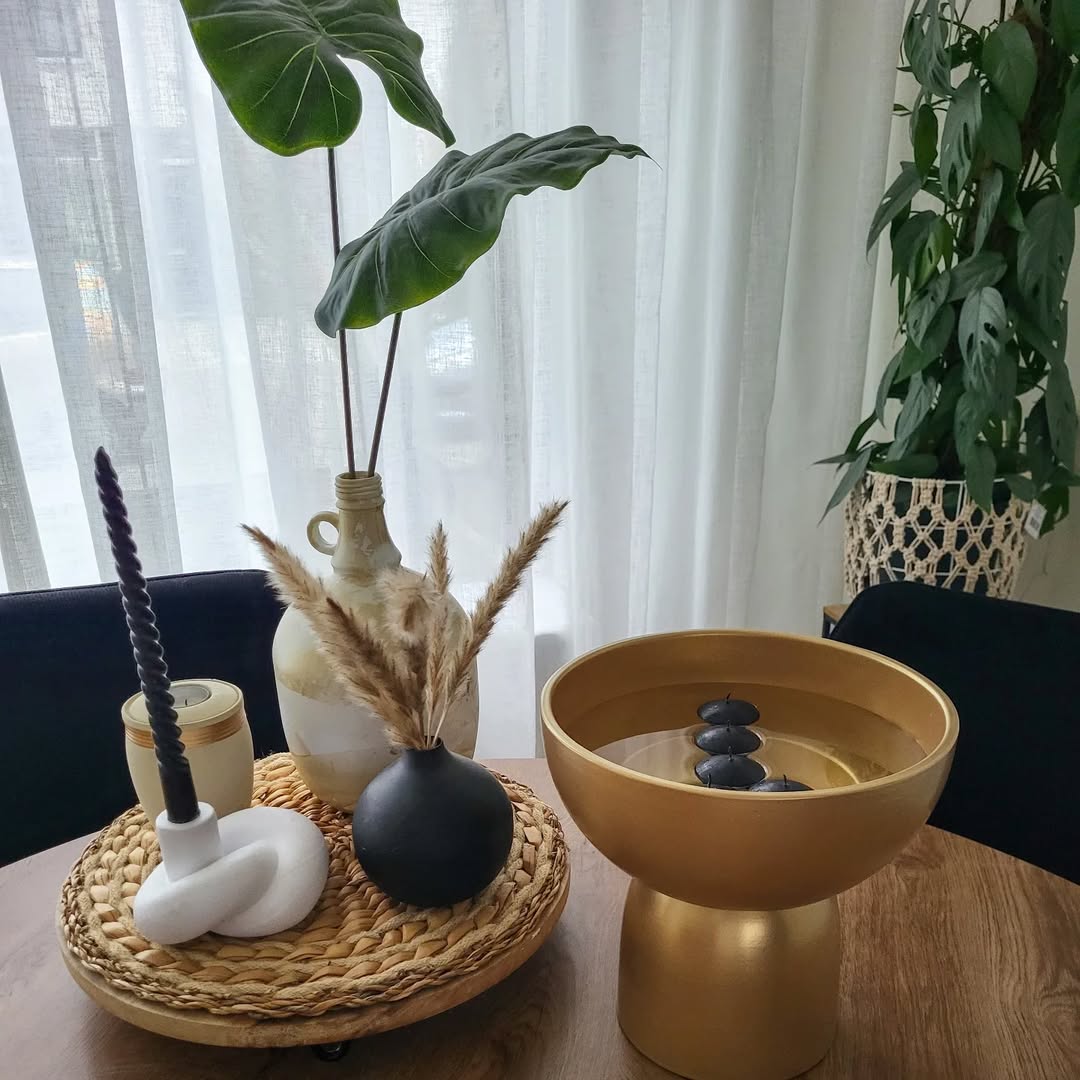
2. Add Dried Twigs or Painted Branches
Spray branches black or metallic gold for a dramatic touch. Arrange them in your marbled vase and intertwine with fairy lights for that moody glow.
3. Candle Companions
Place LED pillar candles or taper candles beside your vases to enhance the ambience. Battery-operated candles from John Lewis or Amazon are safe and effective.
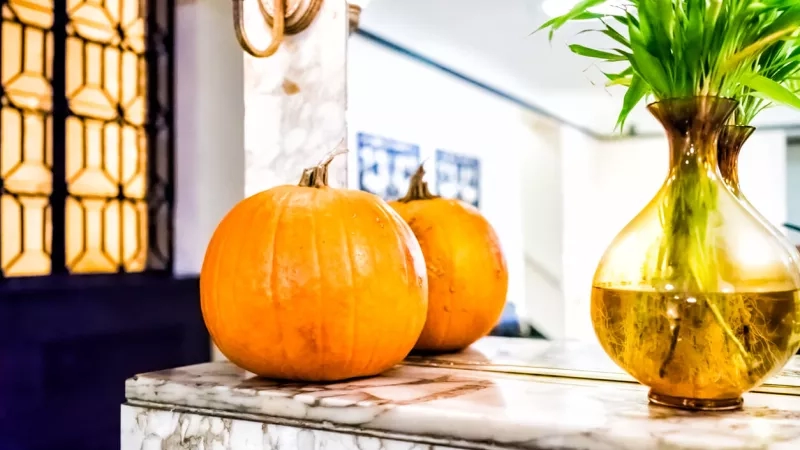
4. Mini Pumpkins and Gourds
Scatter small pumpkins in coordinating colours around the vases. You can paint them black, white, or gold for a classy look. UK supermarkets like Sainsbury’s and Tesco usually stock mini pumpkins during October.
5. Entryway Signage
Pair your vases with a chalkboard sign that says “Trick or Treat” or “Witch’s Welcome” in elegant calligraphy.
Themed Marbled Vase Ideas for Halloween
Get creative with these Halloween-inspired marbling themes:
Gothic Black & Silver
Use black and metallic silver polish for a haunting yet luxe aesthetic. Pair with white faux skulls or bones for a gothic tableau.
Pumpkin Spice
Mix orange, rust, and cream shades to match a rustic autumn vibe. Ideal with dried leaves, cinnamon sticks, or orange fairy lights.
Ghostly White
Use white polish on black-painted vases for a high-contrast design. Add white flowers or floating eyeball decorations for a spooky surprise.
Enchanted Forest
Blend forest green, black, and gold marbling. Add moss, miniature pumpkins, or fairy figurines for a whimsical twist.
Tips for Success
- Work quickly: Nail polish sets fast, so have everything ready before you begin each dip.
- Use old polish: This is a great way to use up expired nail polish rather than binning it.
- Experiment on small jars first: Before committing to a large vase, test on old jam jars or candle holders.
Eco-Friendly Halloween Crafting
Being eco-conscious while crafting for Halloween is totally doable. Here’s how:
- Repurpose containers: Use old bottles, jam jars, or second-hand vases.
- Use leftover polish: No need to buy new – just rummage through your old cosmetics drawer.
- Avoid plastic fillers: Use natural materials like twigs, leaves, or stones instead of synthetic decorations.
- Reuse year after year: With the sealant finish, your marbled vases can easily be reimagined each season.
Where to Showcase Your DIY Marbled Vases
Besides the entryway, these vases look great in other Halloween vignettes:
- Dining table centrepiece
- Windowsills or fireplace mantels
- Bookshelves or stairway landings
- Outdoor porches (weather protected)
Their chic, marbled look ensures they’ll feel more like luxury homeware than basic seasonal decoration.
Final Thoughts
Crafting your own DIY marbled vases for a Halloween entryway is a fun, creative, and affordable way to make your home stand out this spooky season. This UK-based guide ensures you can find all the materials easily and gives you plenty of styling inspiration to create a hauntingly beautiful atmosphere.
Whether you’re going for gothic elegance or autumnal charm, these marbled vases are the perfect centrepiece to welcome trick-or-treaters and Halloween party guests alike.